
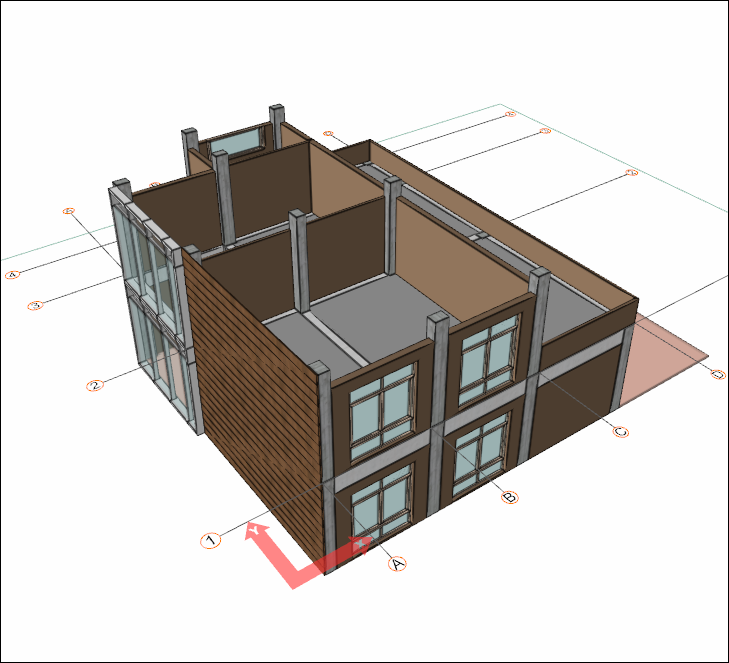
Create the upper story walls in this section.
|
Previous steps have been followed in the project file named Create the Upper Story Walls. You can download the file and follow the steps given in this title on the project. |

-
Double click on the wall on the C axis to enter its settings.
-
Make the wall width 20 cm. Click the OK button to close the dialog.
-
Click on the command wall.
-
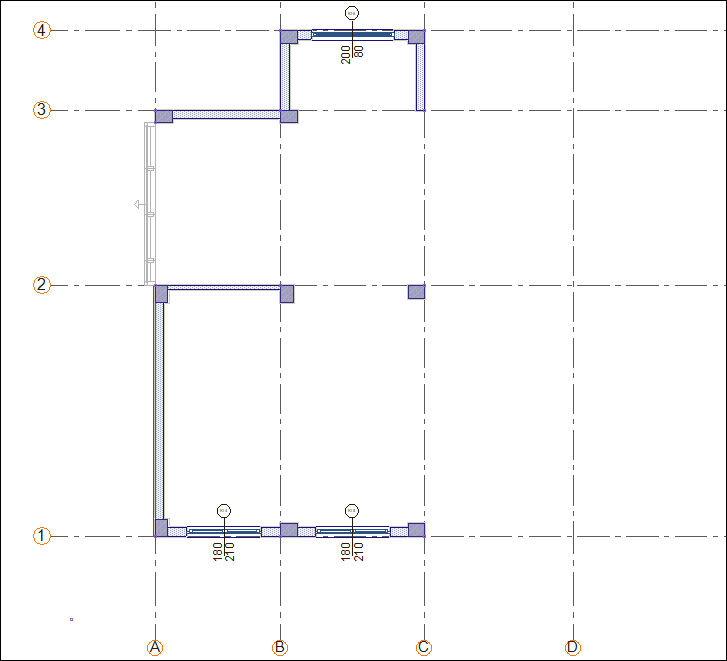
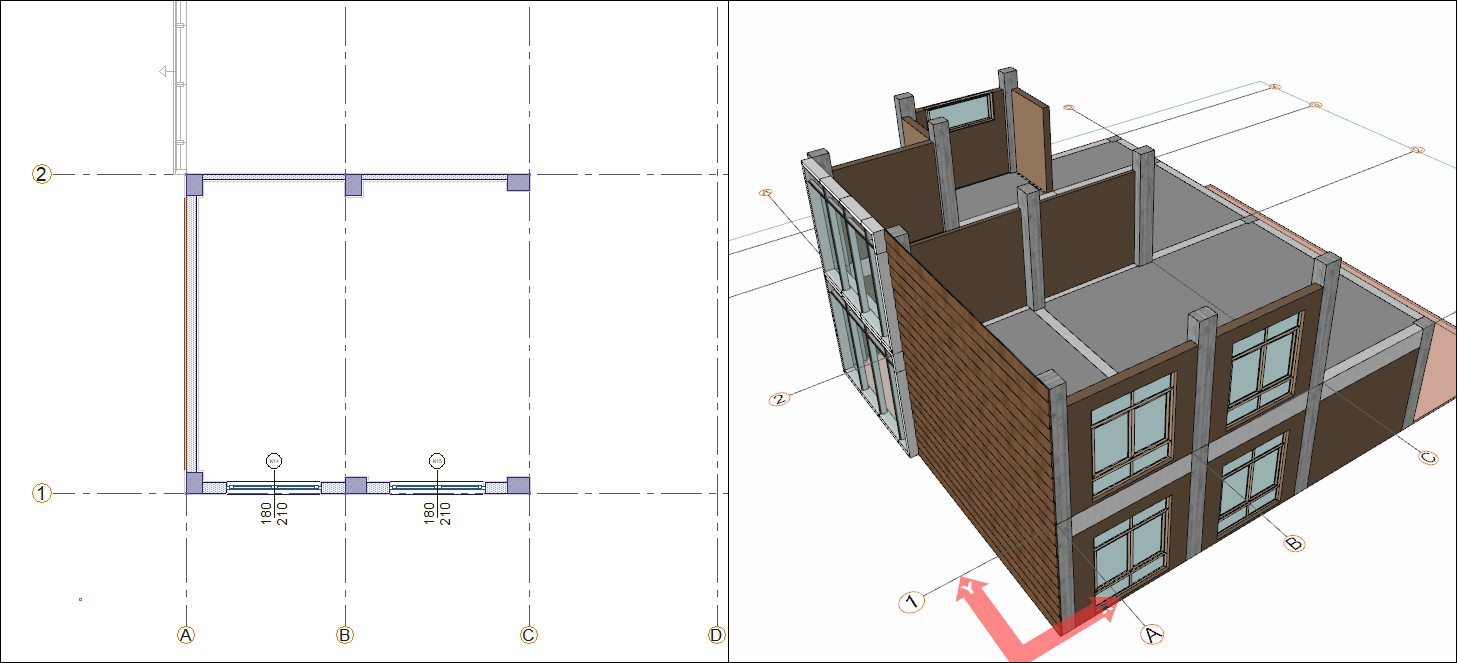
Click on B-2 axis intersection then click on C-2 axis intersection. The wall will be formed.
-
To draw a wall independent of the drawn wall, press the Esc key on the keyboard and exit the command.
-
Click on the command Wall.
-
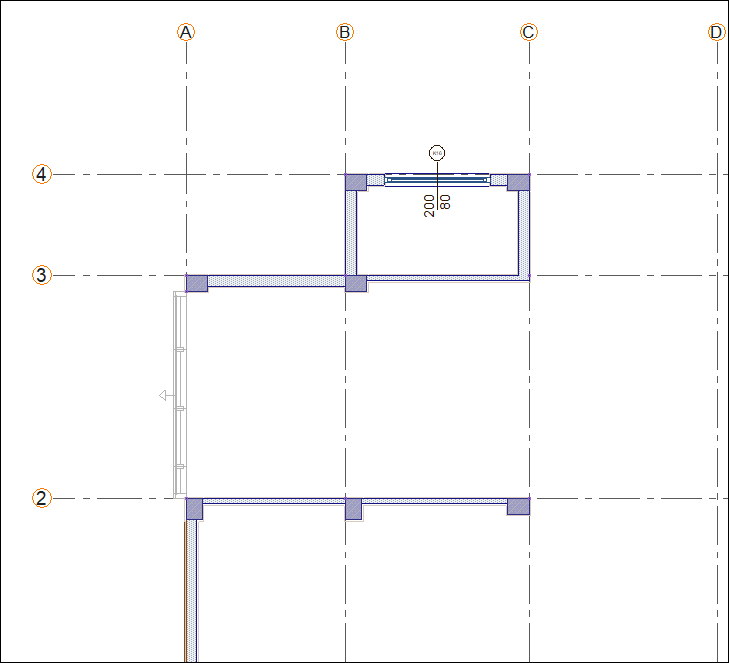
Click on the B-3 axis intersection then click on the C-3 axis intersection. The wall will be formed.
-
Click the settings icon from the wall toolbar.
-
Make the wall width 20 cm. Click the OK button to close the dialog.
-
Click on C-3 axis intersectionthen click on C-1 axis intersection. The wall will be formed.
-
Press the Esc key on the keyboard and exit the command.
-
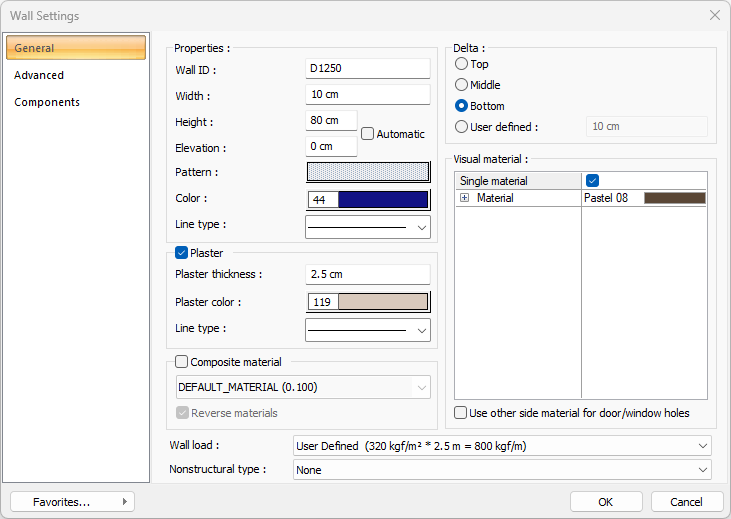
Click on the command wall. Click the settings icon from the wall toolbar.
-
Make the wall width 10 cm and wall height 80 cm. Click the OK button to close the dialog.
-
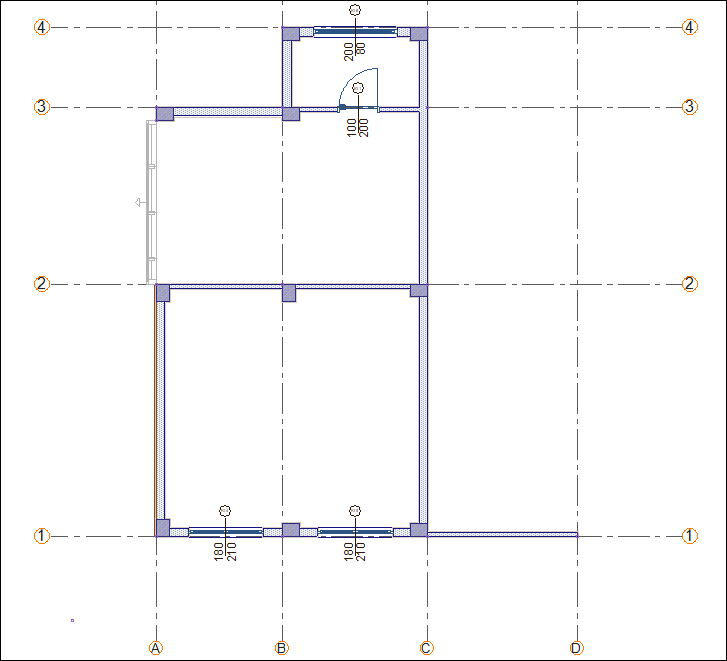
Click on the C-1 axis intersection. Press the spacebar and slide the wall to the other side of the axis. Then click on the D-1 axis intersection. The wall will be formed.
-
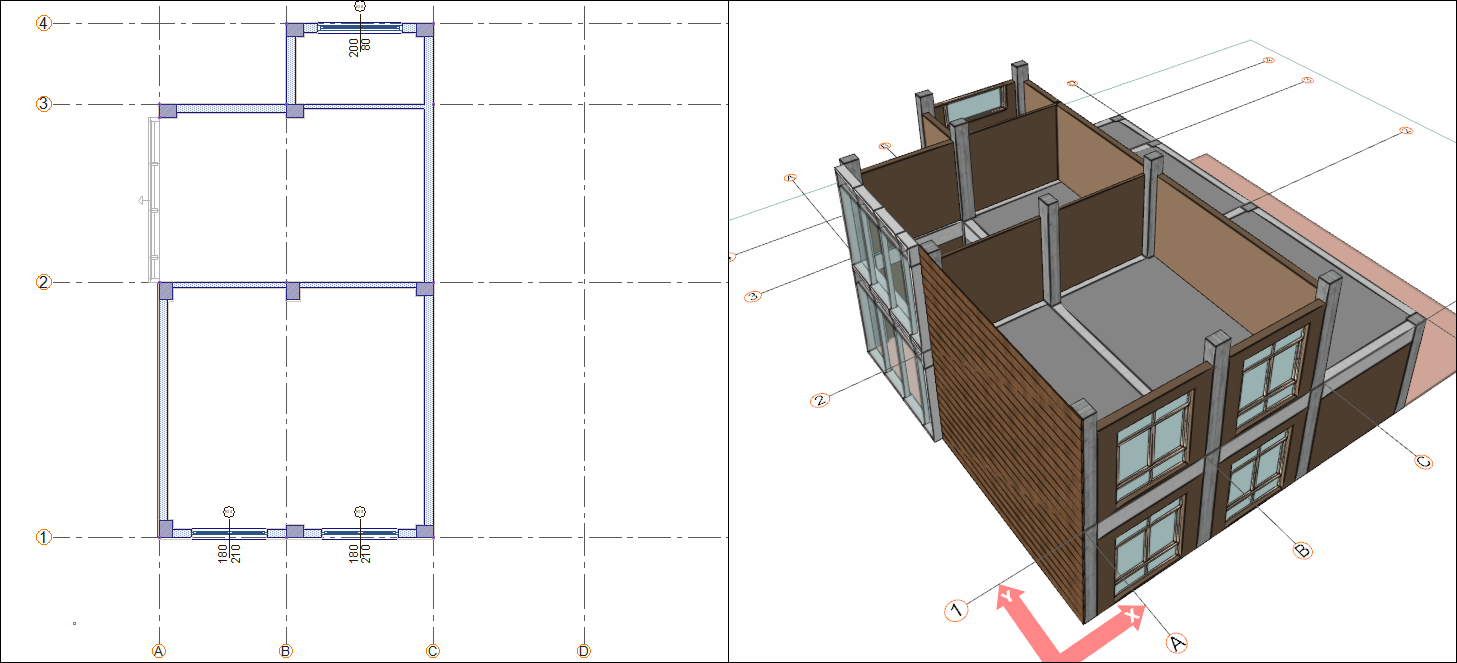
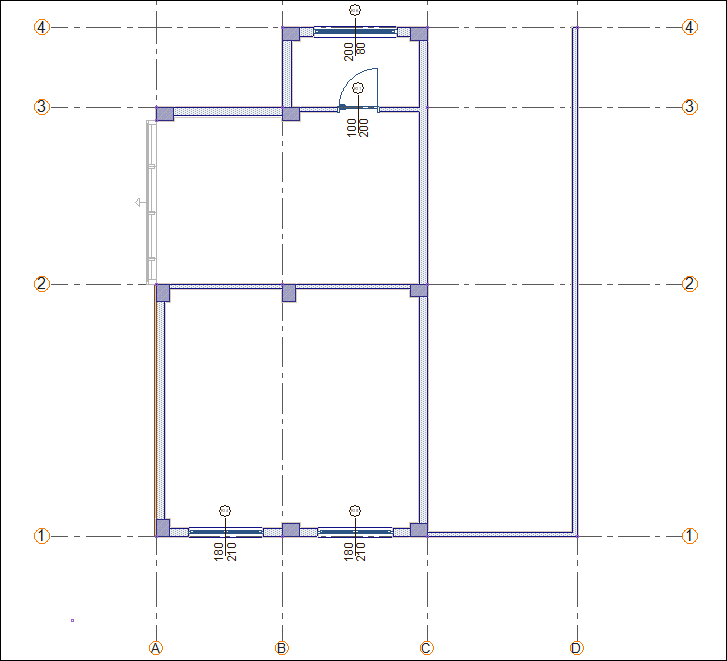
Click on the D-4 axis intersection. The wall will be formed.
-
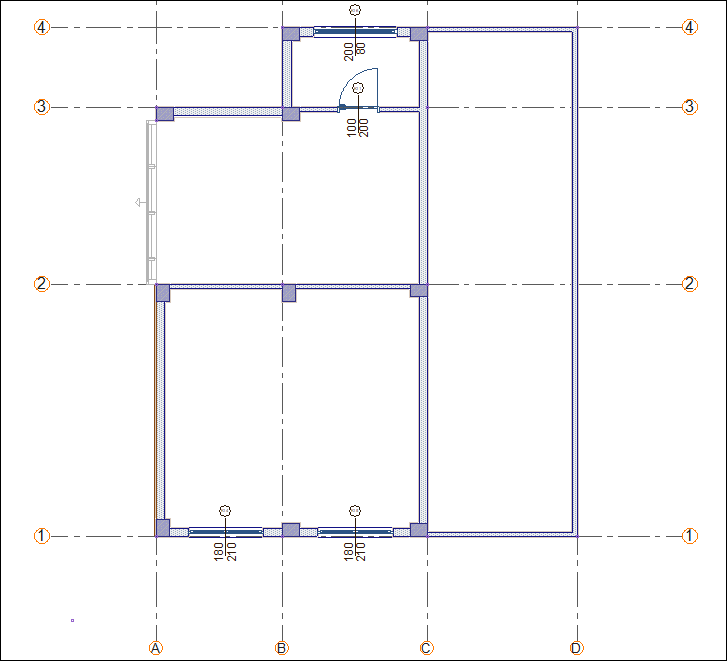
Click on the C-4 axis intersection. The wall will be formed.
-
Press the Esc key on the keyboard and exit the command. The upper story walls have been completed.
Follow the steps of the video below.
Next Tutorial