
With the Raster Image command, image files in different formats are added to the story, drawing and layout windows in the project. ideCAD * .bmp, * .jpg, * .jpeg, * .tiff, * .png, * .tga, * .sgi, * .pcx, * .psd, * .cut, * .afp, * .ico, * .cur, * .ani, * .pcd, * .fpx, * .pbm, * .pgm, * .ppm, * .sct, * .ras, * .xpm, * .xwd, * .wfm, * .wpg supports formats.
Location of the Raster Image Command
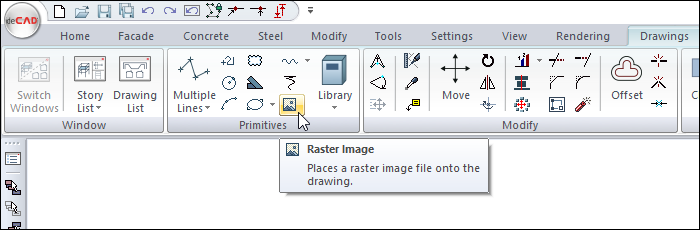
In the Architectural Program
You can access it under the ribbon menu Drawings tab, Primitives title
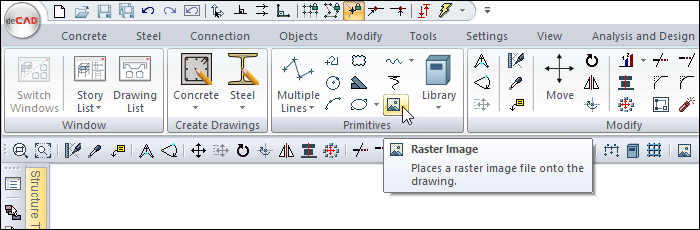
In the Structural Program
You can access it under the ribbon menu Drawings tab, Primitives title
Usage Steps
To paste a image in the drawing area:
-
Click the Raster Image icon in the ribbon menu .
-
If there is no image selected, the ideCAD will warn you. Clicking the OK button will open the Raster Image Settings dialog.
-
Click the Preview area or the Browse button from this dialog . Select an image file from the Load Image dialog that opens and click the OK button.
-
The selected image will be displayed in the preview area. Set the image sizes and click the OK button to exit the dialog.
-
The image frame with the mouse cursor will be displayed on the screen.
-
Click the point where you will paste the image with the left mouse button. The picture will be pasted in the drawing area.
The location of the pasted image can be changed using the move command. However, the picture cannot be rotated.
|
Usage step |
|---|
|
Selecting the image to be added by clicking Browse from the picture settings dialog 
|
|
Adjusting the settings in the picture settings dialog 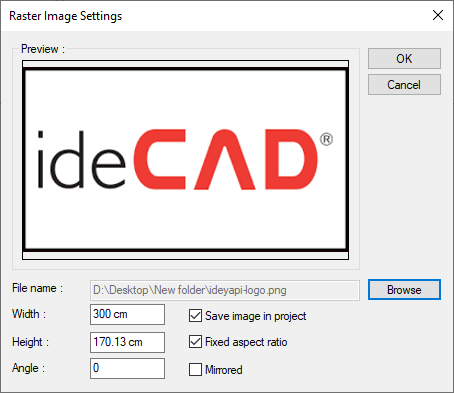
|
|
Creating a preview of the selected picture and determining its location 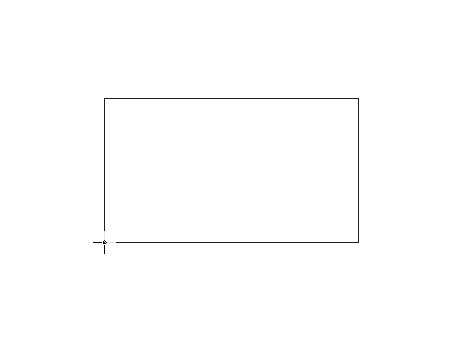
|
|
Adding the picture 
|
Picture Settings Dialog

|
Features and Descriptions |
|---|
|
Preview There is a preview of the image. |
|
File name It contains the file path of the selected image. With the Browse button, a different image is selected. |
|
Width The width of the image in the drawing area is entered. |
|
Height The height of the image in the drawing area is entered. |
|
Pain The angle of the image in degrees. When you want to rotate the image, a value is entered in this row. |
|
Save image in project If checked, the image will be stored in the project. With this option, when the project is saved, the image does not need to be in the external environment. It is stored within the project. If not checked, the image is not stored in the project. The ideCAD looks for the image in the folder to which it was added. When the project is taken to another computer, the image must be taken with it. |
|
Height is proportional to width If checked, the height of the image is adjusted according to the width entered, according to the original aspect ratio of the image. |
|
Symmetry If checked, the symmetry of the selected image will be taken. |
Next Topic