
With the slab command, concrete slabs of concrete design are created. In order to create a slab, slab boundaries must first be determined. The boundaries of slab are determined by beams, shearwalls or slab edges.
The elements forming the boundaries of the slabs should be connected to each other without errors, the area should be completely covered. Mistakes to be made at this stage result in the inability to create or erroneous creation of the slabs.
Location of Slab Command
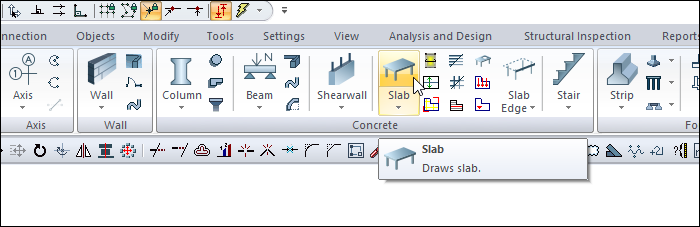
You can access it under the Concrete tab in the Ribbon menu , under the Concrete title.
Usage Steps
To define slab in the above area;
-
Click the Slab icon in the ribbon menu .
-
The slab toolbar will open.
-
Drag the mouse cursor over the enclosed area you want to create a tile. A preview of your slab will be created and its outer borders will appear in red.
-
Click the left mouse button. The slab text block will appear on the drawing area and a slab will be formed.
-
If you hold down the Ctrl key on the keyboard while placing the slab, the program will wait for you to locate the slab text block. The slab text block will not be placed in the upper left corner of the slab, but will be placed in a place you specify.
-
In this case, drag the mouse cursor to a suitable place and click the left button. The slab will be formed.
-
If other slabs are to be defined, do the same for that area. Otherwise, press the ESC key and exit the slab command.
|
Usage step |
|---|
|
The area to create the slab 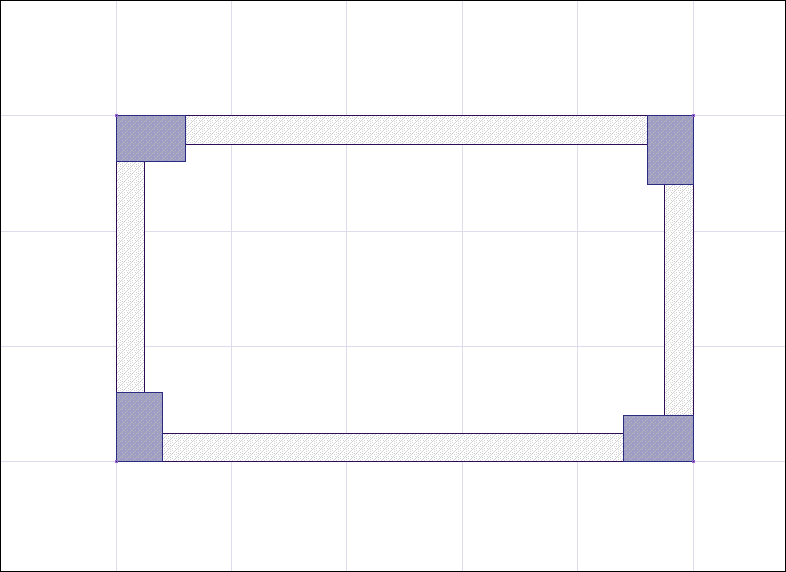
|
|
Moving the mouse over the area and creating a slab preview 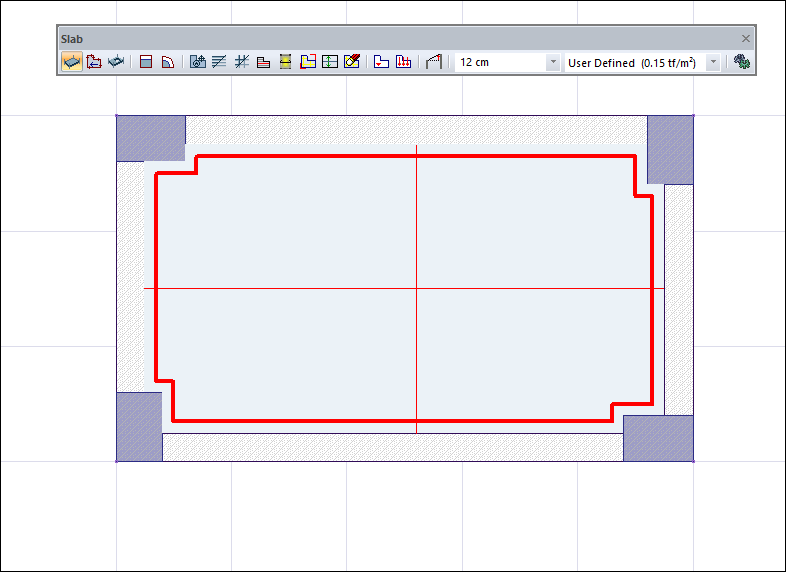
|
|
The formation of the slab 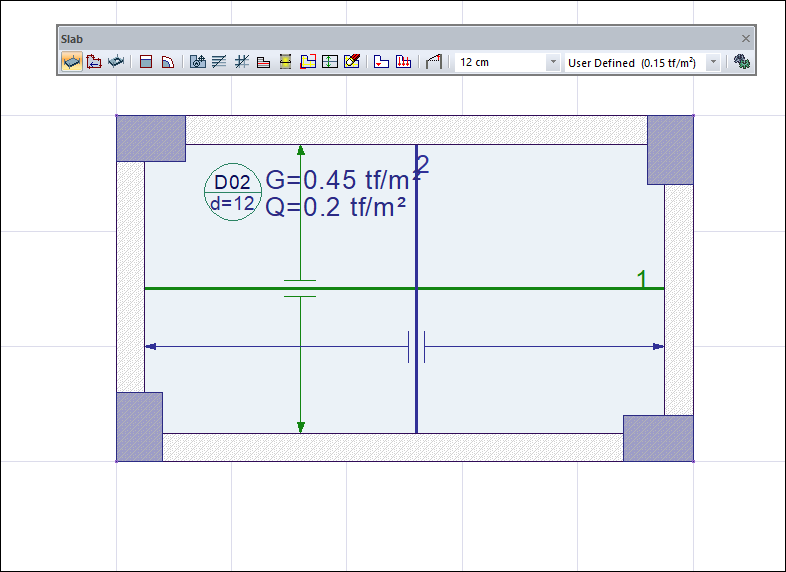
|
|
Slab creation by pressing the Ctrl key and placing the slab text in the desired place 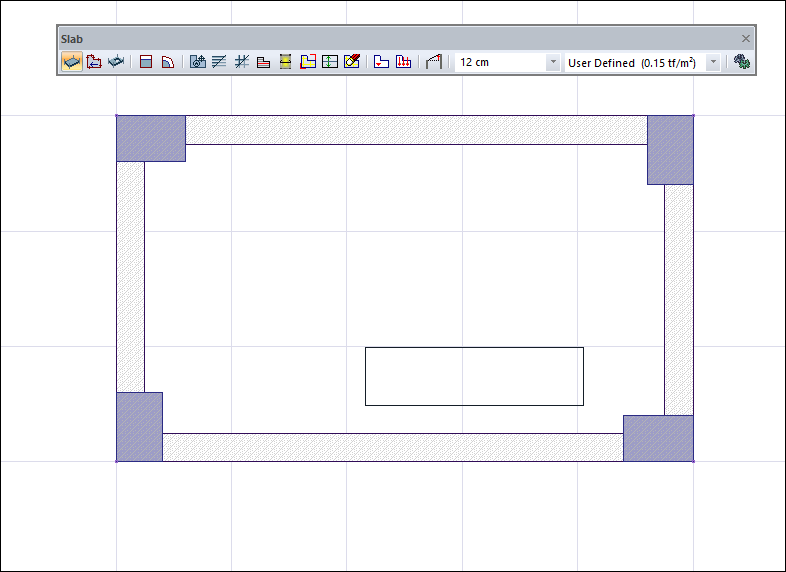
|
|
The formation of the slab 
|
Next Topic