
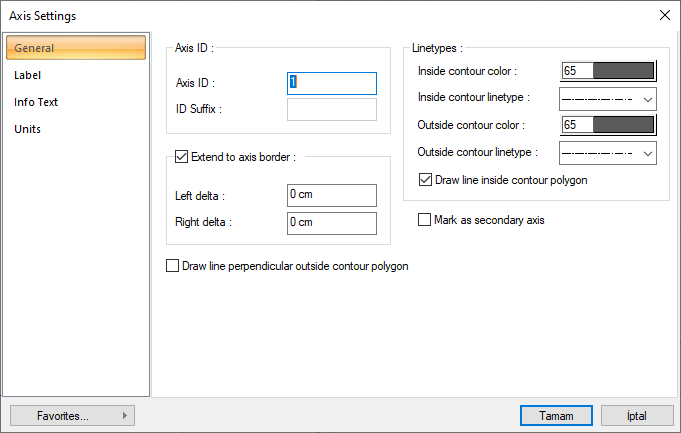
The Axis Settings dialog consists of four tabs: General, Label, Info Text , and Units . In each of these tabs, there are parameters related to the axis, such as the axis name, line color and type, label and text color that can be changed by the user.
Location of Axis Settings Dialog
Axis is also available in the axis toolbar that appears after the axis command is run.

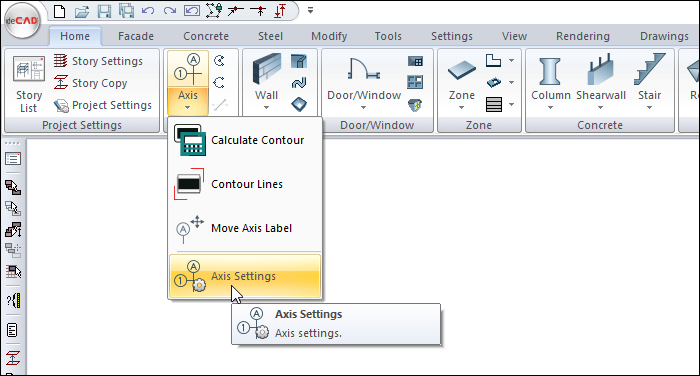
In the Architectural Program
You can access it under the ribbon menu, Home tab, Axis heading.
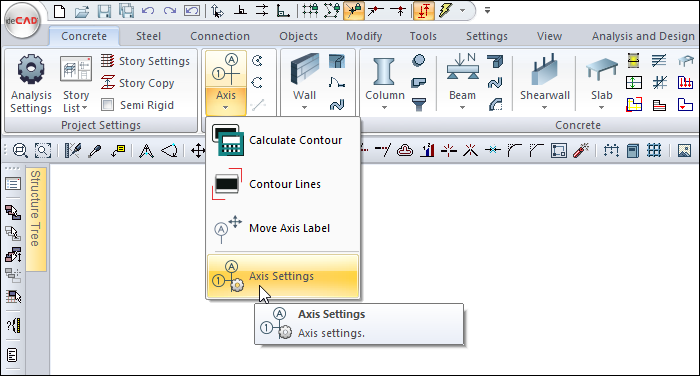
In the Structural Program
You can access it under the ribbon menu, Concrete tab, Axis heading.
General Tab
|
Specifications |
|---|
|
Axis ID and ID suffix 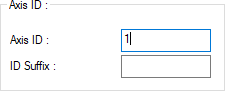
The name of the axis is the name of the axis that appears in the circle in the plan. The character entered in the suffix line is added to the end of the axis name. For example: If 1 is entered additionally, A axis is named as A1, B axis as B1, and 1 axis as 11. This parameter can be used when adding intermediate axises to the project (such as B1 or B 'axis when adding a new axis between B and C axises). |
|
Extend to axis border 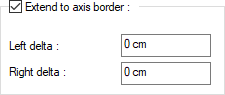
If the option is selected, the axis lengths are automatically drawn by the program according to the "Contour lines" and "Axis border" layout. The ends of the axises that intersect the contour line are extended to the "Axis border" determined according to the contour line. "Left delta" and "Right delta" values are used to lengthen or shorten the left or right end of the axis. A negative value indicates that the related end of the axis will be shortened, while a positive value will lengthen. |
|
Linetypes 
Line types and line colors can be assigned separately for inside and outside the contour parts of the axis with the inside and outside line type parameters. If the "Draw line inside contour polygon" option is checked, the axis is drawn within the contour, with the inline contour type properties. Otherwise, the part of the axis within the contour is not drawn. |
|
Draw line perpendicular outside contour polygon It ensures that the part outside the contour is drawn straight on the axises with an incline. |
|
Mark as secondary axis When the secondary axis is marked, it does not appear in the mold and application plans. |
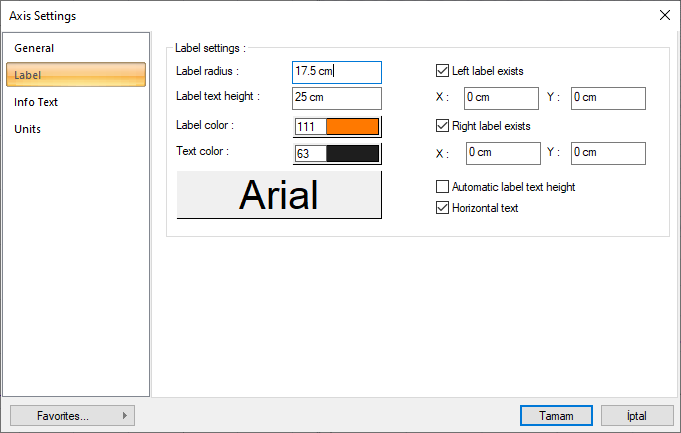
Label Tab
|
Specifications |
|---|
|
Label radius The radius of the axis label circle is entered. |
|
Label text height Label is the height of the post. If the automatic label height is marked, the program automatically determines the label circle radius. When the name text is double-character, the tag height is automatically reduced to half. If the automatic label height is not marked, the program does not interfere with the label height. In this case, it should be checked by the user whether the texts extend beyond the label circle or not. |
|
Label color The axis is the color of the circle. By clicking and holding down the button with the left mouse button, the color palette is scrolled and the selection is made. |
|
Text color and font 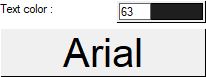
It is the color of the axis circle lettering. By clicking and holding down the button with the left mouse button, the color palette is scrolled and the selection is made. To set the font, click the Text box. The selection is made from the screen that opens. |
|
Left label exist, right label exist 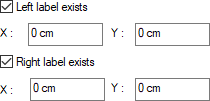
Labels consist of label circle and name text located at the left and right ends of the axises. If no label is wanted for any of the axis ends, the relevant box is unchecked. If both boxes are left blank, the axises to be drawn will be without labels. |
|
Left and right label location
They are the X and Y coordinates of the axis labels according to the axis ends. The coordinate information used here is relative to the axis end. The direction of the axis is the X axis and it is perpendicular to it. The entered coordinate information is the distance of the center point of the axis label circle to the axis end. |
|
Automatic label text height If it is marked, if the articles written inside the axis circle do not fit into the axis circle, the article is automatically reduced. In this case, the height of the label is not affected. If the line is not marked, label radius and label height can be changed separately. |
|
Horizontal text If this box is checked, the axis names will always be parallel to the horizontal X axis. If it is not marked, the name letters are written in the axis itself. |
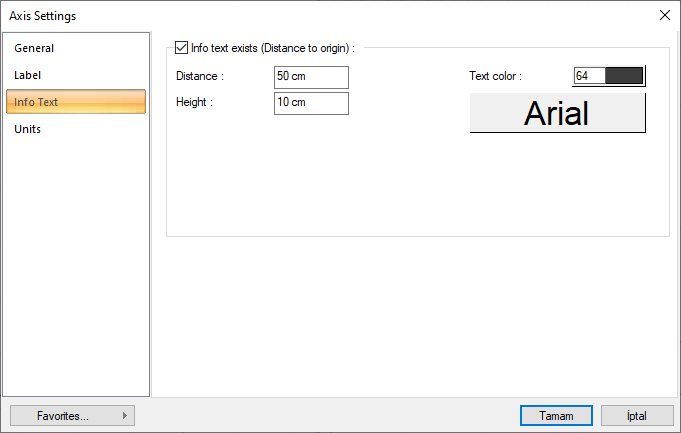
Info Text Tab
|
Specifications |
|---|
|
Info text exist (Distance from origin) 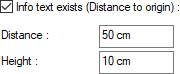
The information text is the text on the left ends of the horizontal and vertical axis, showing the distance of the axis from the X or Y axis. If the option is selected, the information text is located on the axis. The distance determines how far the letter of interest will be from the axis line. Determines the size of the height calligraphy. |
|
Text color and font 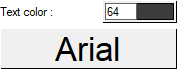
It is the color of the knowledge writing. By clicking and holding down the button with the left mouse button, the color palette is scrolled and the selection is made. When the button just below this parameter is clicked, the "Font Settings" dialog appears. Font of information text can be set here. |
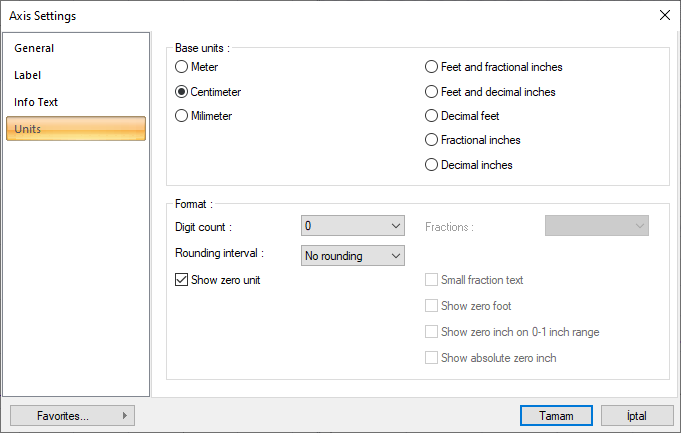
Units Tab
|
Specifications |
|---|
|
Basic units 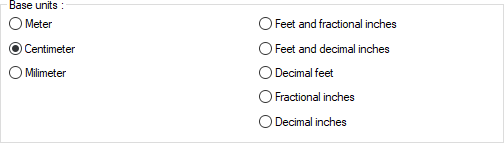
One of the selections is activated by clicking the left mouse button on the job. Meter : If checked, the unit of information text will be meters.
|
|
Digit count 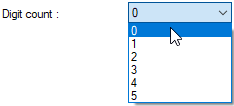
It determines how many digits will be shown after the comma. The desired number is selected from the list. For example, if 2 is selected, units will be shown as two digits after the comma. If 0 is selected, units will not be shown after the comma. |
|
Fractions 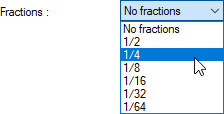
It determines the precision of the dimension to be made in fractional inch format. In the list, there are options with a sensitivity of 1/2, ¼, 1/8, 1/16, 1/32, 1/34. If "no fraction" is selected, units will appear without fractions. |
|
Rounding interval 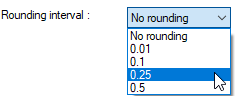
It determines the rounding range of the measurement to be made in meters, centimeters or millimeters. If No rounding is selected, the dimensioning is done at exact value. As the range gets larger, the dimensioning is rounded up to the selected range. |
|
Show zero unit If it is not checked, it does not show the zero and point on the left in dimensioning. For example, it measures 0.20 as 20. If marked, the value 0.20 is scaled as 0.20. |
|
Small fraction text When fractional inch format is selected, determines the fractional part to display in upper / lower case. If it is checked, the fraction is slightly above the integer and small, if not, the fraction is shown the same size next to the integer. |
|
Show zero foot Determines whether 0 is displayed in the 0-foot gauge (less than 1 foot gauge). For example, if it is not checked, it will show a measure of 0 '- 15 "as -15". If marked, it shows as 0'-15 ". |
|
Show zero inch on 0-1 inch range For example, a dimension inch with a value of 8'-0 1/6 "is in the range 0-1. If the option is not ticked, the value 8'-0 1/6" will be displayed as 8'-. In other words, inch values in the 0-1 range will not be displayed. |
|
Show absolute zero inch Determines whether to show zero inches in the dimension value where inches is absolute zero. For example, a dimension of exactly 10 'will be displayed as 10'-0 "if this option is selected. If not checked, it will be displayed as 10" -. |
Next Topic