
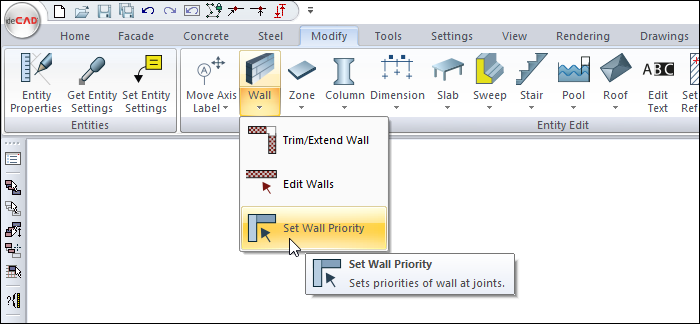
The Set Wall Priority provides the connection priority of two or more walls that connect at a point. Wall connection groups are determined. Walls with the same number are connected within themselves. Different numbered walls do not connect. Walls with different wall priority numbers are drawn separated from each other.
Location of Set Wall Priority Command
You can access it from the Ribbon menu Modify tab under Entity Edit title.
You can also access the toolbar on the left side of the program.

Usage Steps
-
Click the Set Wall Priority icon.
-
Move the mouse pointer closer to a joint where walls intersect.
-
Numbers will appear on the wall. If not changed before, the priority number of the walls connected to the node will appear as 1 (one).
-
Click on one of the walls whose priority you want to change with the left mouse button.
-
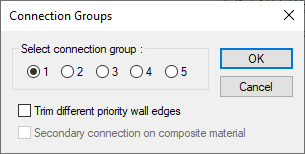
The Connection Groups dialog will open.
-
Select one of the priority numbers specified in this dialog and click the OK button to exit the dialog.
|
Usage step |
|---|
|
Set wall priority before 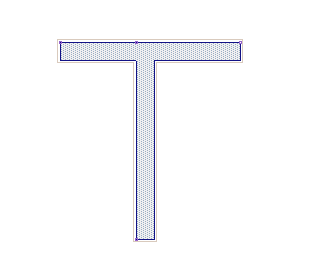
|
|
Mouse closer over wall intersection 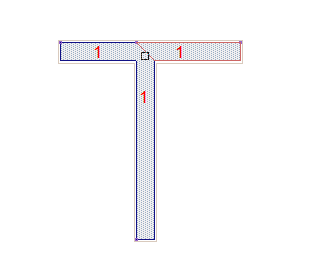
|
|
Selecting the wall to change priority 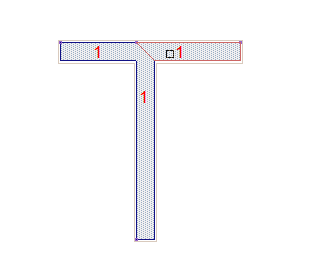
|
|
Priority determination 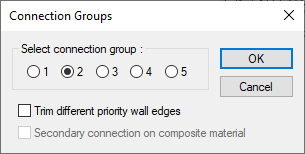
|
|
Set wall priority post 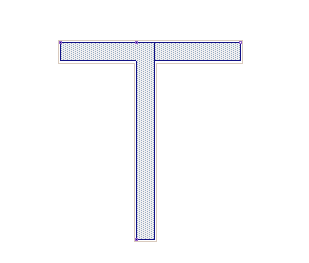
|
Connection Groups Dialogue
|
Specifications |
|---|
|
Select connection group The number is selected for the connection group. |
|
Trim different prioriyy wall edges By checking the option, wall edges with different priority are trimmed. |
|
Secondary connection on composite material It becomes active if there is a wall with composite material. |
Next Topic
Related Topics