
In this section create axes to aid in project drawing.
|
Previous steps have been implemented in the project file named Create the axes. You can download the file and follow the steps given in this title on the project. |
-
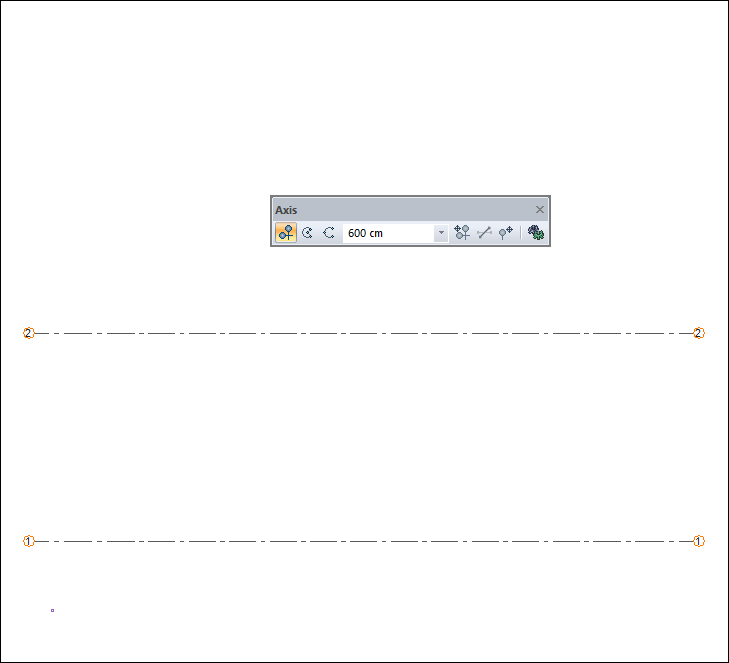
Click on the axis command. A horizontal axis preview will appear.
-
Click a point on the origin point to place the first axis. Axis will be formed.

-
Enter the value 600 in the axis toolbar for the second axis and click the axis offset icon on the toolbar. Axis will be formed.
-
For the third axis, enter the value 420 in the axis tollbar and click the axis offset icon on the toolbar. Axis will be formed.

-
Enter the value 190 in the axis toolbar for the fourth axis and click the axis offset icon in the toolbar. Axis will be formed.

-
Press the space key of the keyboard for vertical axis. The vertical axis preview will appear.
-
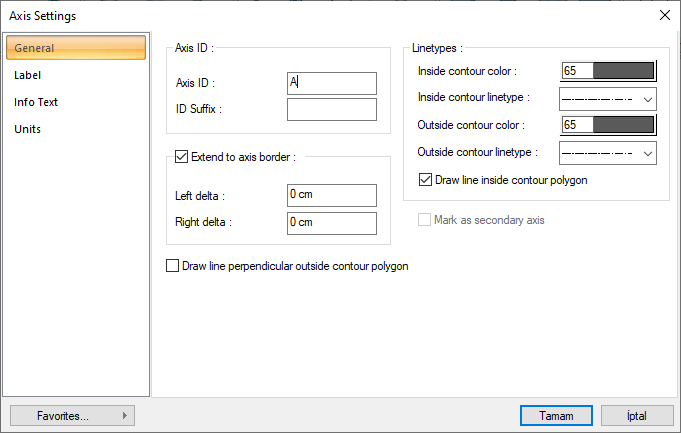
Click the settings icon from the axis toolbar.
-
Change the axis id to A in the Axis Settings dialog. Click the OK button to close the dialog.
-
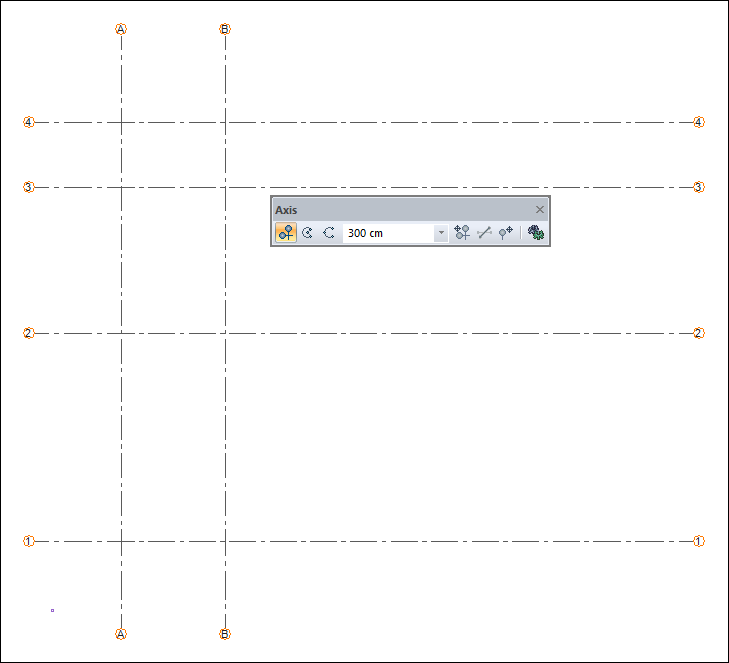
Click on a point to place the first axis. Axis will be formed.

-
For the second axis, enter the value 300 in the axis toolbar and click the axis offset icon on the toolbar. Axis will be formed.
-
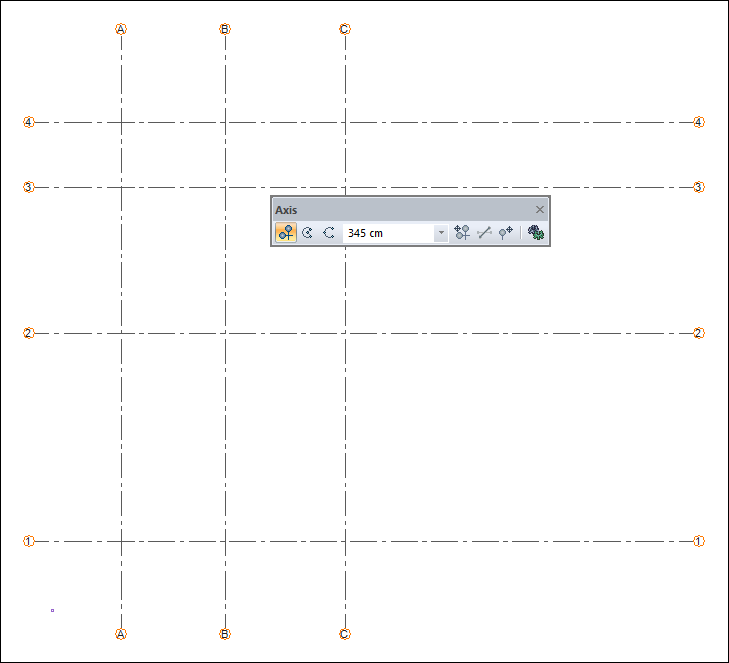
For the third axis, enter the value 345 in the axis tollbar and click the axis offset icon in the toolbar. Axis will be formed.
-
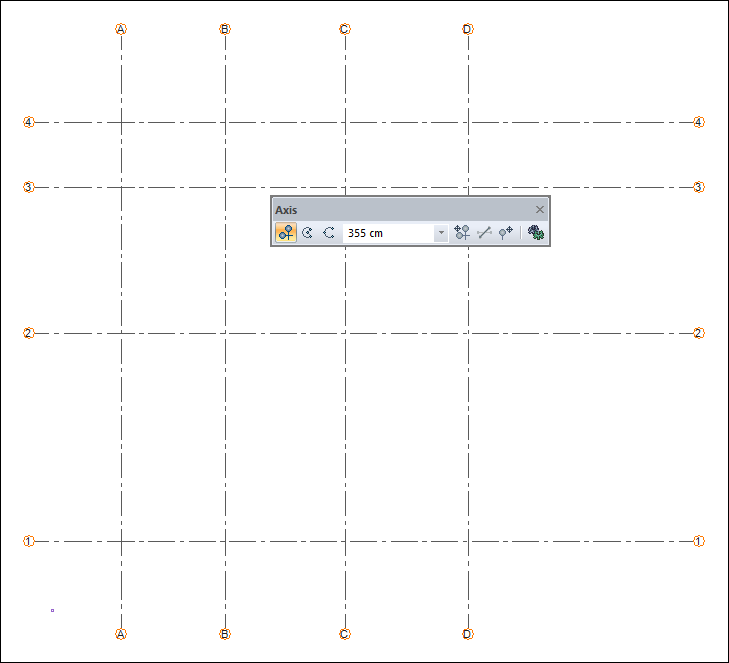
For the fourth axis, enter the value 355 in the axis tollbar and click the axis offset icon in the toolbar. Axis will be formed.
-
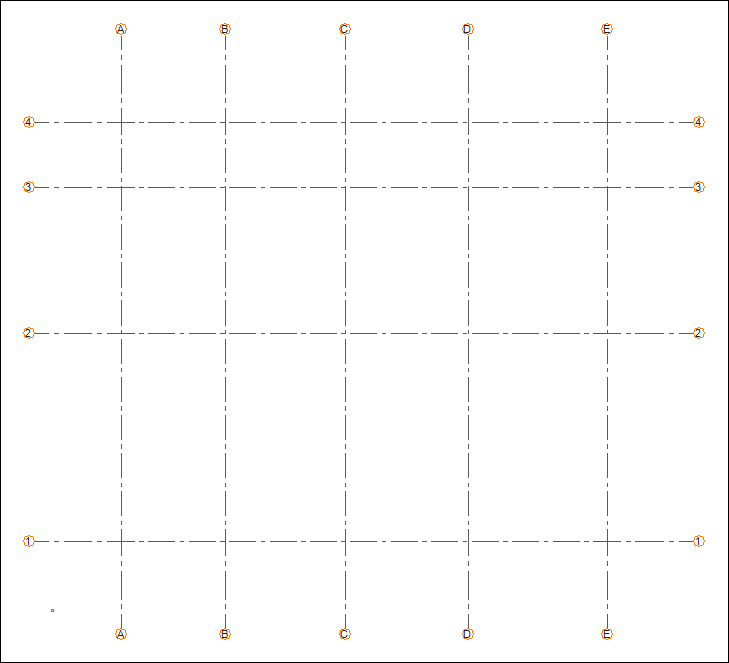
For the fifth axis, enter the value 400 in the axis tollbar and click the axis offset icon on the toolbar. Axis will be formed.

-
Exit the axis command by pressing the Esc key on the keyboard.
Follow the steps of the video below.
Next Tutorial