
With the Reinforcement Shearwalls command, a reinforcement shearwall can be drawn, or existing shearwalls can be converted to reinforcement shearwalls.
Reinforcement Shearwall Command
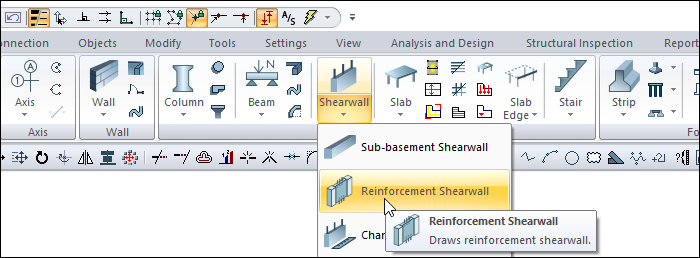
Location of the Reinforcement Shearwall Command
You can access it from the ribbon menu under the Concrete tab, Concrete heading.
Usage Steps
-
Click the Reinforcement Shear Wall icon.
-
The shear wall toolbar will open.
-
From the toolbar, click the Settings command. In the General Settings tab, enter the Top Elevation value equal to the existing beam depth.
-
For example, if the beam depth is 50 cm, the top elevation should be entered as –50 cm.
-
In the drawing area, left-click the column–beam joint node. This point will serve as the starting point of the strengthening wall.
-
As you move the mouse, a preview of the strengthening wall will follow the cursor.
-
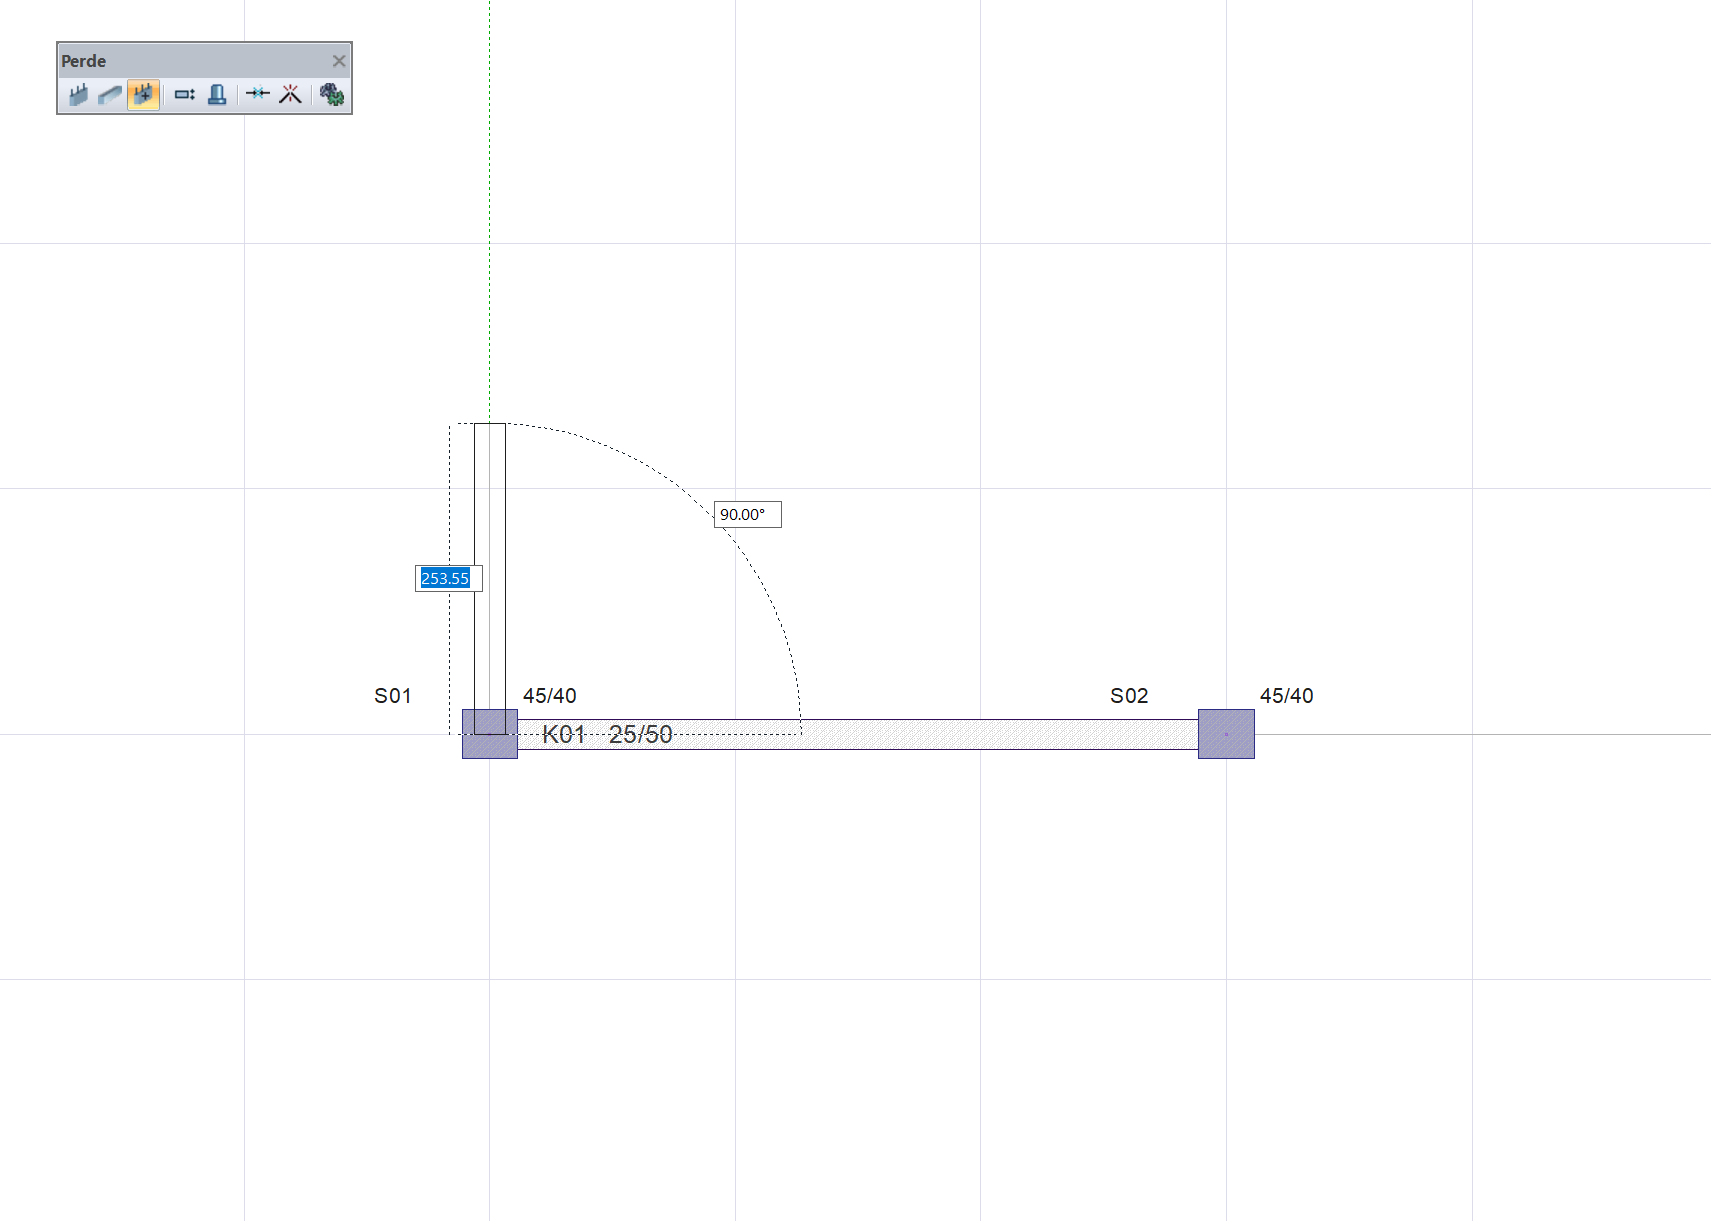
By holding the Shift key, you can restrict the strengthening wall to be drawn only at 0° or 90° orientations.
-
By clicking the Offset button in the shear wall toolbar or pressing the Space key, you can define the strengthening wall with different reference points (bottom corner, midpoint, or top corner).
-
Each time you press the Space key, the offset reference will change.
-
After defining the first point of the strengthening wall, left-click the second column–beam joint node in the drawing area to define the second point.
-
When you left-click, the preview of the strengthening wall will be completed. The program will then display a preview for the next strengthening wall.
-
Press the Esc key to exit the command and finalize the strengthening wall.
|
İşlem adımı |
|---|
|
Definition of the column–beam system where the strengthening shear-wall will be placed 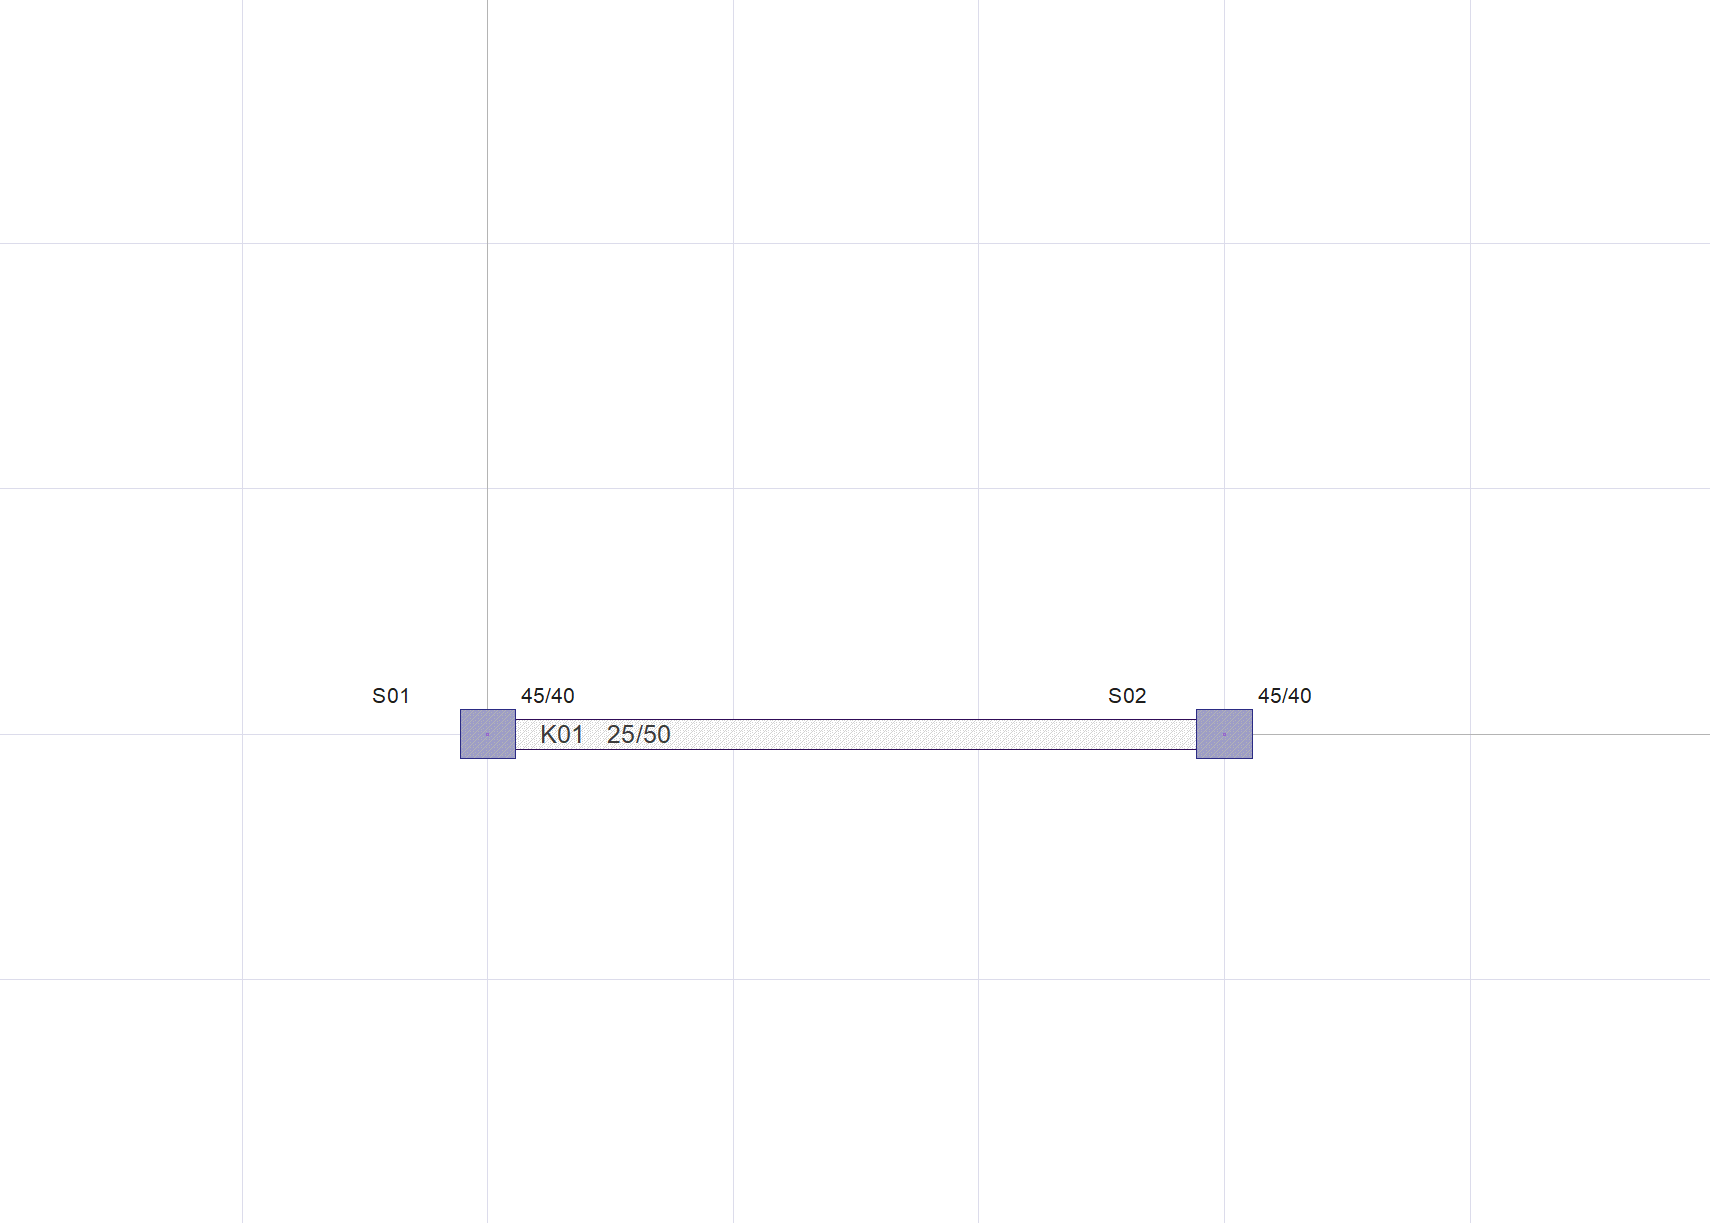
|
|
Adjustment of the strengthening shearwall’s top elevation according to the existing beam depth 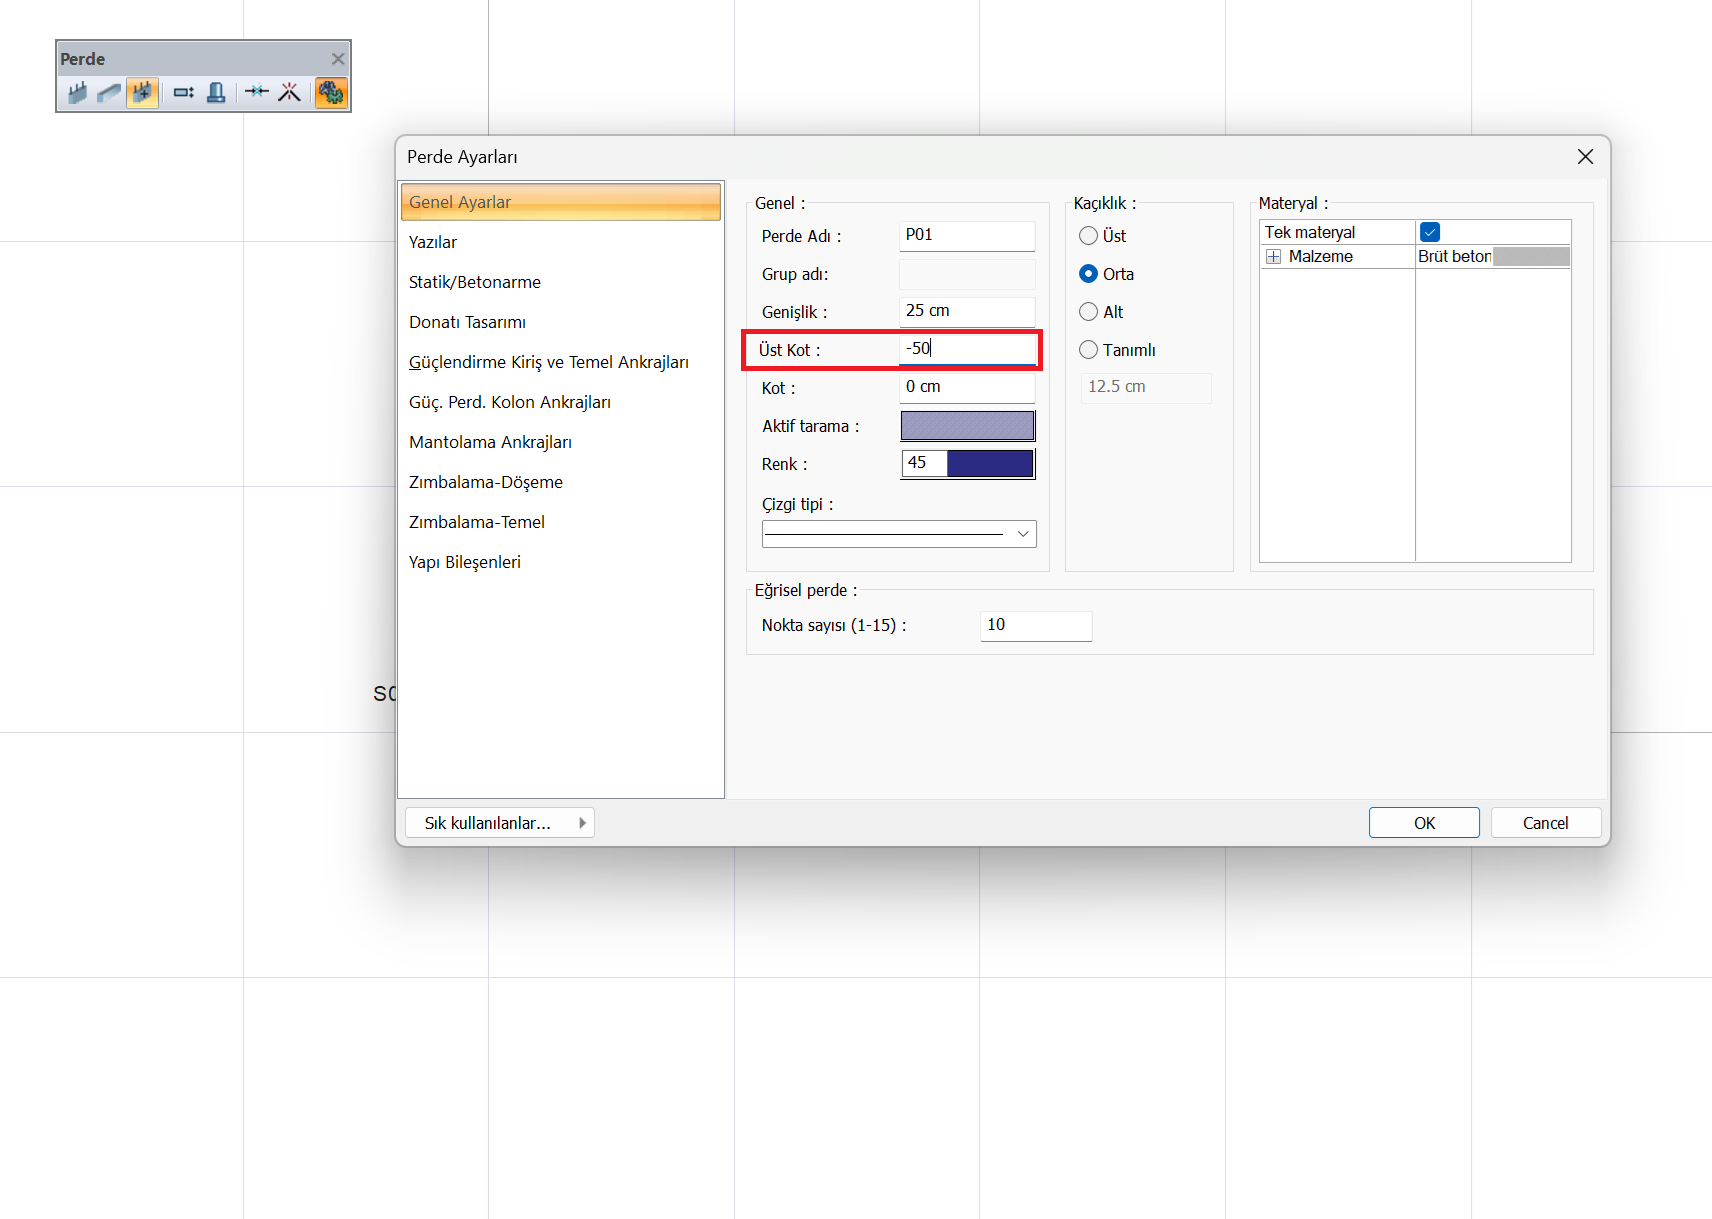
|
|
Definition of the starting point of the wall 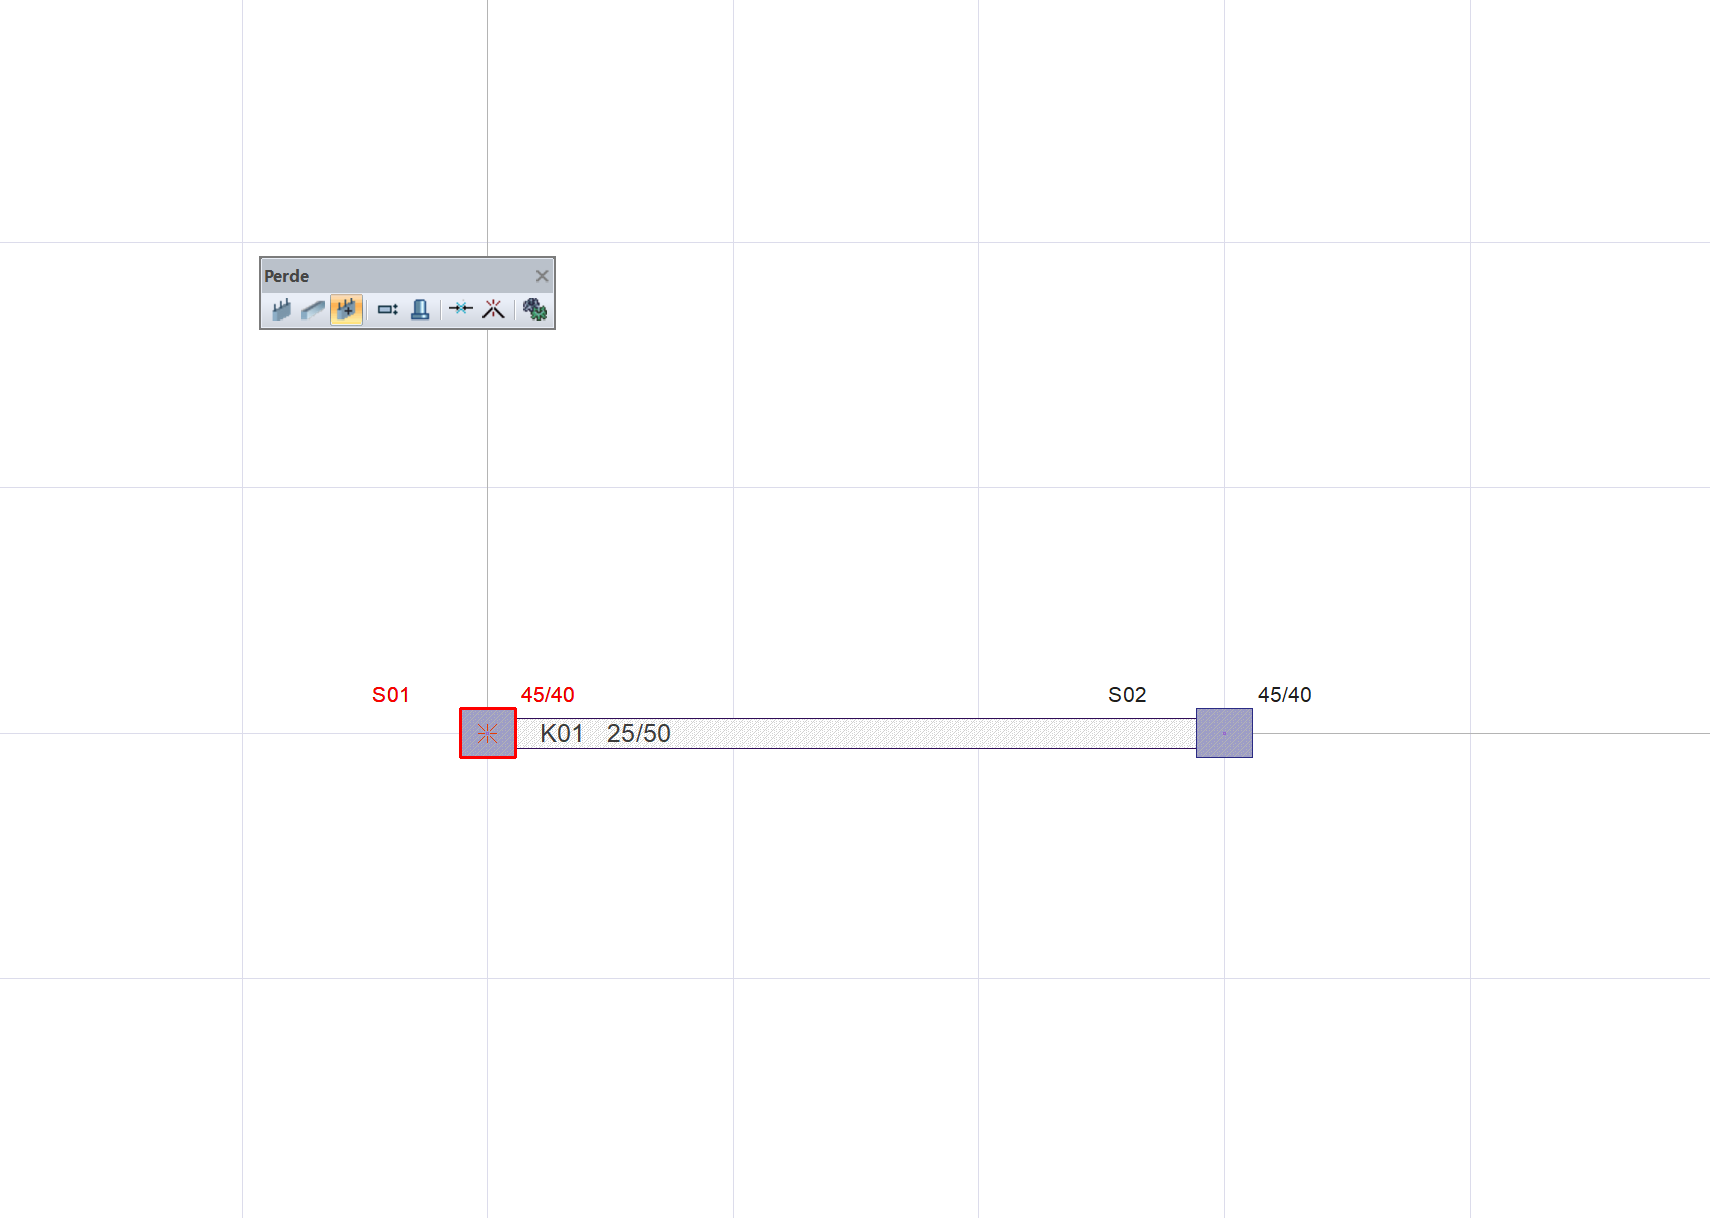
|
|
Modification of the wall geometry based on mouse movement 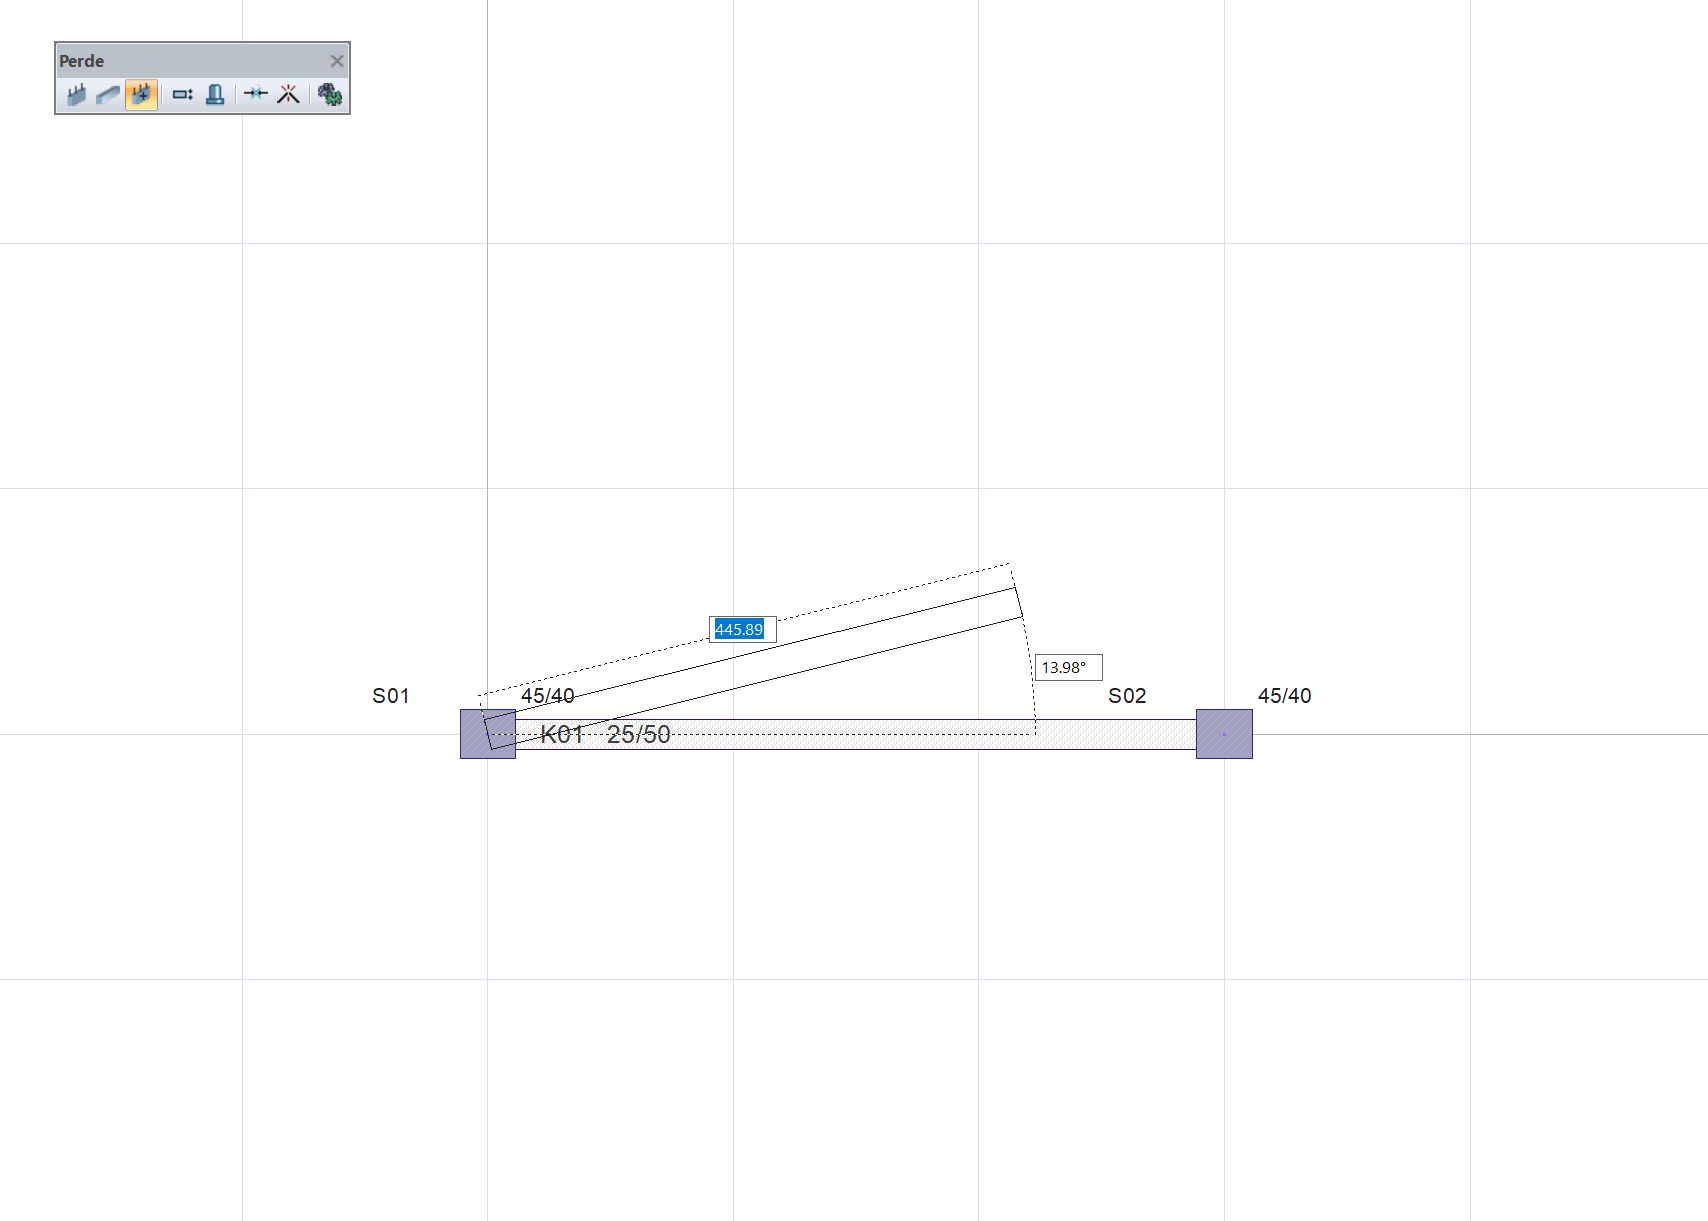
|
|
Drawing the wall only at 0° or 90° by holding the Shift key 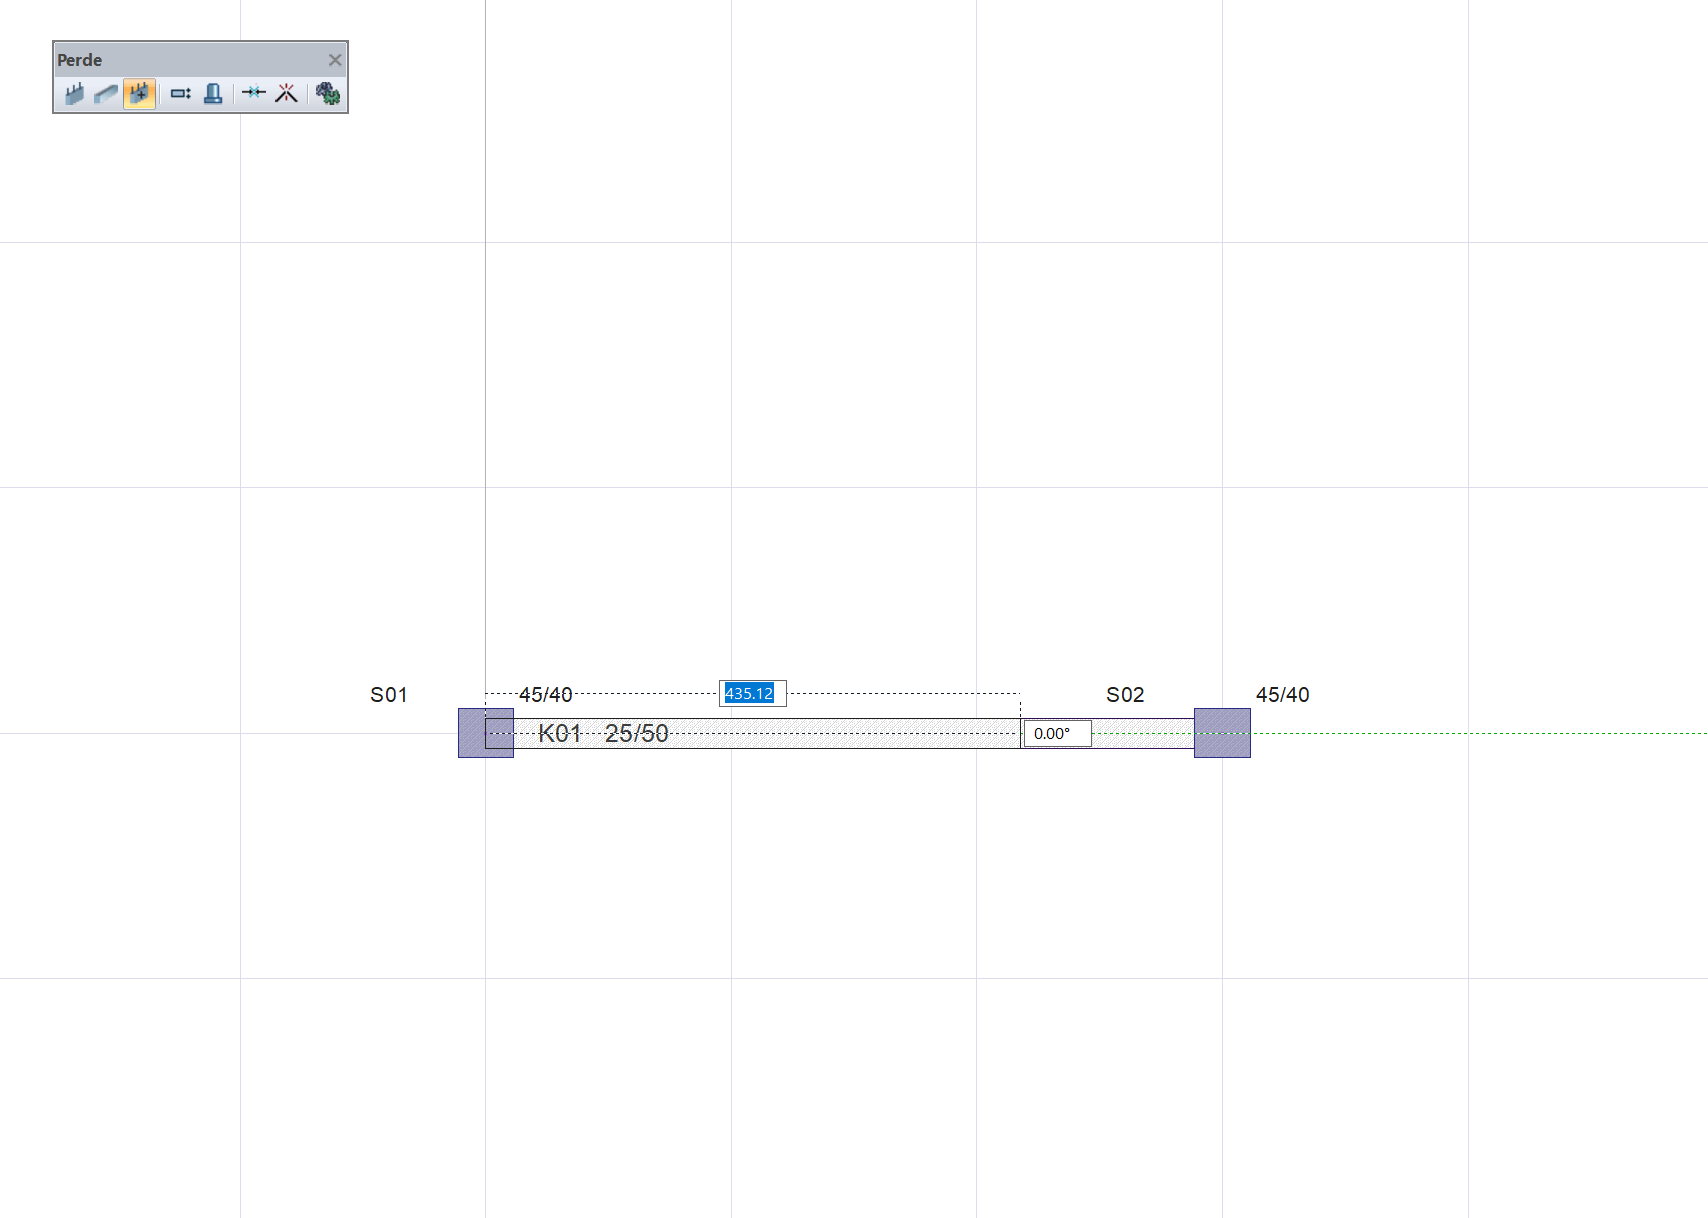
|
|
Changing the offset reference by pressing the Space bar key 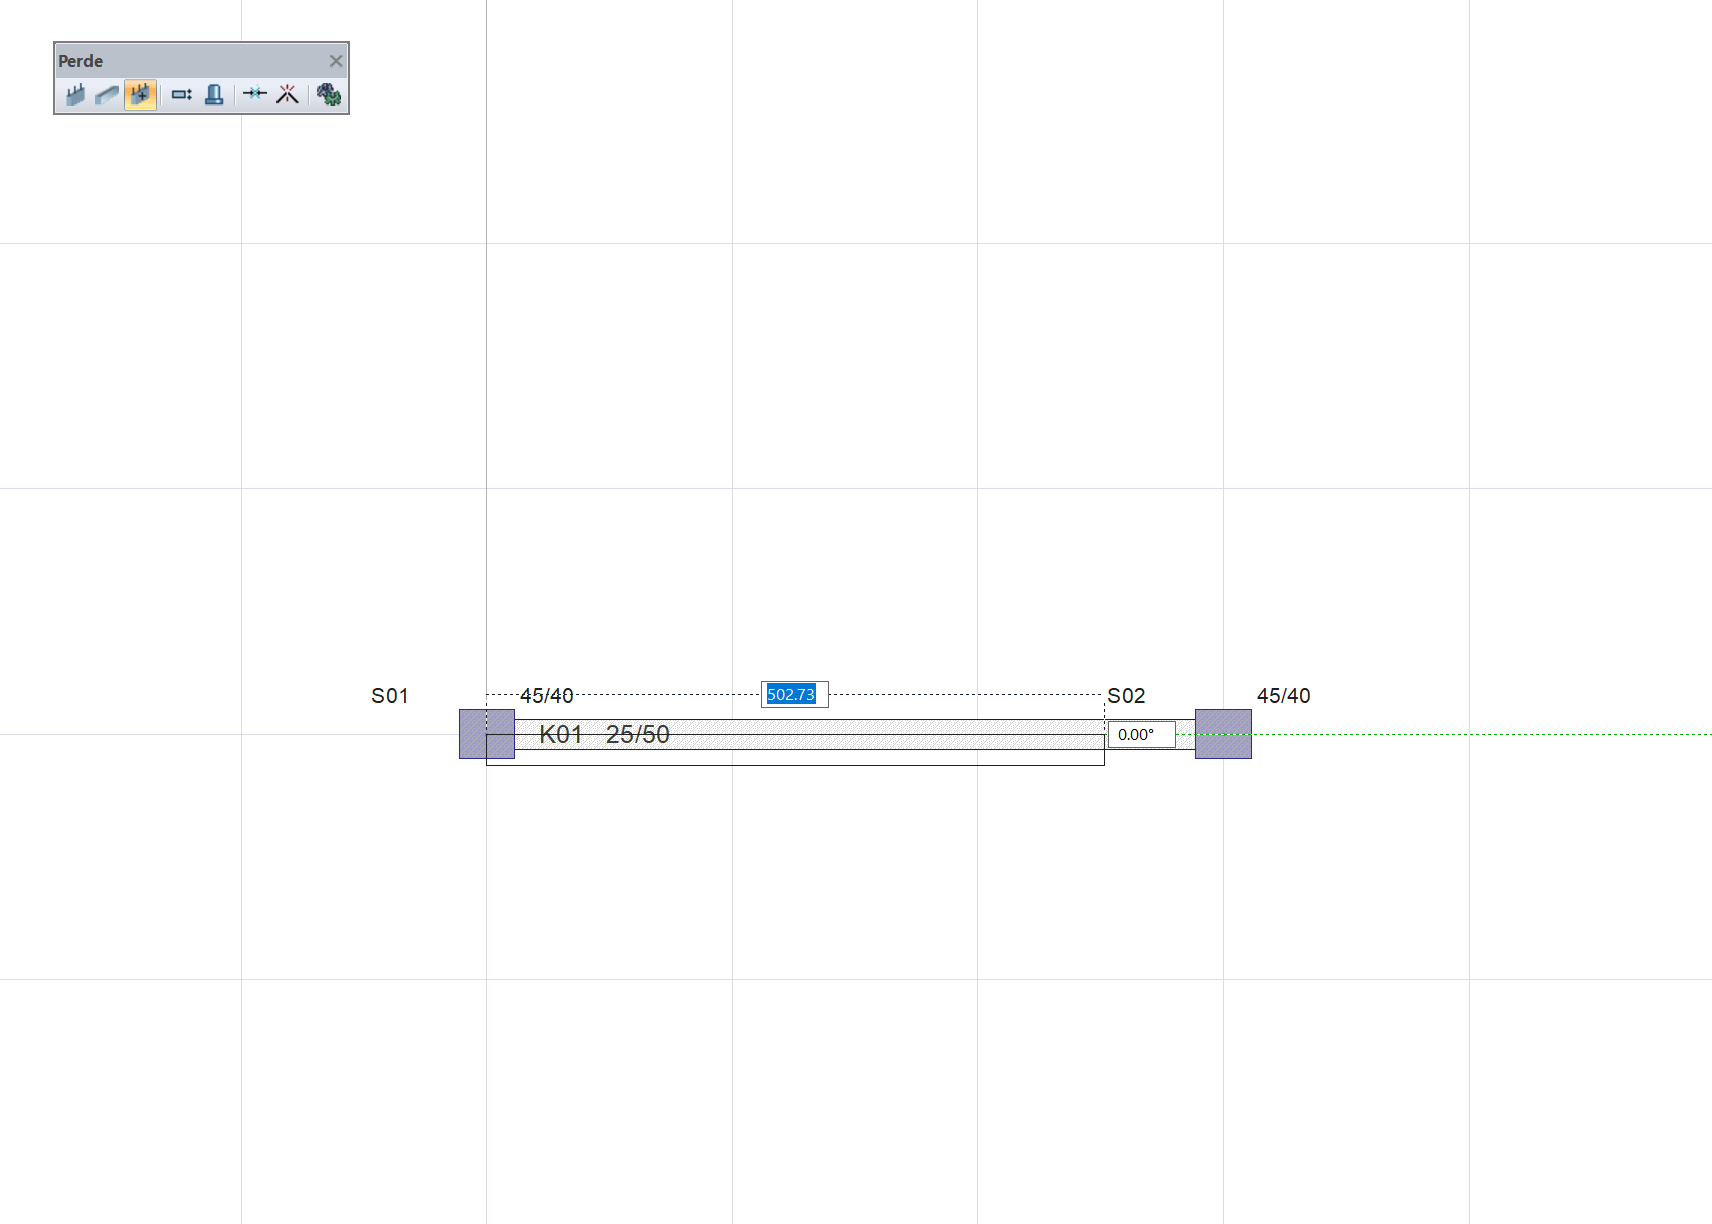
|
|
Creation of the wall’s end point and generation of the next wall preview 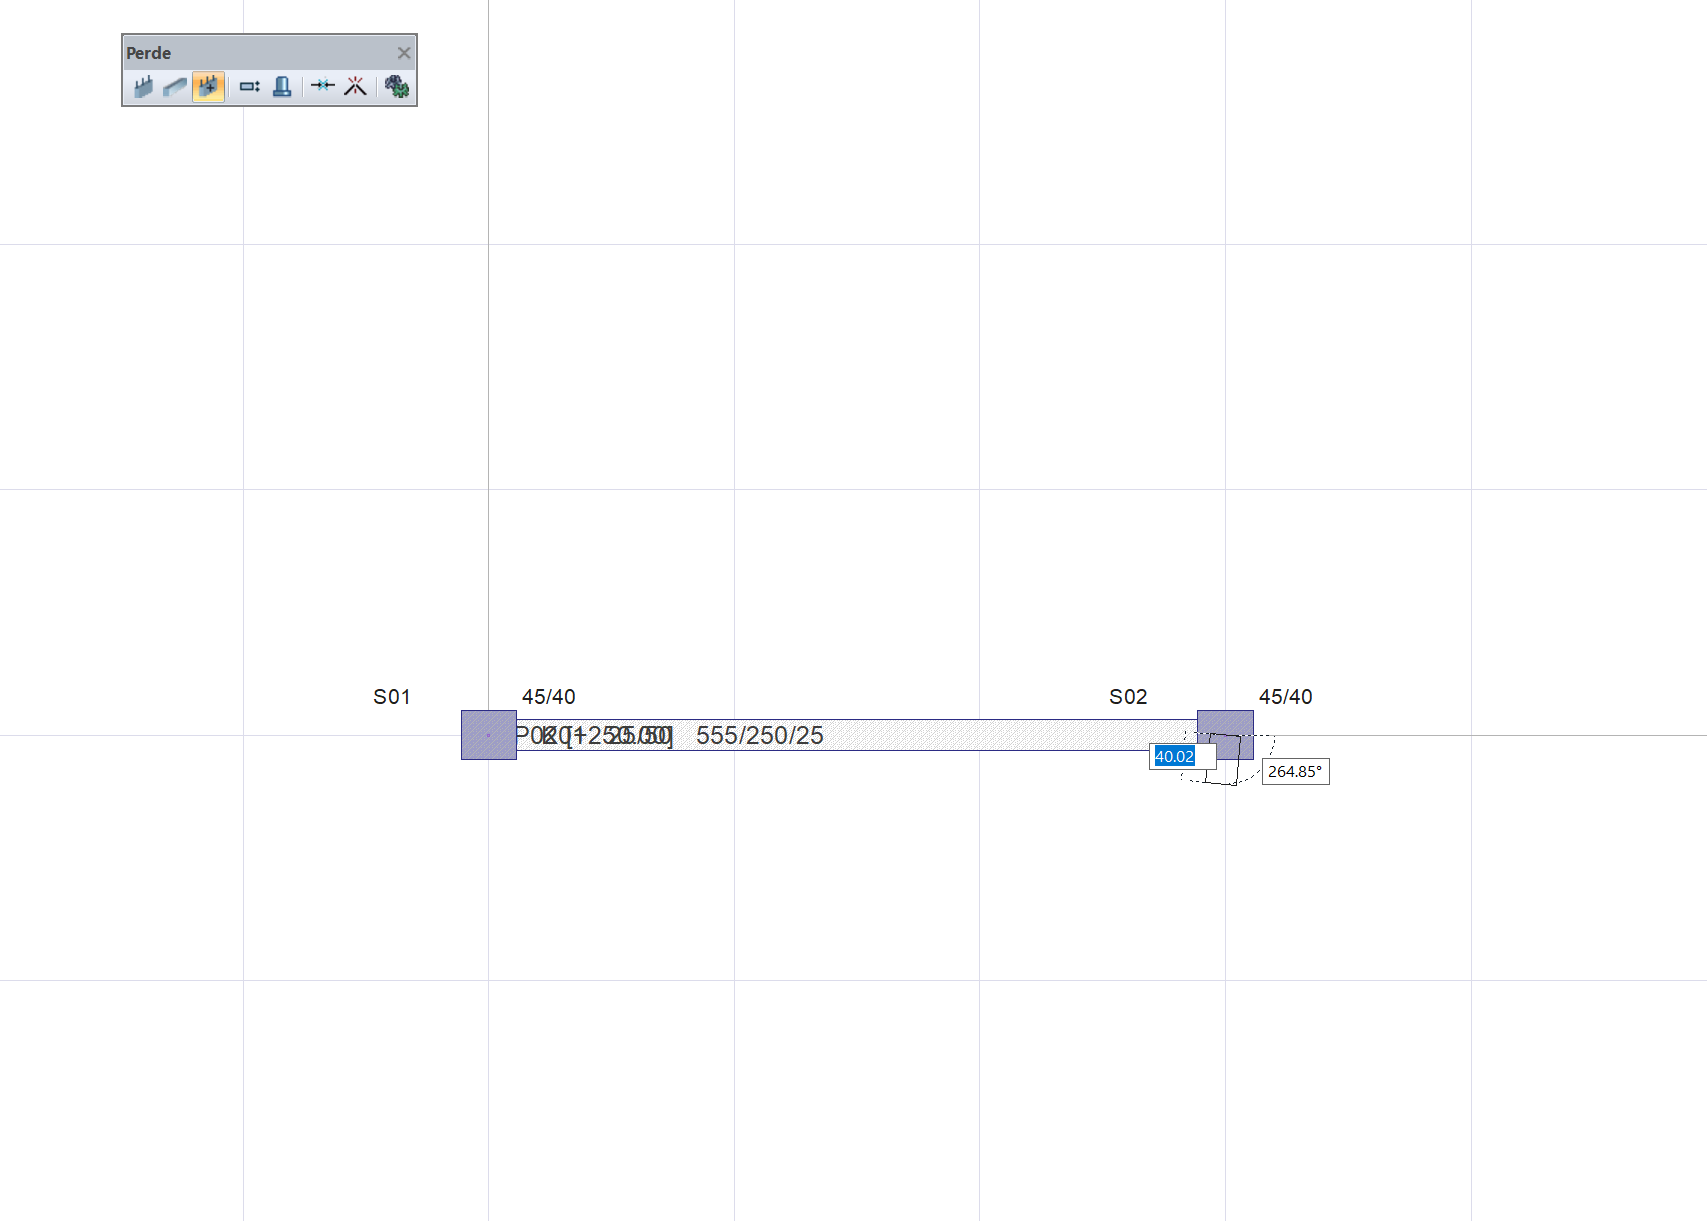
|
|
Completion of the wall-definition process by pressing the Esc key 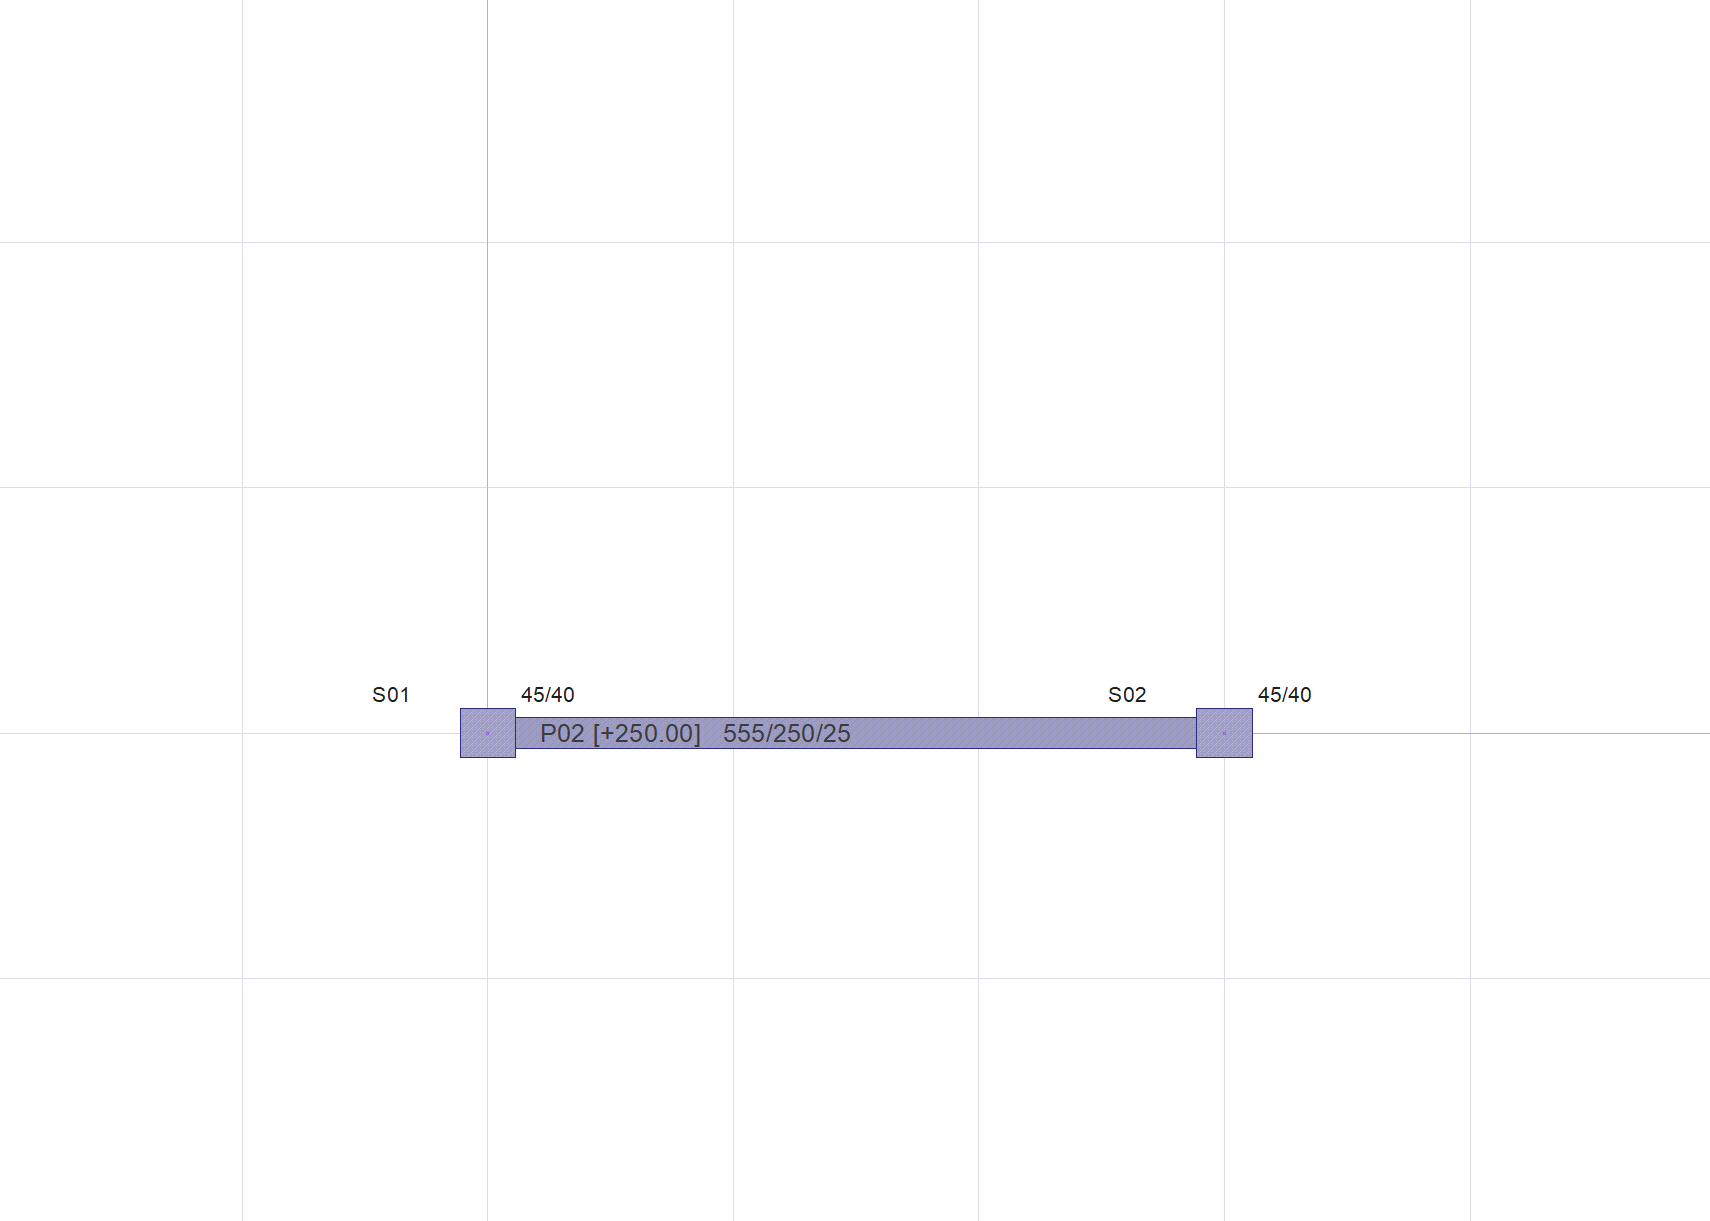
|
Converting Existing Shearwalls to Reinforcement Shearwalls
Location of Reinforcement Shearwall Feature
You can access the Reinforcement Shearwall feature from the Reinforcement Design tab of the shearwall settings dialog.
Usage Steps
-
Double-click the shearwall you want to convert to a reinforcement shearwall with the left mouse button.
-
The shearwall settings dialog will open.
-
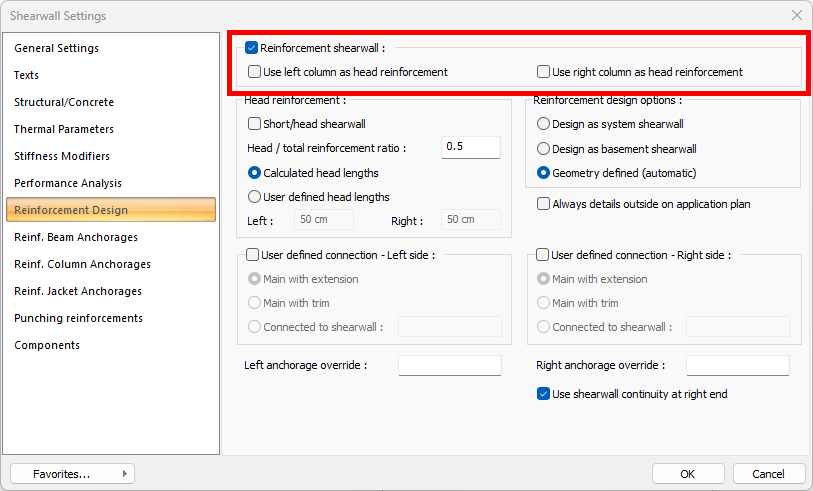
Click the reinforcement design tab.
-
Check the reinforcement shearwall option and make the head selections.
-
Click the OK button to close the dialog.
-
Your current shearwall will become a reinforcement shearwall.
Next Topic