
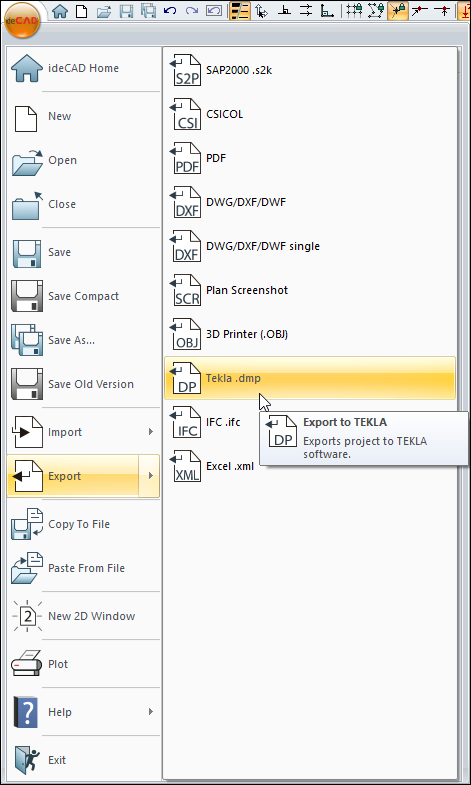
The model studied at any stage of the project is transferred to the Tekla with the Tekla.dmp (Export) command.
Location of the Export Tekla.dmp
You can access it from the menu under the ideCAD logo in the upper left corner of the screen in the ribbon menu.
Usage Steps
To transfer your model to Tekla program;
-
The ideCAD icon in the upper left corner of the program is clicked.
-
Click on the Export/Tekla .dmp line.
-
Give the file name and click the OK button.
-
From this process, run Programs\ideCAD\Tools\ideCAD Boost under Windows/Start menu. The ideCAD Conversion Application program will open.
-
After selecting the export file, if the missing profile is found for Tekla, the program asks you to choose which profiles will be used in Tekla in return for the profiles used in ideCAD.
-
Click on the OK button after completing the process.
ideCAD Conversion Application

|
Specifications |
|---|
|
ideCAD project file info 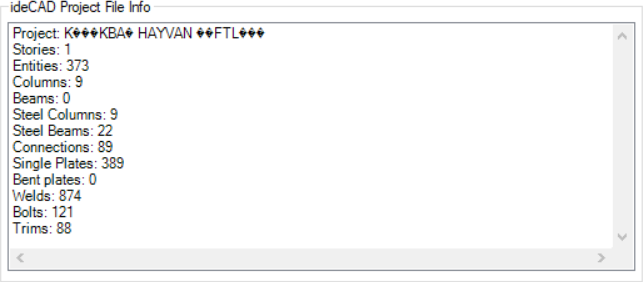
Selected file information is listed. |
|
Tekla export logs 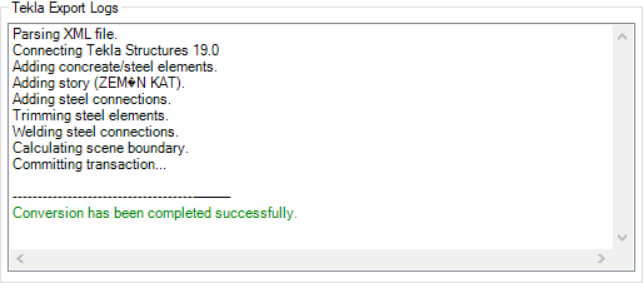
Transfer process information is provided. |
|
Tekla version 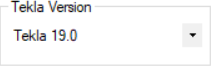
Select which version of the transfer will be made for. |
|
Concrete elements 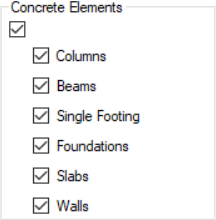
The concrete elements to be transferred are selected. |
|
Steel elements 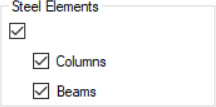
Steel elements to be transferred are selected. |
|
Steel connections 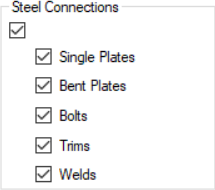
Steel connections to be transferred are selected. |
|
Pick file By clicking it, the file saved in the previous step is selected. |
|
Load last project The last project is loaded. |
Next Topic