
For example, in order to take the quantity of the building components of the roof, firstly, the building components must be assigned to the roof. Building components to be assigned to the roof;
-
Roof Tile
-
Waterproofing
-
Lath
-
Rafter
-
Purlin
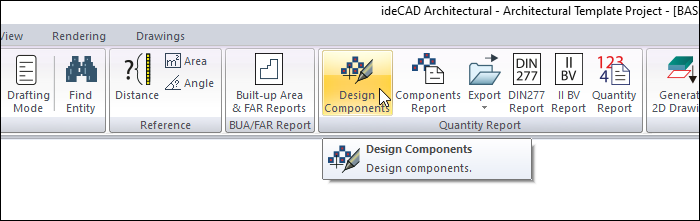
You can see the building components in the ideCAD by clicking the Design Component command. You can add missing building components using the Create new material command. You can save your newly created materials to the archive for later use, and reuse the saved building components by loading them into the project.
-
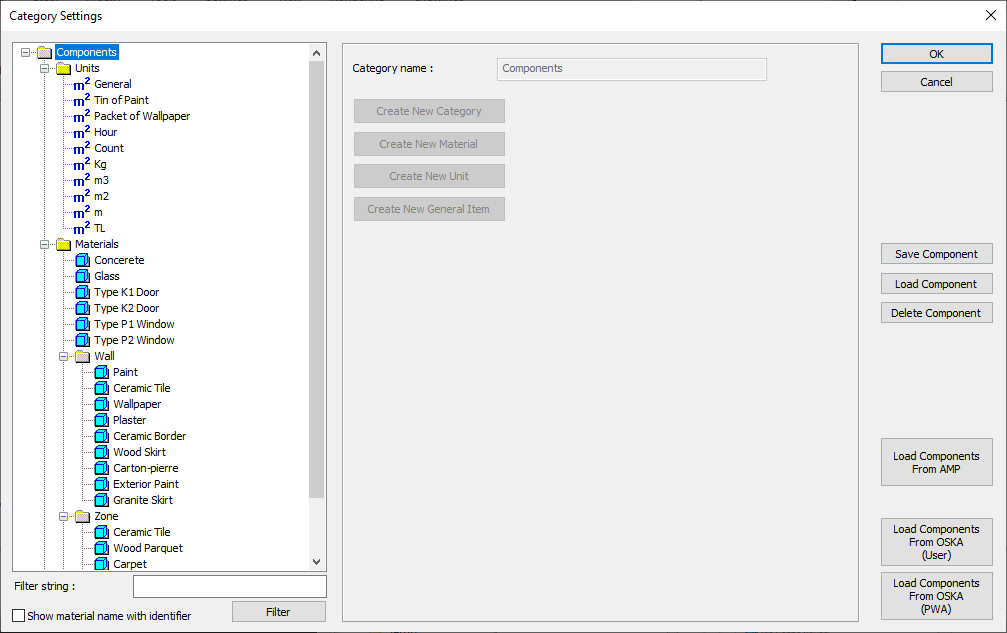
Click on the Design Component icon under the ribbon menu tools tab, Quantity Report title.
-
In Category Settings dialog, select the Materials folder and click the Create New Material button.
-
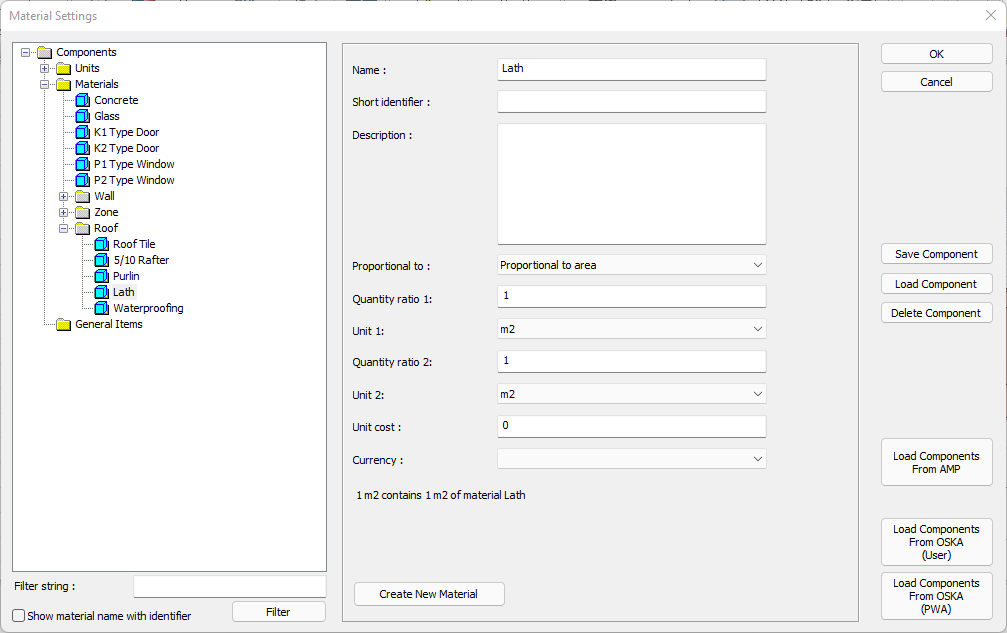
The program will switch to the Material Settings dialog.
-
A line with the name New Material 1 will appear under the Materials folder.
-
Edit information and properties for the new material on the right side of the dialog.
-
Give the waterproofing name, select the proportional to area from the proportional option, enter the quantity ratios 1 and select m2 as the units.

-
Save the building component called Waterproofing you created in the archive so that you can use it later.
-
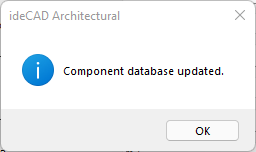
When you click the Save Component button, the components database will be updated and your material will be saved in the archive.
-
You can reuse the saved components by loading them into the project from the Load Component.
-
Click the Create Material button again.
-
Edit information and properties for the new material on the right side of the dialog.
-
Give the lath name, select the proportional to area from the proportional option, enter the quantity ratios 1 and select m2 as the units.
-
Click the Create Material button again.
-
Edit information and properties for the new material on the right side of the dialog.
-
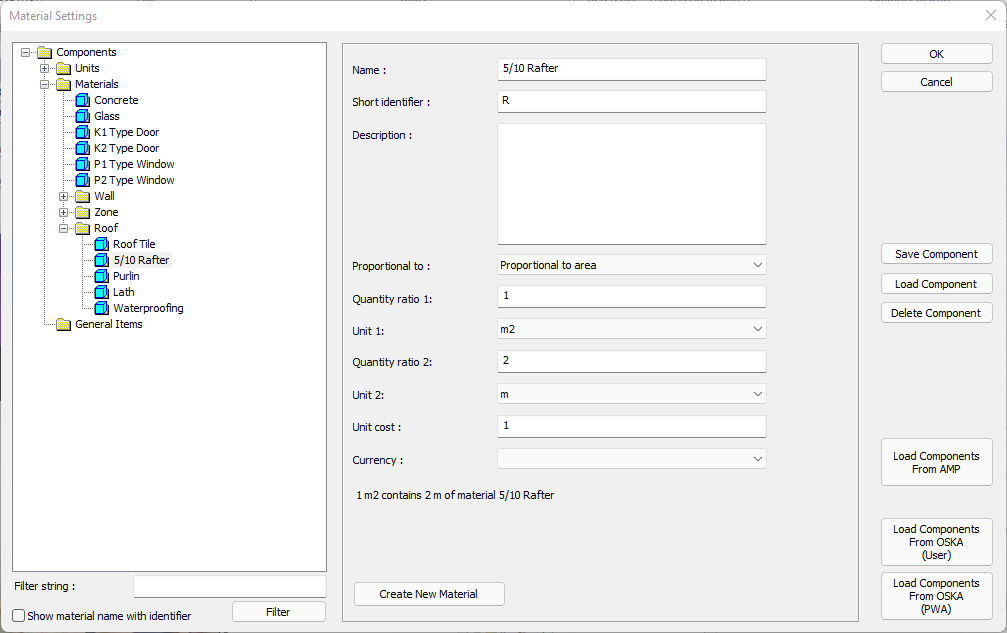
Give the 5/10 Rafter name, select the proportional to area from the proportional option, enter 1 for the quantity ratio 1 and select m2 as the unit 1.
-
For quantity ratio 2, enter 2 and choose m as the unit 2.
-
Thus , it will be determined that 2 m of rafters will be used for 1 m2.
-
Click the Create Material button again.
-
Edit information and properties for the new material on the right side of the dialog.
-
Give the Purlin name, select the proportional to area from the proportional option, enter 1 for the quantity ratio 1 and select m2 as the unit 1.
-
For quantity ratio 2, enter 0.5 and choose m as the unit 2.
-
Thus , it will be determined that 0.5 m of purlins will be used for 1 m2.

-
Click the Create Material button again.
-
Edit information and properties for the new material on the right side of the dialog.
-
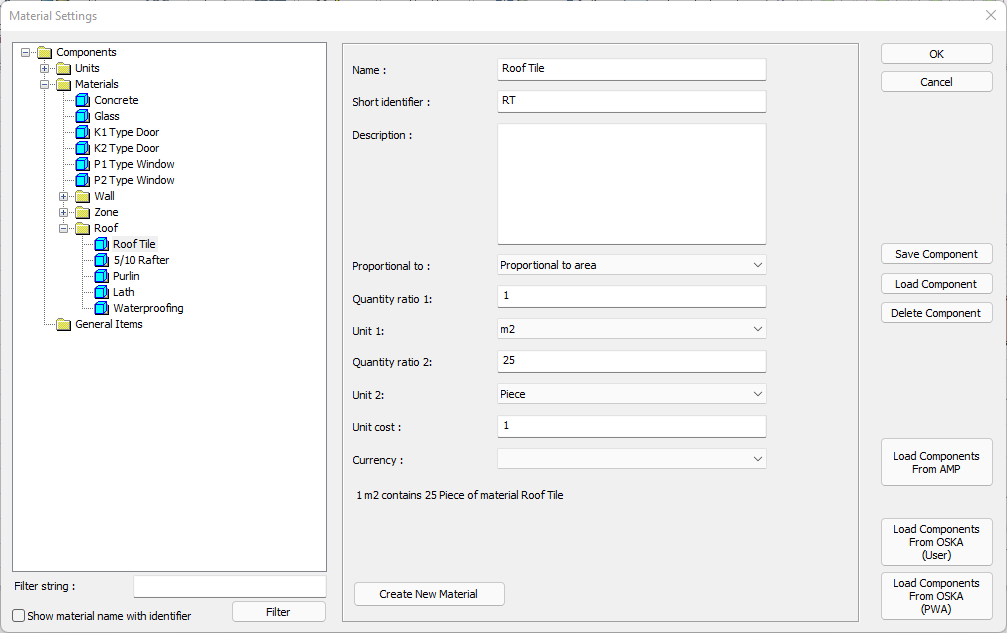
Give the Roof Tile name, select the proportional to area from the proportional option, enter 1 for the quantity ratio 1 and select m2 as the unit 1.
-
For quantity ratio 2, enter 25 and choose piece as the unit 2.
-
Thus , it will be determined that 25 piece of roof tiles will be used for 1 m2.
-
When you click the Save button, the building components database will be updated and your material will be saved in the archive.
To assign the determined components to the roof;
-
Move your mouse over the roof where you will get the construction component quantity report and double click the left mouse button.
-
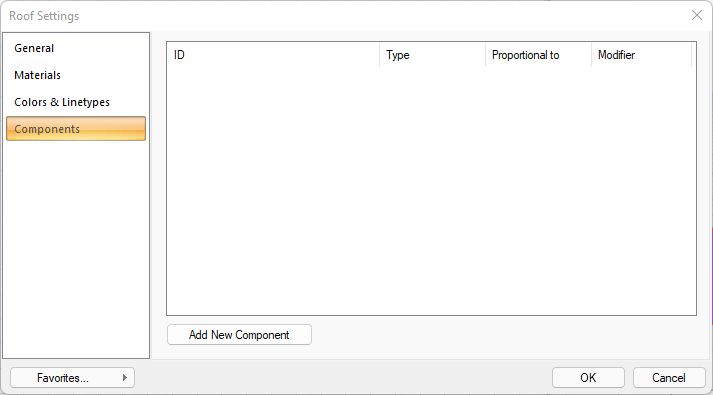
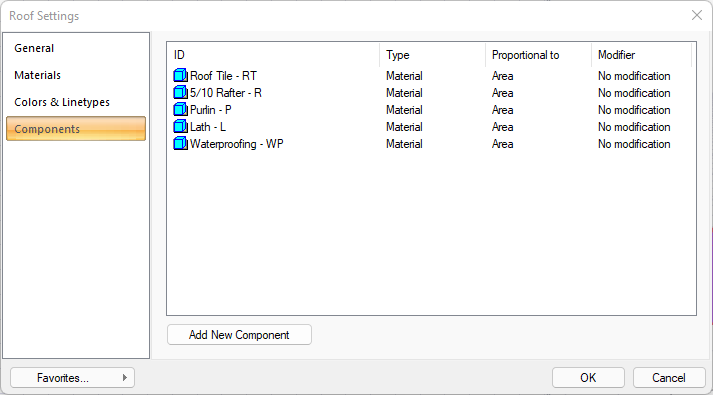
The Roof Settings dialog will open.
-
Click on the Component tab and click the Add new component button
-
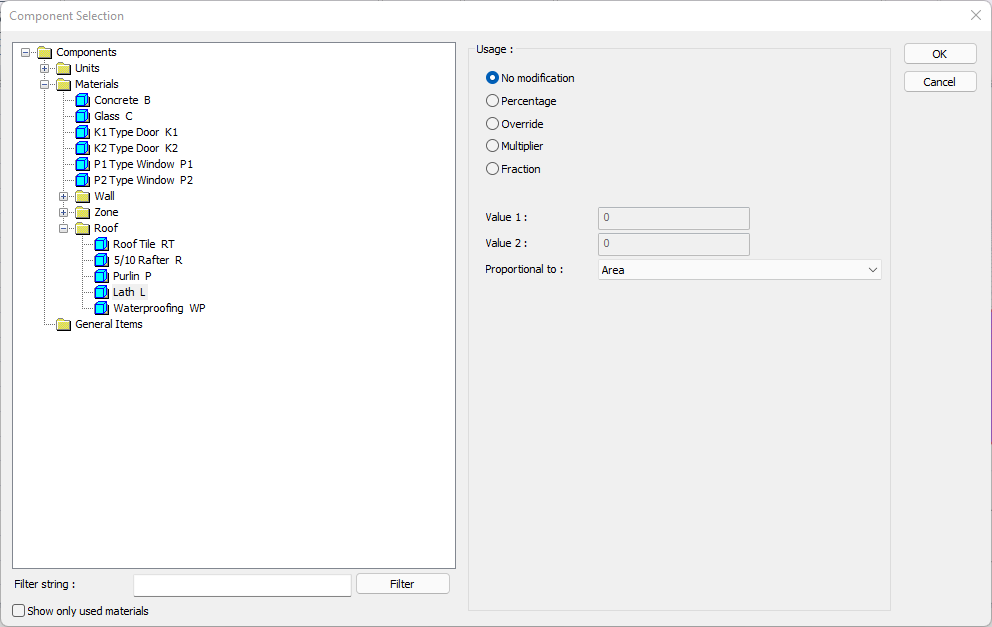
The component selection dialog will open. Select the lath component.
-
The drop-down list in the Ratio line varies according to the object and material size.
-
In the table below, there is a list and explanations for the roof according to the material size.
|
Roof |
||
|
Measure |
Listed |
Explanation |
|
Constant |
Independent |
The fixed measure used will be used exactly as the amount. |
|
Length |
Independent |
It means that the length measure found while defining the material will be used exactly as the length value. |
|
Perimeter |
It means that the length of the material will be found by multiplying the circumference of the roof with the length measurement found when defining the material. |
|
|
Thickness |
It means that the length of the material will be found by multiplying the length measurement found when defining the material and the thickness of the roof. |
|
|
Area |
Independent |
It means that the area measure found while defining the material will be used exactly as the field value. |
|
Area |
By multiplying the area measure found when defining the material with the area of the roof, the area of the material will be found. |
|
|
Volume |
Independent |
The volume measurement found when defining the material will be used exactly as the volume value. |
|
Count |
Independent |
The number measure found while defining the material will be used exactly as the number value. |
|
Count |
The number measure found while defining the material will be used exactly as the number value. |
|
|
Edge count |
The number value found by multiplying the number of sides of the roof with the number of sides found when defining the material means to be used as the number of the material. |
|
-
Select the area row from the proportional row.
-
Click the OK button to close the dialog.
-
Add building components such as roof tile, 5/10 rafter, purlin and waterproofing to the roof using the add new component command.
-
When you click the OK button, the process of defining components to the roof will be completed.
To get the components report;
-
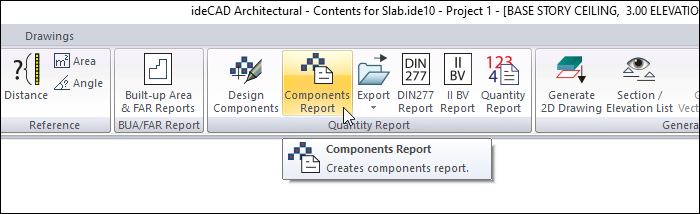
Under the ribbon menu tools tab , under the title of Quantity Report, click on the Components Report icon.
-
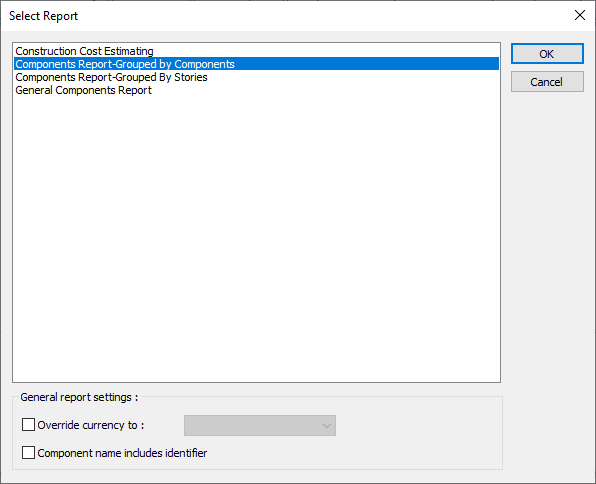
The Select report dialog will open.
-
Select the components report-grouped by components option and click the OK button.
-
The ideCAD Report program will run automatically, and your component report will be created in a certain page layout.
|
Sample component report for slab 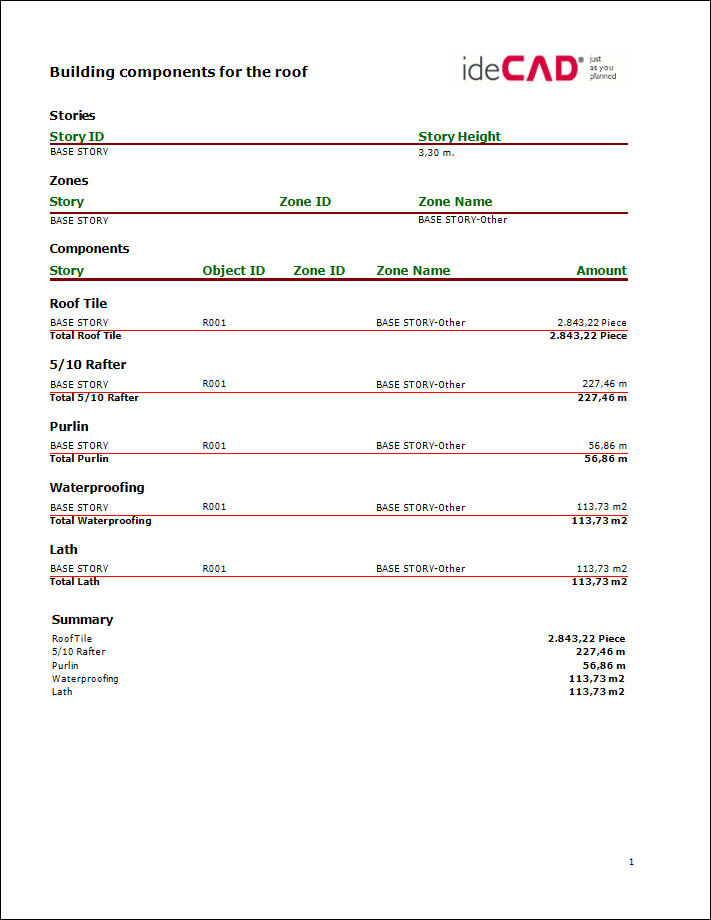
|
Next Topic