
Snap points can be created on objects or on a selected line with the Add Custom Snap Points on Line command in the 3D perspective window.
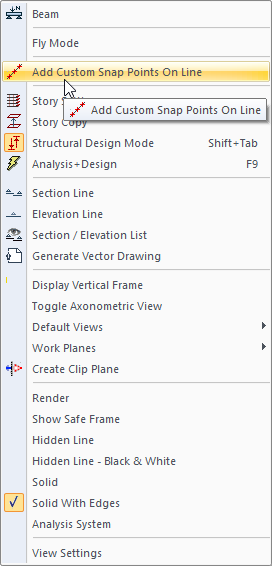
Location of the Add Custom Snap Points on Line Command
You can access it from the pop-up menu by clicking the right mouse button on the perspective screen.
Usage Steps
-
Click the right mouse button on the perspective screen.
-
In the menu that opens, click the Add Custom Snap Points on Line command.
-
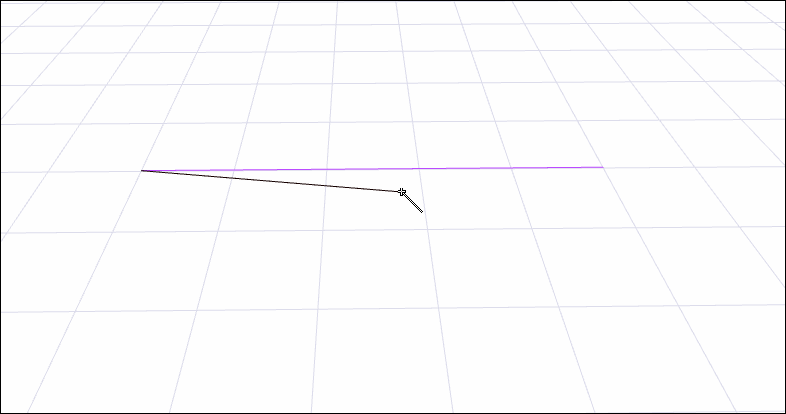
Click on the first point of your line for the beginning of the line for which the snap points will be created.
-
The Divide Parameters dialog will open when you click on the second point of your line to complete the reference line .
-
Make the relevant adjustments in the dialog and press the OK button.
-
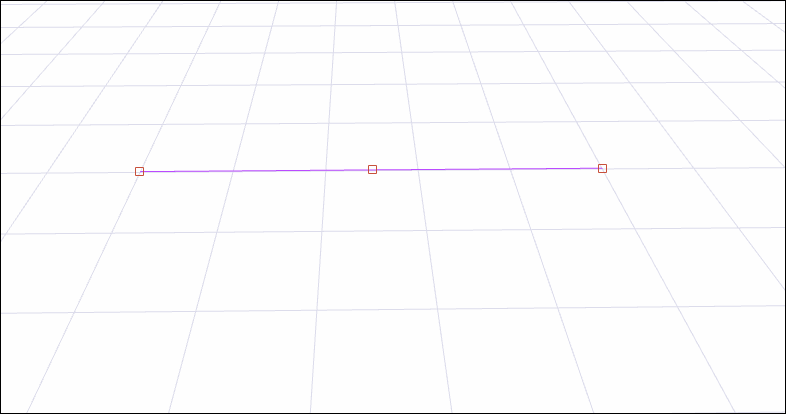
Snap nodes will occur on the line you draw.
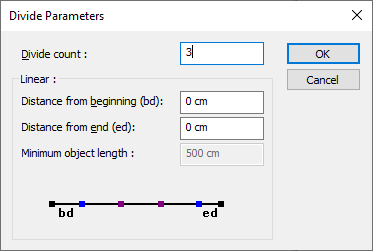
Divide Parameters Dialog
|
Specifications |
|---|
|
Divide count The number of parts you want the object to be divided into. |
|
Linear When dividing linear elements, this part is active. |
|
Distance from beginning (bd) The length of the first piece is entered. |
|
Distance from end (ed) The length of the last piece is entered. |
|
Minimum object length The smallest object size within the selected objects. |
Next Topic
Related Topics