
In order to be able to print in ideCAD, the software (driver) that supports the printer or plotter must be installed in the Windows. If the software is installed , the project can be output with the Plot command. Drawing area, layout, scale selections and settings are made from the plot settings.
Location of the Plot Command
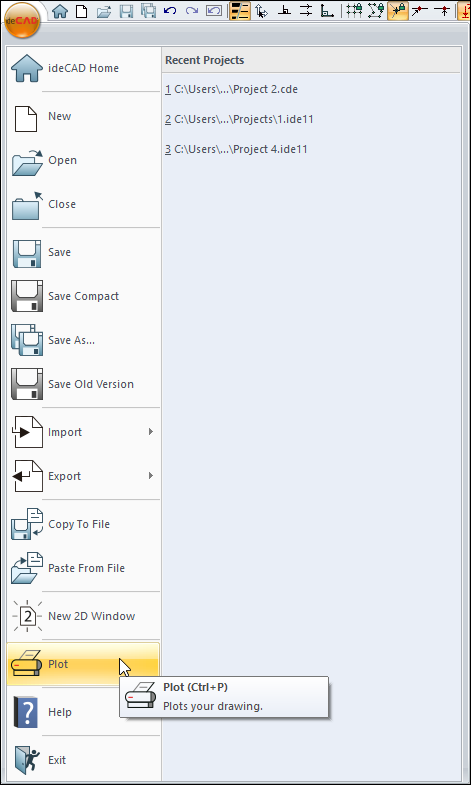
You can access it from the menu under the ideCAD logo in the upper left corner of the screen in the ribbon menu.
Usage Steps
-
Click the ideCAD icon/Plot icon in the ribbon menu .
-
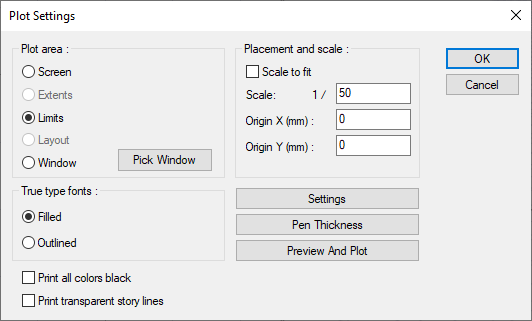
The Plot Settings dialog will appear .
-
Make the necessary settings in this window.
-
Click the Preview and Plot button.
-
You will see a preview of the drawing. (If a printer is not defined, the message "No Printer Installed in System" will appear.)
-
When you click the Plot button, your drawing will be sent to printer or plotter.
If you are using a spray printer or plotter, you can adjust the line thickness by clicking the Pen Thicknesses button. If you are using a pen plotter, you must make the pen settings in the printer/plotter settings.
Plot Settings
|
Specifications |
|---|
|
Screen The part of the drawing area visible on the screen is drawn. |
|
Extents The part within the defined drawing boundaries is drawn. |
|
Limits All drawings are drawn. |
|
Layout The layout page is drawn. |
|
Window The area to be drawn is drawn by enclosing it in a frame (Click the Pick Window button next to this option. Click the Pick button in the Open Window dialog and the section to be drawn is enclosed. The window selection dialog appears again. After clicking the OK button, the plotter settings dialog is displayed again.) |
|
Scale to fit The selected drawing area will fit on the selected paper. In this case, no value can be entered on the scale line. |
|
Scale The drawing scale is entered on the scale line. The drawing is made in the scale entered. |
|
Origin X/Y (mm) The Origin X and Origin Y boxes are for scrolling the selected drawing in the drawing area. These values are the coordinates of the lower left corner of the selected drawing area relative to the lower left corner of the paper. The placement of the drawing on the paper is adjusted by entering positive/negative values here. |
|
True type fonts 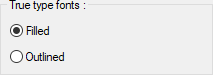
If the Filled option is selected, the texts are printed in full. If the Outlined option is selected, only the outline of the articles is printed. They are not filled. It saves ink. |
|
Print all colors black It is used to print all colors on the sheet in black from the printer/plotter. With this option, it is possible to draw the lines in full black without grayscale on colored plotters. |
|
Print transparent story lines Selections made with the transparent stories are drawn. |
|
Settings Clicking it opens the print settings dialog. Parameters such as printer/plotter, paper size, paper direction are set from this dialog. |
|
Pen thickness When clicked, the Pen & Color Settings dialog opens. Clicking on the color boxes here gives the pen thickness for each color. Pen thicknesses are valid for printers and plotters other than pencil plotters. For pen plotters, pen thickness settings must be made from the plotter's own driver. |
|
Preview and plot When clicked, the preview of the drawing is displayed. Final checks are made here before drawing. If corrections are required, click the Close button to return to the plotter settings and make the necessary changes. When the preview view has the wanted shape, the drawing is sent to the plotter by clicking on the Plot button. |
Next Topic
Related Topics