
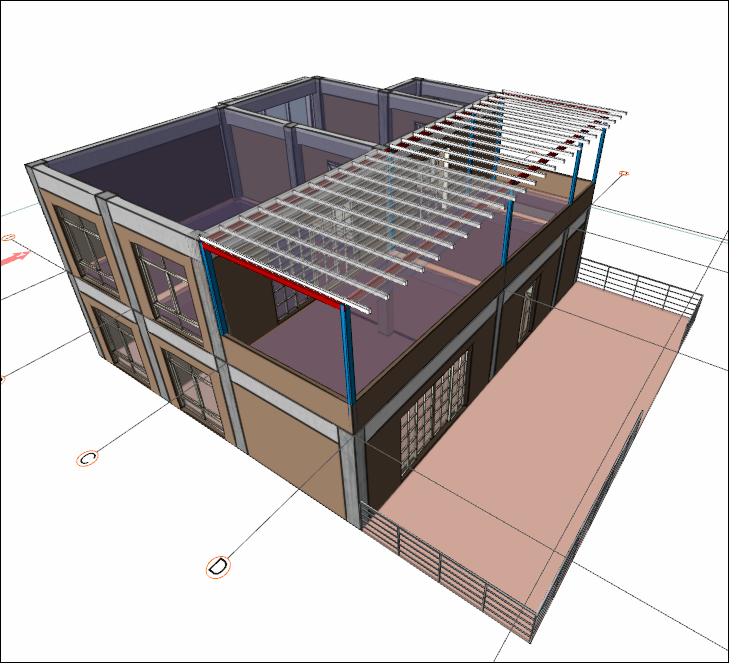
Create the sheetings in this section.
|
Previous steps have been followed in the project file named Create the Sheetings. You can download the file and follow the steps given in this title on the project. |
-
Click the sheeting command from the steel menu.
-
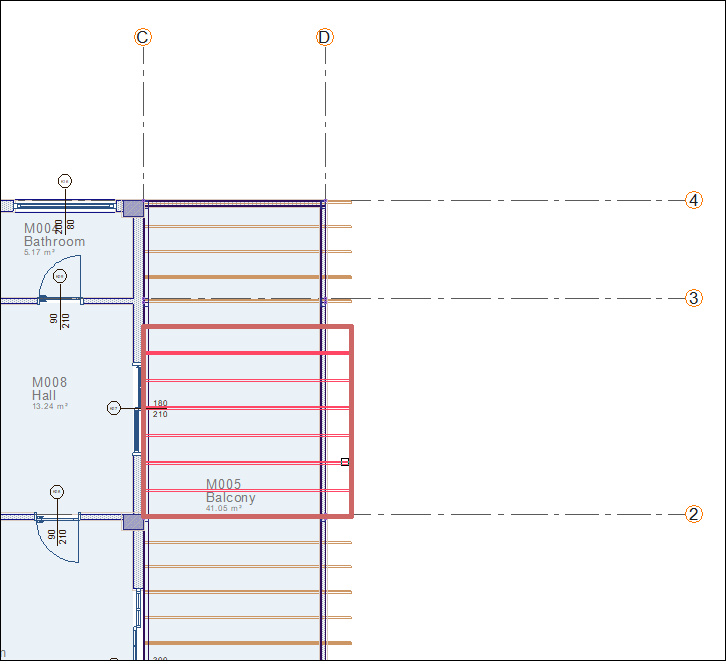
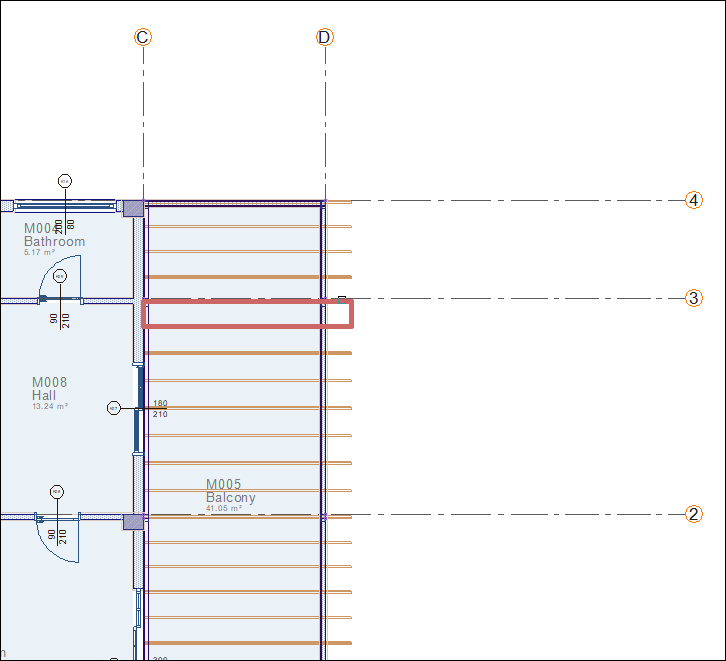
Select the purlins that are between 1-2 axes that you will be covering.

-
The sheeting settings dialog will open.
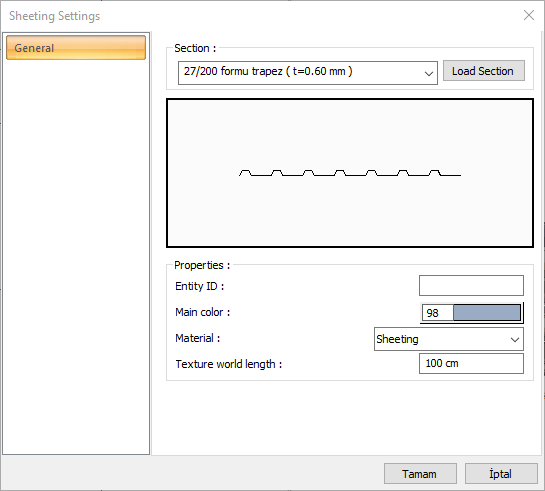
-
When you click the OK button, sheeting will be created.
-
Click the sheeting command.
-
Select the purlins that are between 1-2 axes.
-
The sheeting settings dialog will open.
-
When you click the OK button, your sheeting will be created.

-
Click the sheeting command.
-
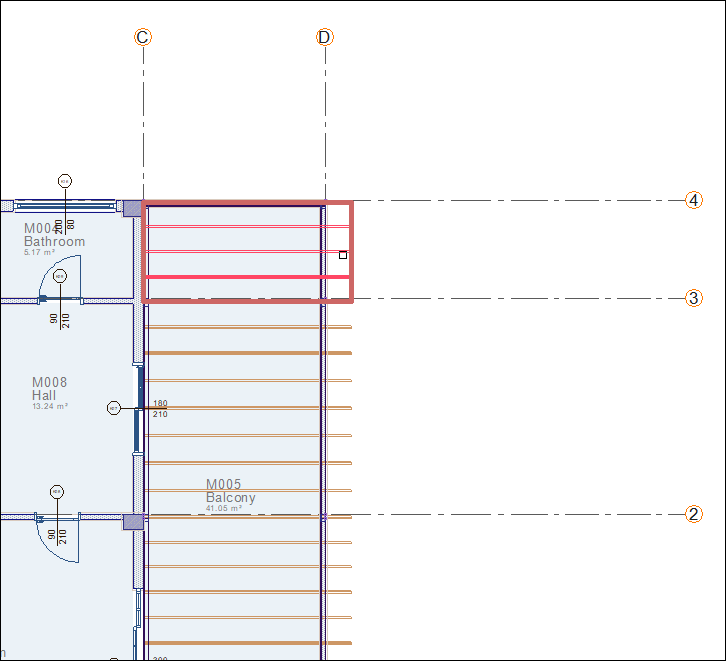
Select the purlins that are between 1-2 axes.
-
The sheeting settings dialog will open.
-
When you click the OK button, your sheeting will be created.

Complete your sheetings by selecting your purlin elements with gaps between them using the sheeting between element command.
-
Click the sheeting between element command.
-
Select the purlins with gaps between them.

-
Press the Esc key on the keyboard to exit the command.
-
Sheetings are completed.
Follow the steps of the video below.
Next Tutorial