
With the library command, 2-dimensional and 3-dimensional objects in architectural and structural project designs are created.
Location of Library Command
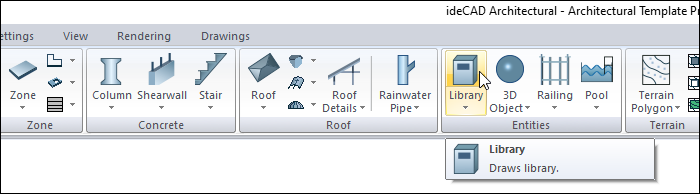
In the Architectural Program
You can access it under the ribbon menu Home tab Entities title.
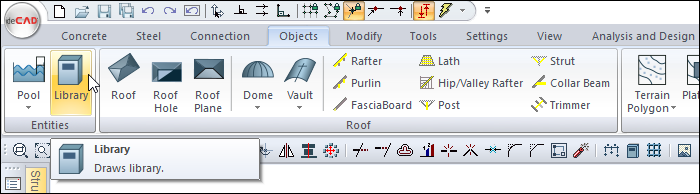
In Structural Program
You can access it under the ribbon menu Objects tab Entities title.
Usage Steps
-
Click the Library icon from the ribbon menu .
-
The library toolbar will open.
-
A preview of the selected library object will appear at the tip of the mouse cursor.
-
Click the Settings icon in the toolbar .
-
The Library Settings dialog will open. You can select the library object you want from the list on the left and change its dimensions. Make your settings and click the OK button.
-
Click the point where you want to place the library with the left mouse button.
-
When you move the mouse, the library object will rotate around the clicked point with the mouse.
-
You can place it straight or upright by pressing the shift key on the keyboard.
-
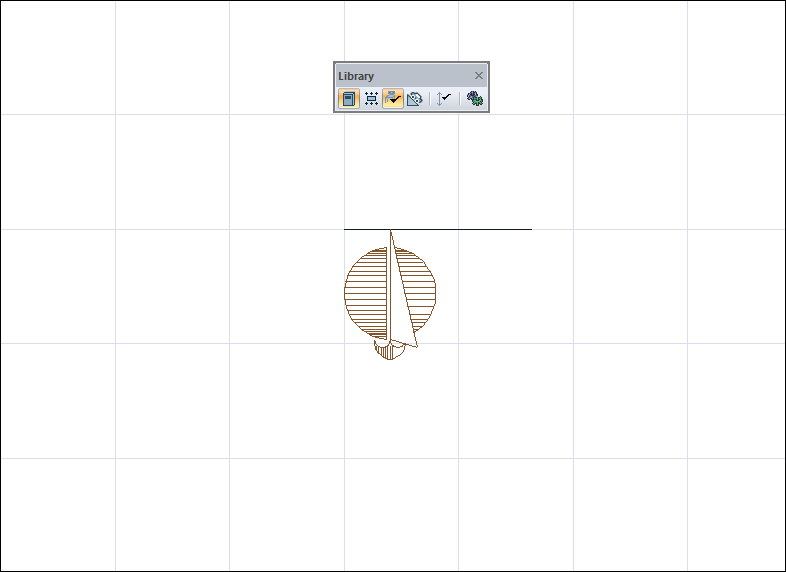
You can place your library by clicking the insertion point icon from the library toolbar or by pressing the spacebar on the keyboard, by holding from different points. Your insertion point will change each time you press the spacebar.
-
Click the left mouse button. Library drawing will be completed.
|
Usage step |
|---|
|
Creating a preview of the library object 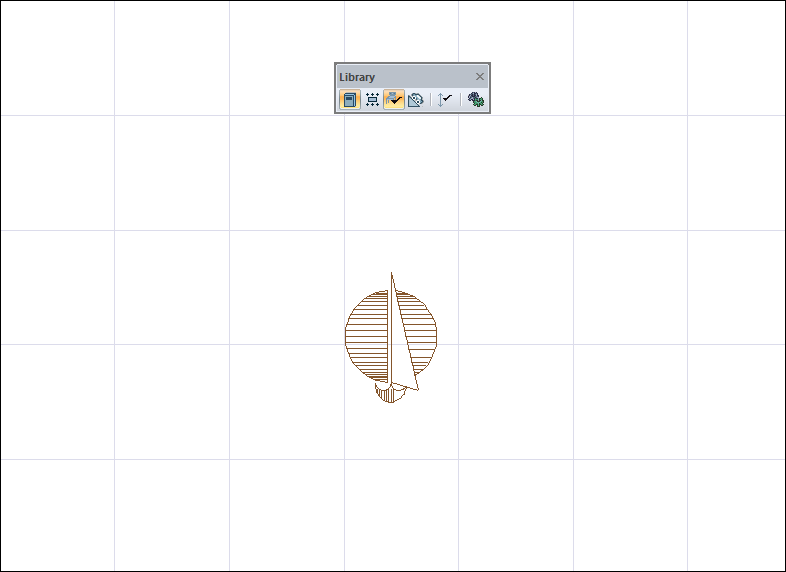
|
|
Determining the point where the object will be placed and fixing it by clicking the left mouse button 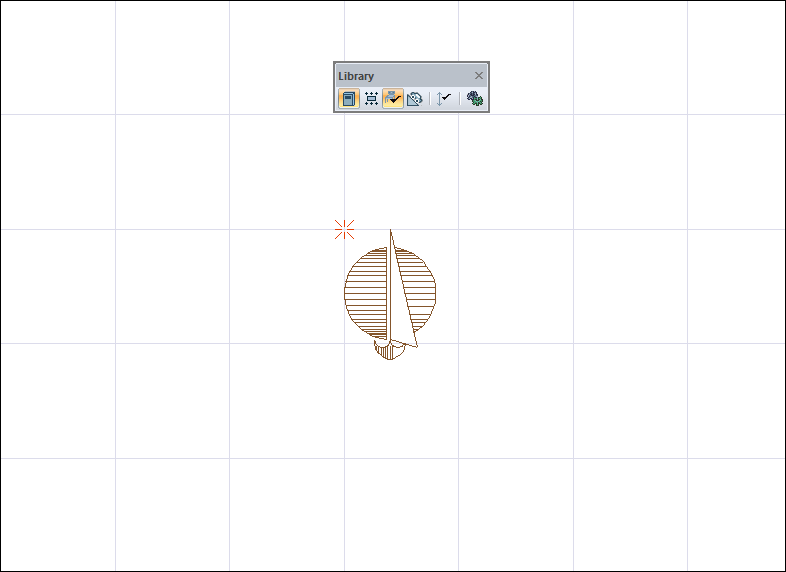
|
|
Object rotation due to mouse movement 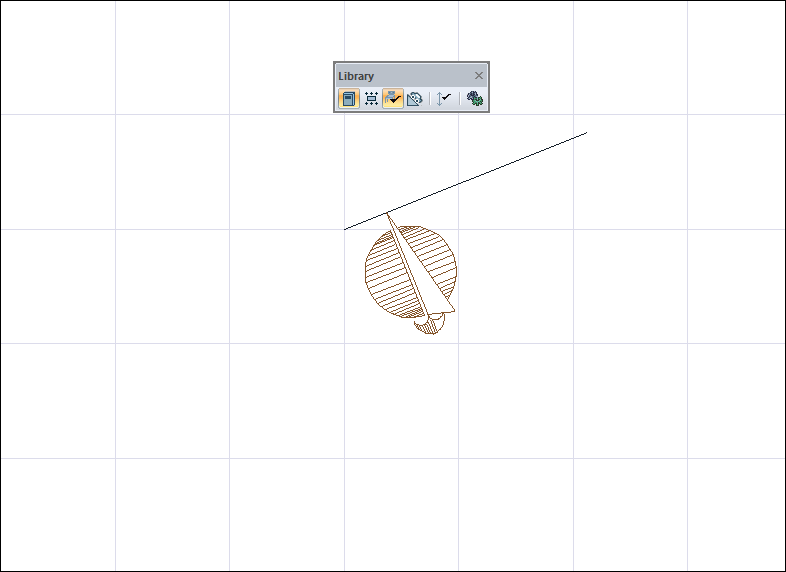
|
|
Placing straight or upright by pressing the Shift key on the keyboard 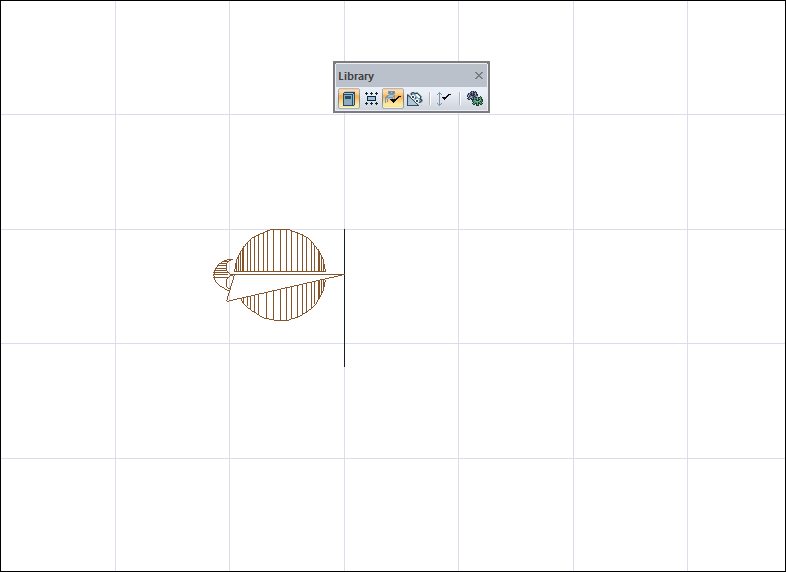
|
|
Changing the settlement point by pressing the spacebar 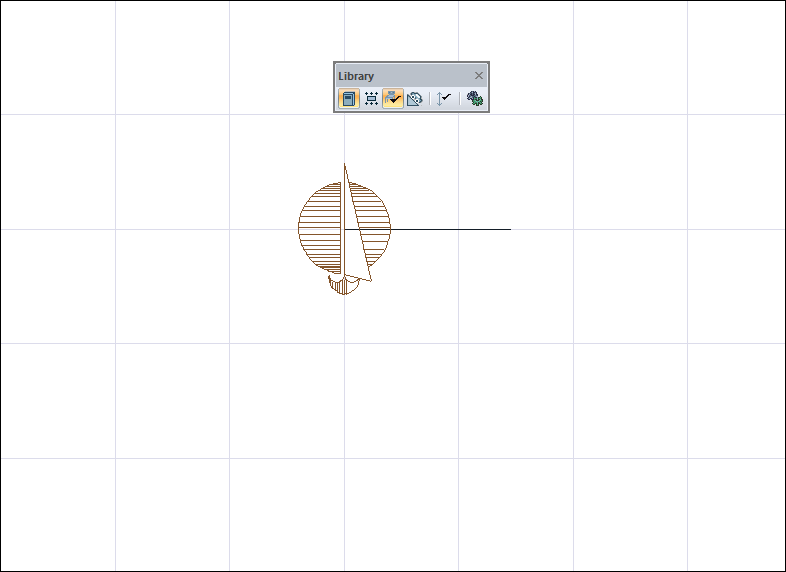
|
|
Creation of the library 
|
Next Topic