
With the Door/Window command, doors/windows are created on the walls. Doors/windows are defined as in-wall objects. In order to draw doors/windows, walls are needed first.
Location of Door/Window Command
In Architectural Program
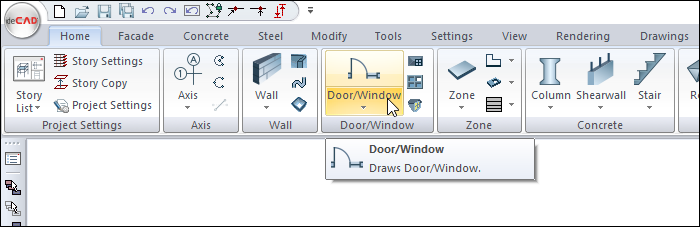
You can access it under the ribbon menu Home tab, Door/Window title.
In Structural Program
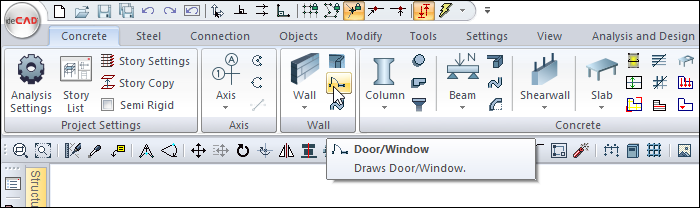
You can reach it under the ribbon menu Concrete tab, Wall title.
Door / Window Toolbar

|
Icons |
|---|
|
Door/Window When clicked, the door/window command runs. The ideCAD becomes ready to draw the door/window object selected in the door window settings. |
|
Roof window It is used for placing windows on the roof. Bird-eye etc. windows, doors opening to the roof are defined with this command. |
|
Draws curtain wall dio It is used to place doors / windows on the curtain wall. |
|
Dormer window Used for placing doors / windows on eyelets. |
|
Mirror door/window label While placing the door and window, the direction of the door / window label is changed by clicking this icon after the first click. You can also run this command by pressing the 1 (one) key on the keyboard. |
|
Mirror X The direction of the door / window according to the axis of the wall can be changed by clicking this icon after the first click while placing the door and window. (In-out opening direction). You can also run this command by pressing the 2 key on the keyboard. |
|
Mirror Y The direction of the door / window according to the vertical axis of the wall can be changed by clicking this icon after the first click while placing the door and window. (Right-left opening direction). You can also run this command by pressing the 3 key on the keyboard. |
|
Insertion point When clicked, the door changes the insertion point of the window. You can also execute this command by pressing the 4 or the space key on the keyboard. |
|
Delta When clicked, it can be ensured that the door window being drawn is defined from below, in the middle or from the top. You can also run this command by pressing the 5 key on the keyboard. |
|
Change distance point When clicked, the definition of the door and window on the wall, wall axis, and under the wall changes. You can also run this command by pressing the 6 key on the keyboard. |
|
Edit door/window angles By clicking, the opening direction and angle of the door and window in the 3D model is changed. |
|
Use distance If it is printed, the "Distance from Wall End" value, which can be defined in the door window toolbar, is taken into account from the wall end. |
|
Use dio reference If the distance of the door/window to be placed will be adjusted according to an existing door / window, it is activated by clicking. By clicking on the relevant door / window, the newly entered door / window is placed by taking the distance from this door window. The distance used is as much as the "Distance from Wall End" value that can be defined in the door window toolbar. |
|
Distance value box The distance from the wall end is entered. |
|
Jamb Enters the jamb command. |
|
Settings Clicking it opens the Door / Window Settings dialog. |
Usage Steps
-
First, create a wall.
-
Click the Door/Window icon from the ribbon menu .
-
The door/window toolbar will open.
-
The cursor will change and a preview of the door/window will be created. Move your mouse to any point on the wall and the door/window preview will also be there.
-
Click the Settings icon on the door/window toolbar .
-
The Door/Window Settings dialog will open. You can change the width and height of your door/window from the Placement in this dialog . After making the changes you want, click the OK button to close the dialog.
-
When you click the left mouse button where you want, your door/window will be placed.
You can also place the doors/windows by entering the distance value.
-
Click the Door/Window icon from the ribbon menu.
-
The Door/Window toolbar will open. Click the Settings icon in the toolbar .
-
The Door/Window Settings dialog will open. You can change the width and height of your door / window from the Placement in this dialog . After making the changes you want, click the OK button to close the dialog.
-
You can place your door/window according to the entered value by activating the Use Distance feature from the door/window toolbar .
-
Enter 20 (cm) in the value box. Move your mouse to the left end of the wall. You will see that the preview of your door/window is shifted by the value you entered.
-
Likewise, take your mouse to the right end of the wall. You will see that the preview of your door/window is shifted by the value you entered.
-
Move your mouse to the center of the wall. You will see that the preview of your door/window is offset from the middle of the wall as much as the value you entered.
-
Place your door/window by clicking the left mouse button. The ideCAD will create a preview of your next door/window.
-
Press esc to exit the command.
|
Usage step |
|---|
|
Door preview 
|
|
Adjusting the height and width in the settings dialog 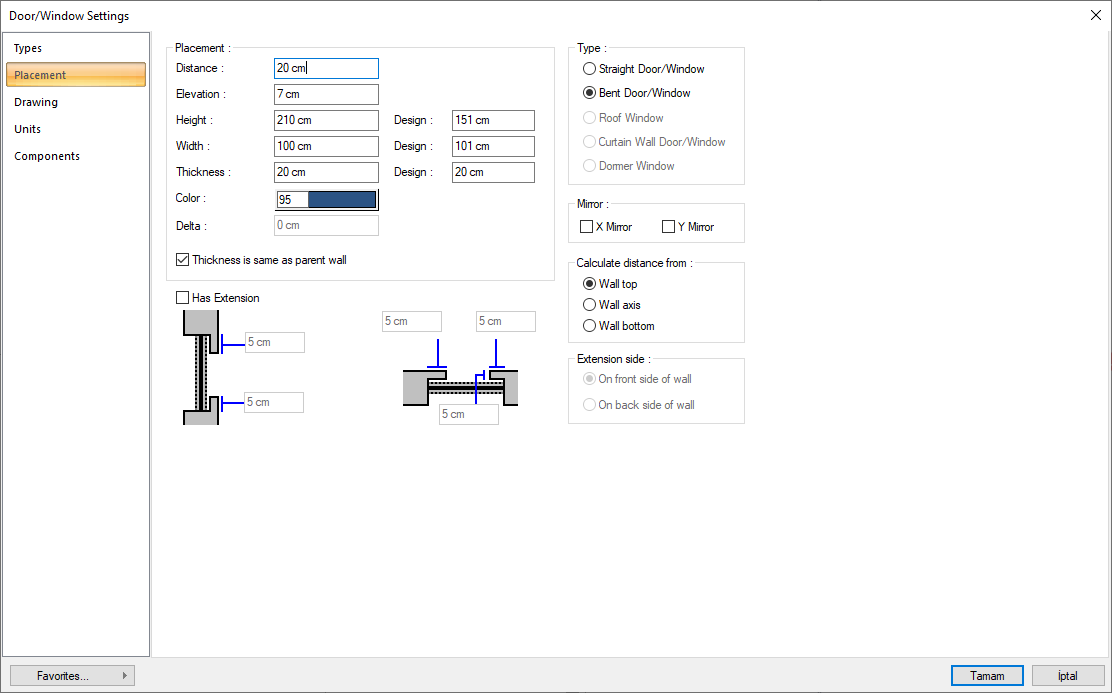
|
|
Enabling and activating the Use Distance feature to move the mouse to the left end of the wall 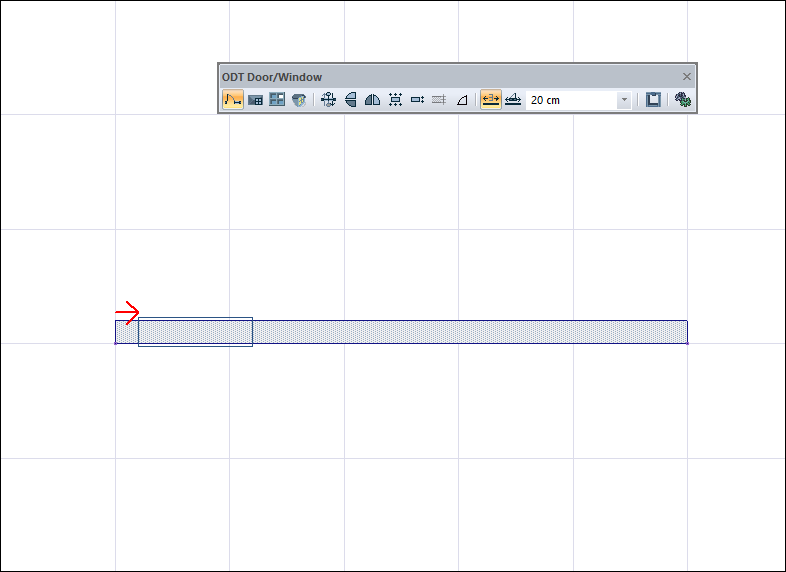
|
|
Taking the mouse to the middle of the wall 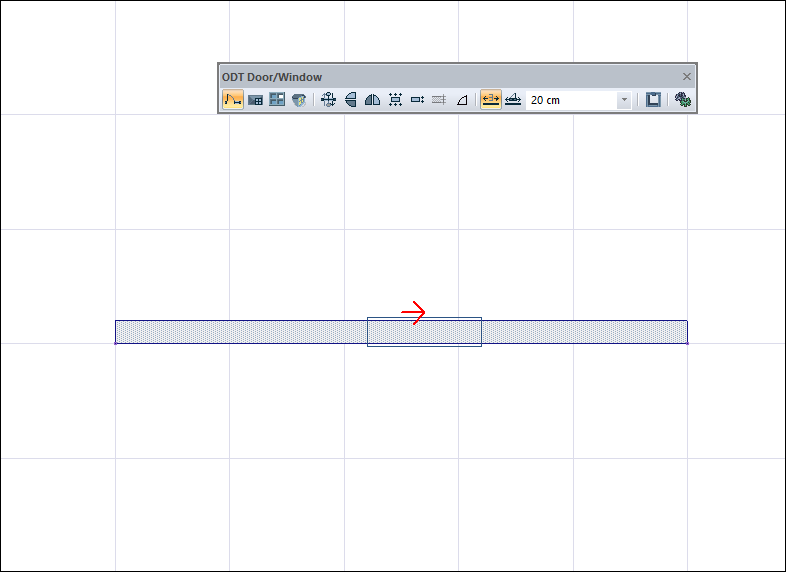
|
|
Clicking the left mouse button to insert the door and the ideCAD creates a preview of the new door. 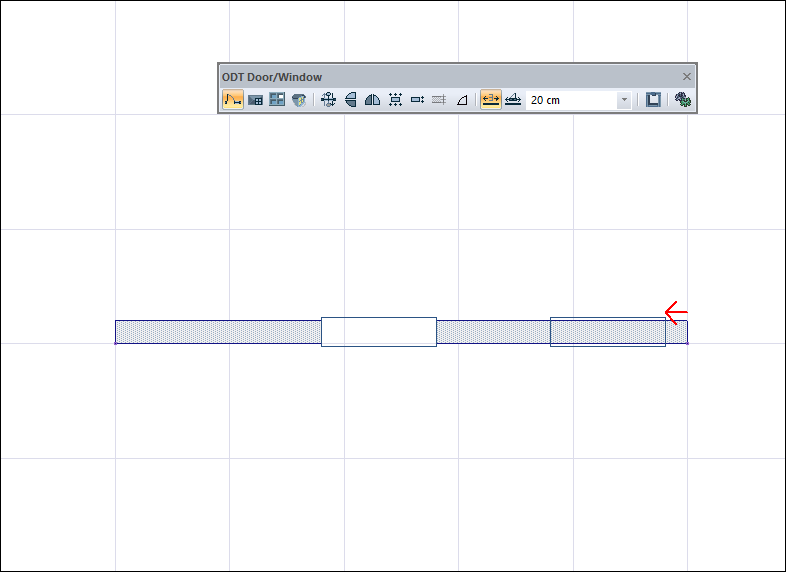
|
Door/Window Displays in Architectural and Structural Programs
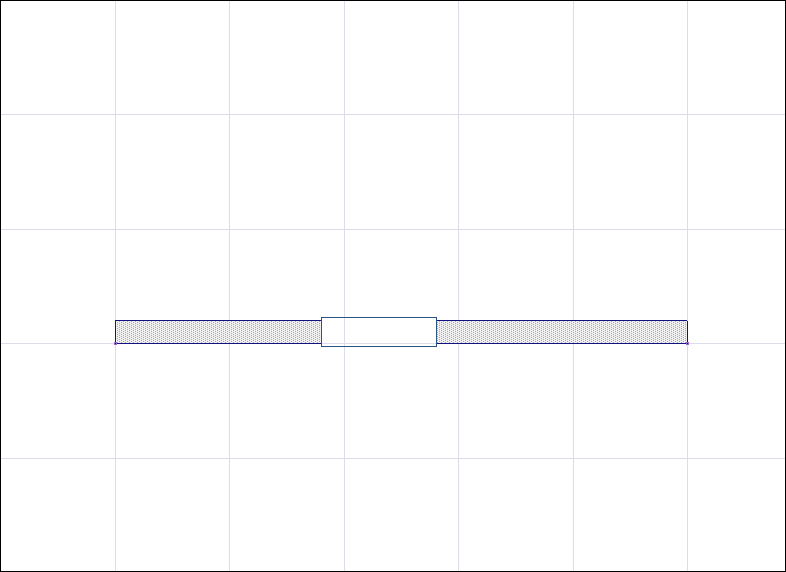
In ideCAD Structural, your doors / windows are defined as gaps. Plan and perspective will appear on the screen as a gap on the wall.
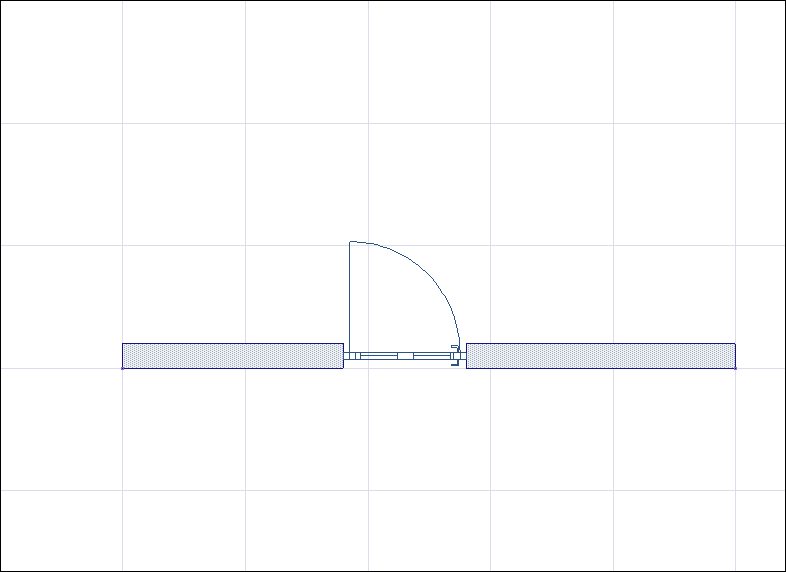
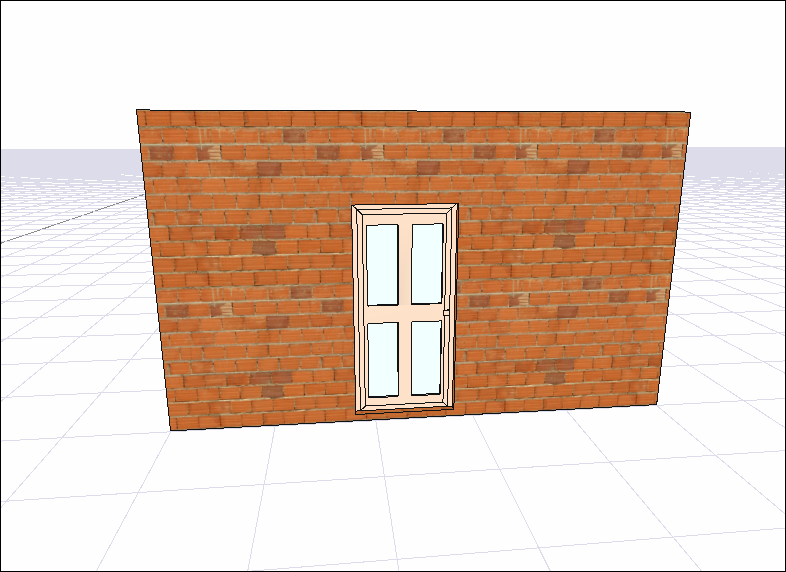
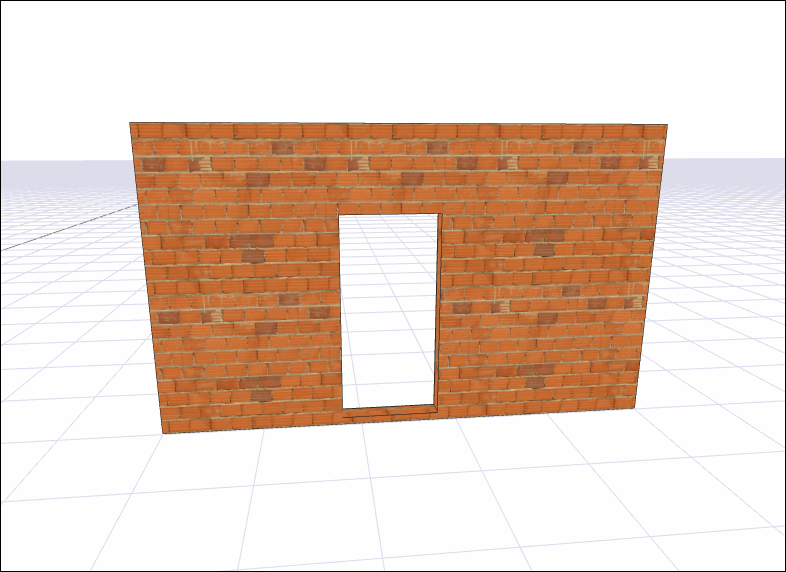
Your doors / windows are defined in detail in ideCAD Architecture. Plan and perspective will appear on the screen as objects on the wall.
|
Door/window in the architectural program |
|
|
Door/window in structural program |
|
Next Topic