
With the Steel Beam command, steel beams of the steel design are created.
Location of Steel Beam Command
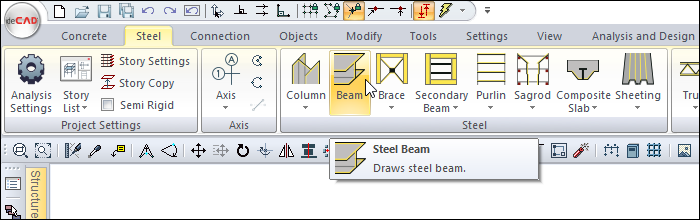
You can access it under the ribbon menu, Steel tab, Steel title
Usage Steps
To draw a steel beam between the two steel columns above;
-
Click the Steel Beam icon from the ribbon menu .
-
Steel Beam toolbar will open.
-
Move the mouse cursor over the column. When the cursor changes shape, click the left mouse button.
-
Your beam will move with the movement of your mouse.
-
Select a profile from the profile list in the beam toolbar.
-
The preview of your beam will change according to the selected profile type.
-
By pressing the spacebar, you can define your beam by holding it from different points (bottom corner, middle or top corner). Every time you press the spacebar, your mania will change.
-
You can draw a straight or perpendicular edge by pressing the shift key on the keyboard. Once you have determined the first point of the beam, put the cursor on the second column and create your second point. The program will create a preview of your next beam.
-
Press esc to exit the command. Your beam will be formed.
|
Usage step |
|---|
|
Determination of the first point of the steel beam 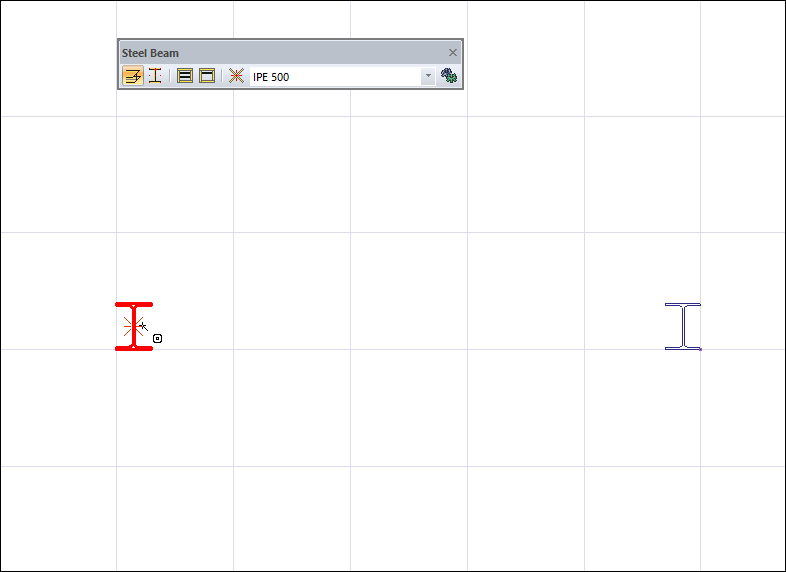
|
|
Pre-image of the beam and changes due to mouse movement 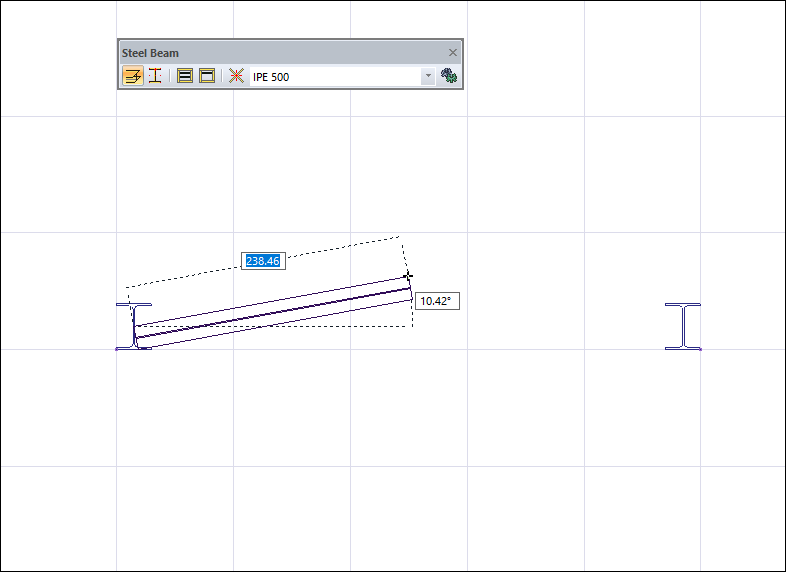
|
|
Selecting the profile from the steel beam toolbar profile list 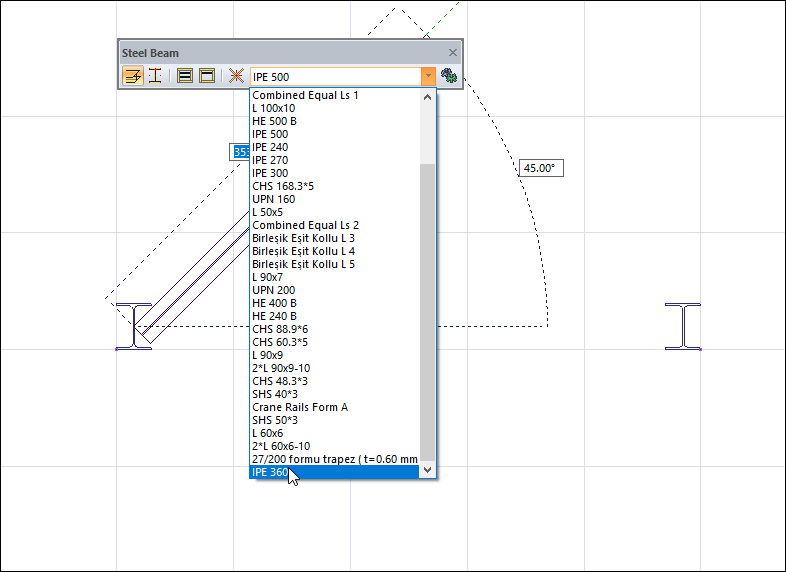
|
|
Changes of the forecast according to the new profile 
|
|
Changing the offset by pressing the spacebar on the keyboard 
|
|
Creating the second point of the beam and creating a preview of the new beam 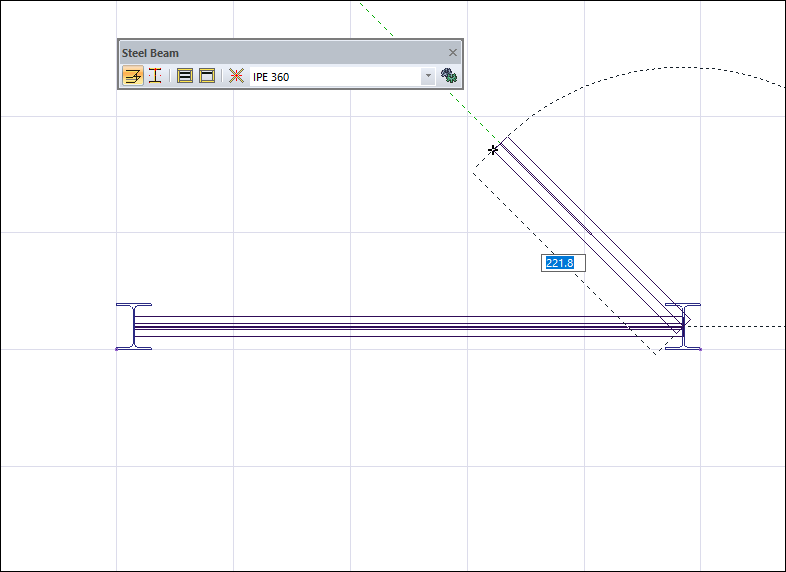
|
|
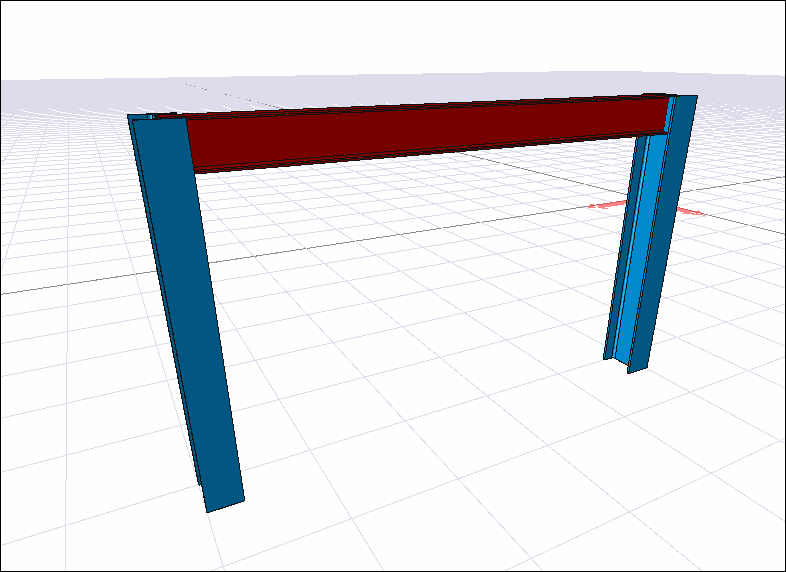
Completing the steel beam creation process 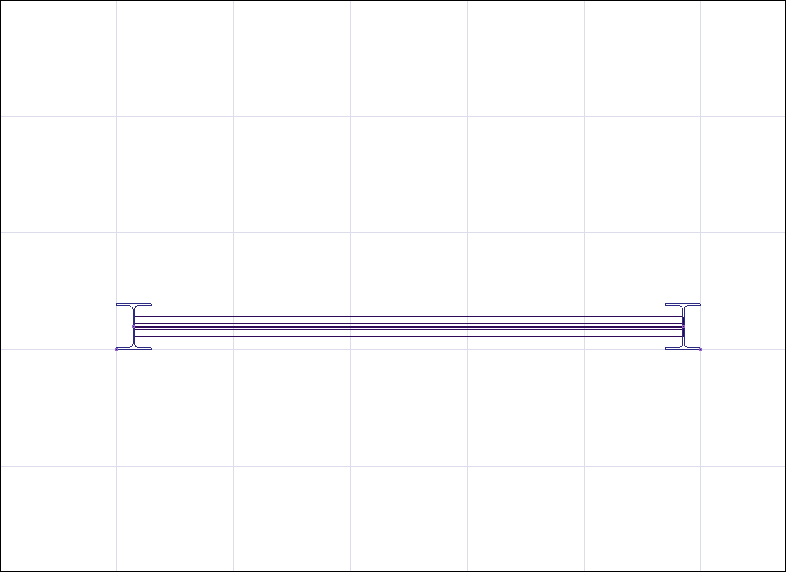
|
Next Topic