Skip table of contents

Clip Plane

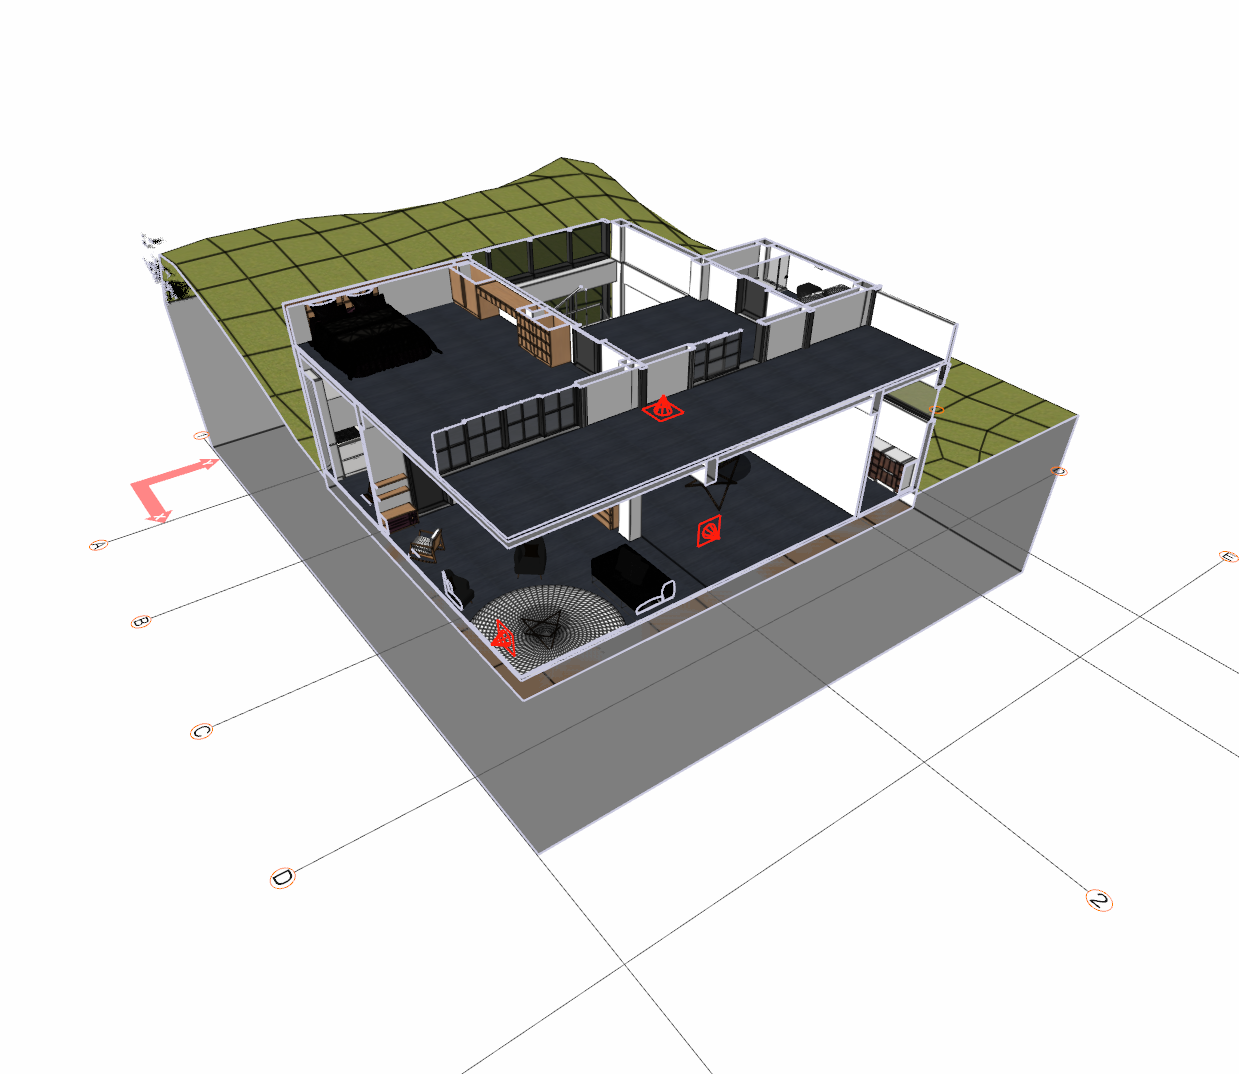
With the clip plane command, a certain part of the structure is cut along one or more selected surfaces, after cutting the remaining part of the structure is shown to the user. The process can be applied to the solid model on the perspective screen or to the 3D analysis model.

Location of Create Clip Plane Command

You can access it under the View tab, Workplane in the ribbon menu .

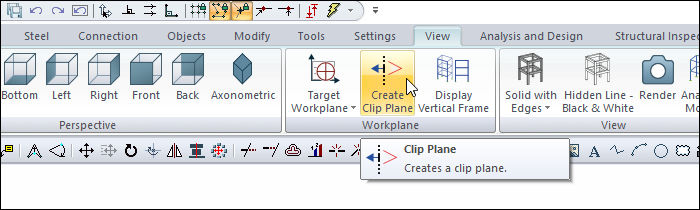
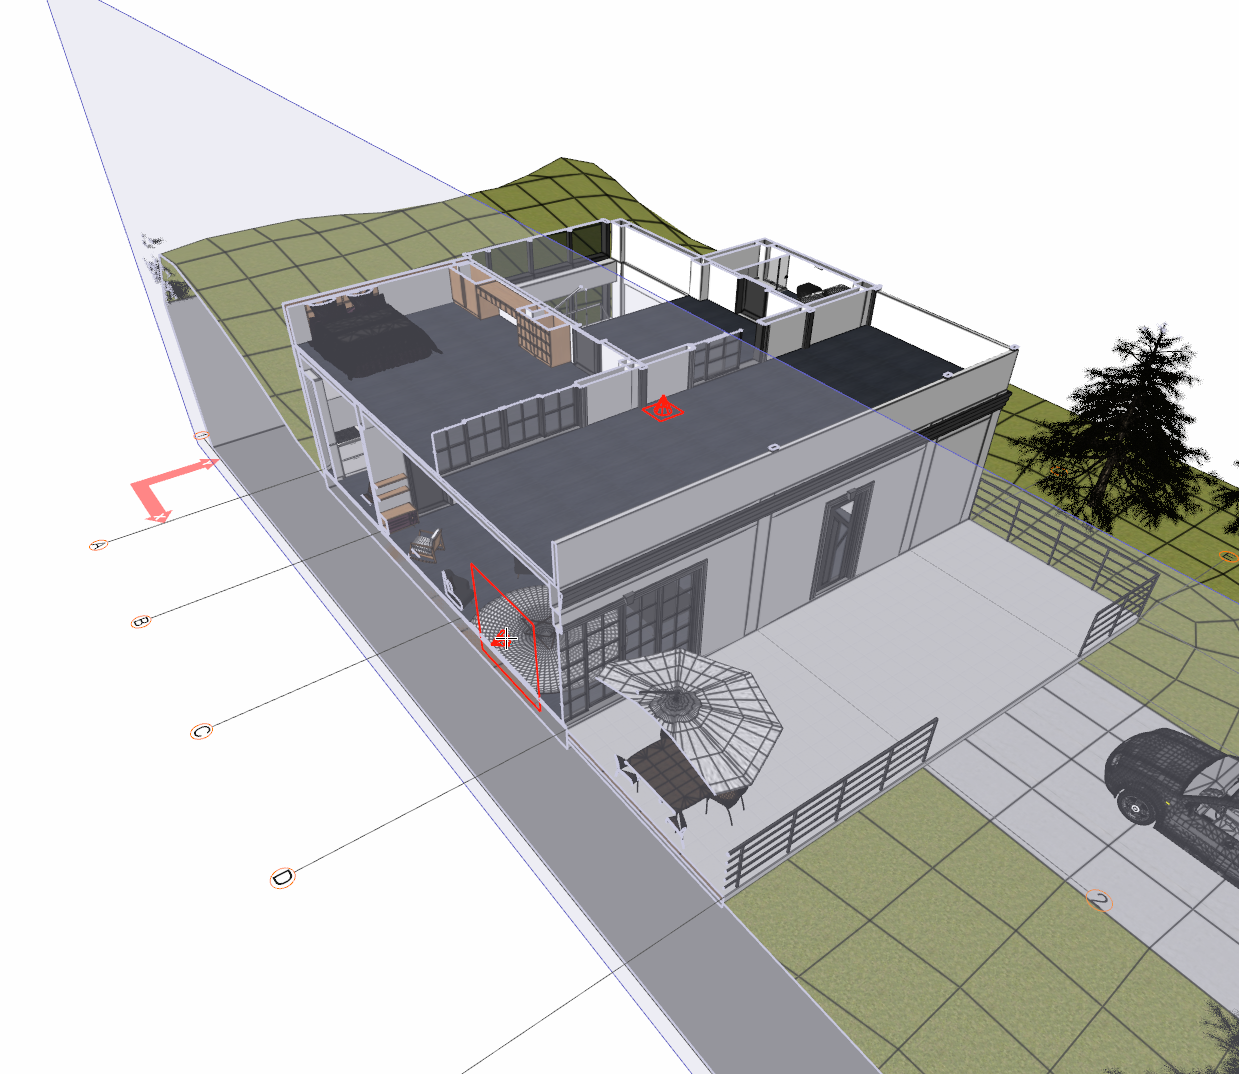
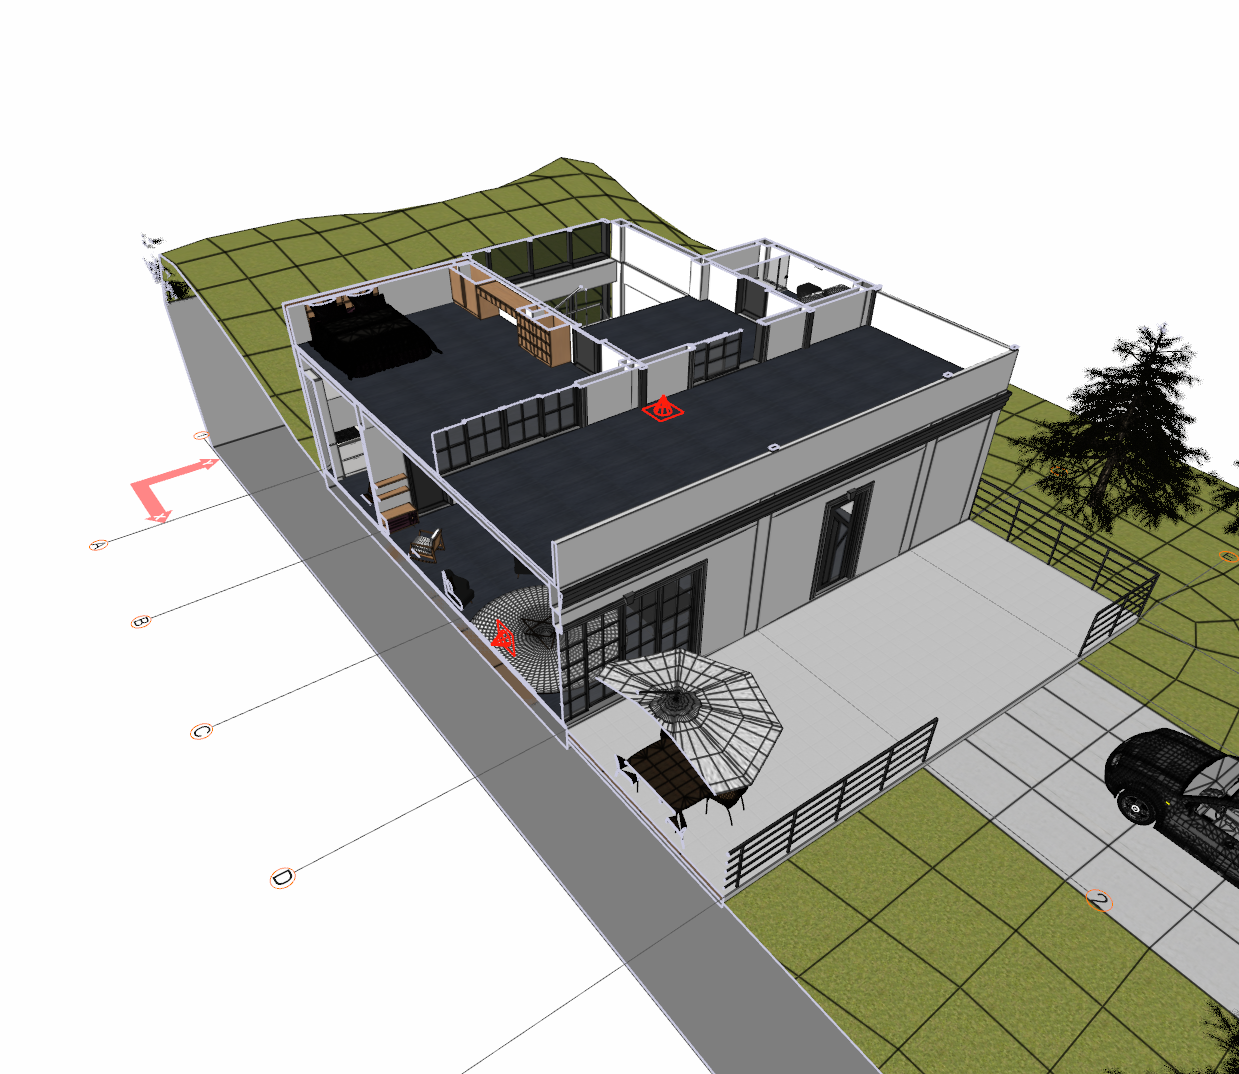
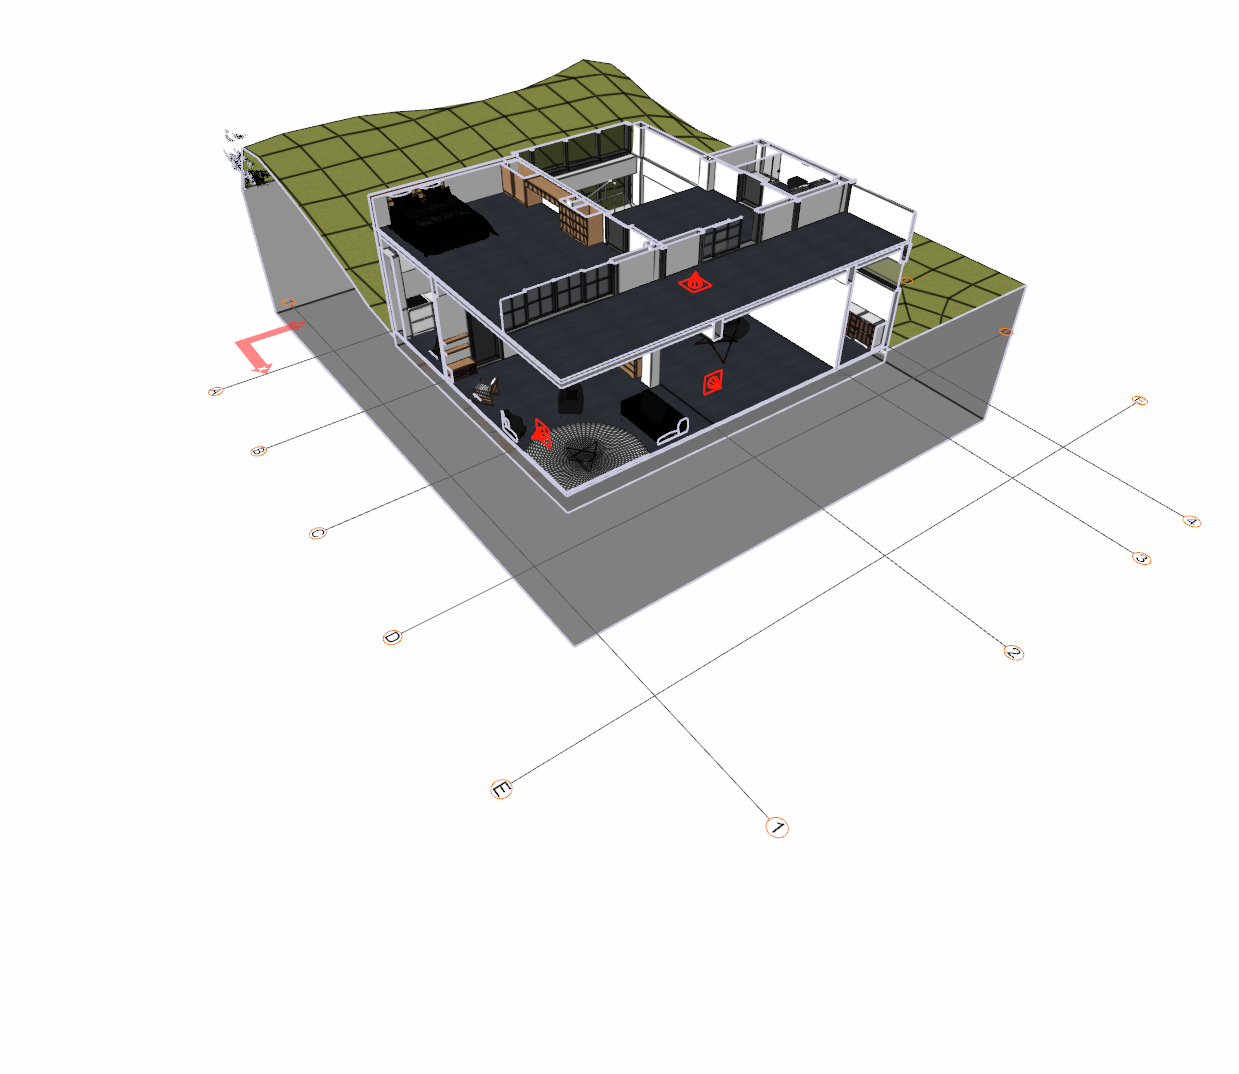
Creating Clip Planes

  • Perspective view before applying a clip plane

  • Click the Create Clip Plane icon.

  • A red square will appear showing your clip plane. It will recognize the surface the mouse is on and capture it.

  • Determine the 1. cutting plane, parallel to the terrace floor. Move your mouse over the terrace.

  • When you click the left mouse button, your clip plane will be created and your structure will be cut depending on your mouse movement.

  • After deciding on the cutting point, click the left mouse button. The clip plane creation process will be completed.

  • The mark that tells the clip plane and the cutting direction will be formed.

  • Click on the Create Clip Plane icon.

  • Set the 2. clip plane parallel to the flank facade. Move your mouse over the sidewall.

  • When you click the left mouse button, your clip plane will be created and your structure will be cut depending on your mouse movement.

  • After deciding on the cutting point, click the left mouse button. The clip plane creation process will be completed.

  • The mark that tells the clip plane and the cutting direction will be formed.

  • Click on the Create Clip Plane icon.

  • Set the 3. clip plane parallel to the front facade. Move your mouse over the sidewall.

  • When you click the left mouse button, your clip plane will be created and your structure will be cut depending on your mouse movement.

  • After deciding on the cutting point, click the left mouse button. The clip plane creation process will be completed.

  • The mark that tells the clip plane and the cutting direction will be formed.

  • Perspective view after applying a clip plane

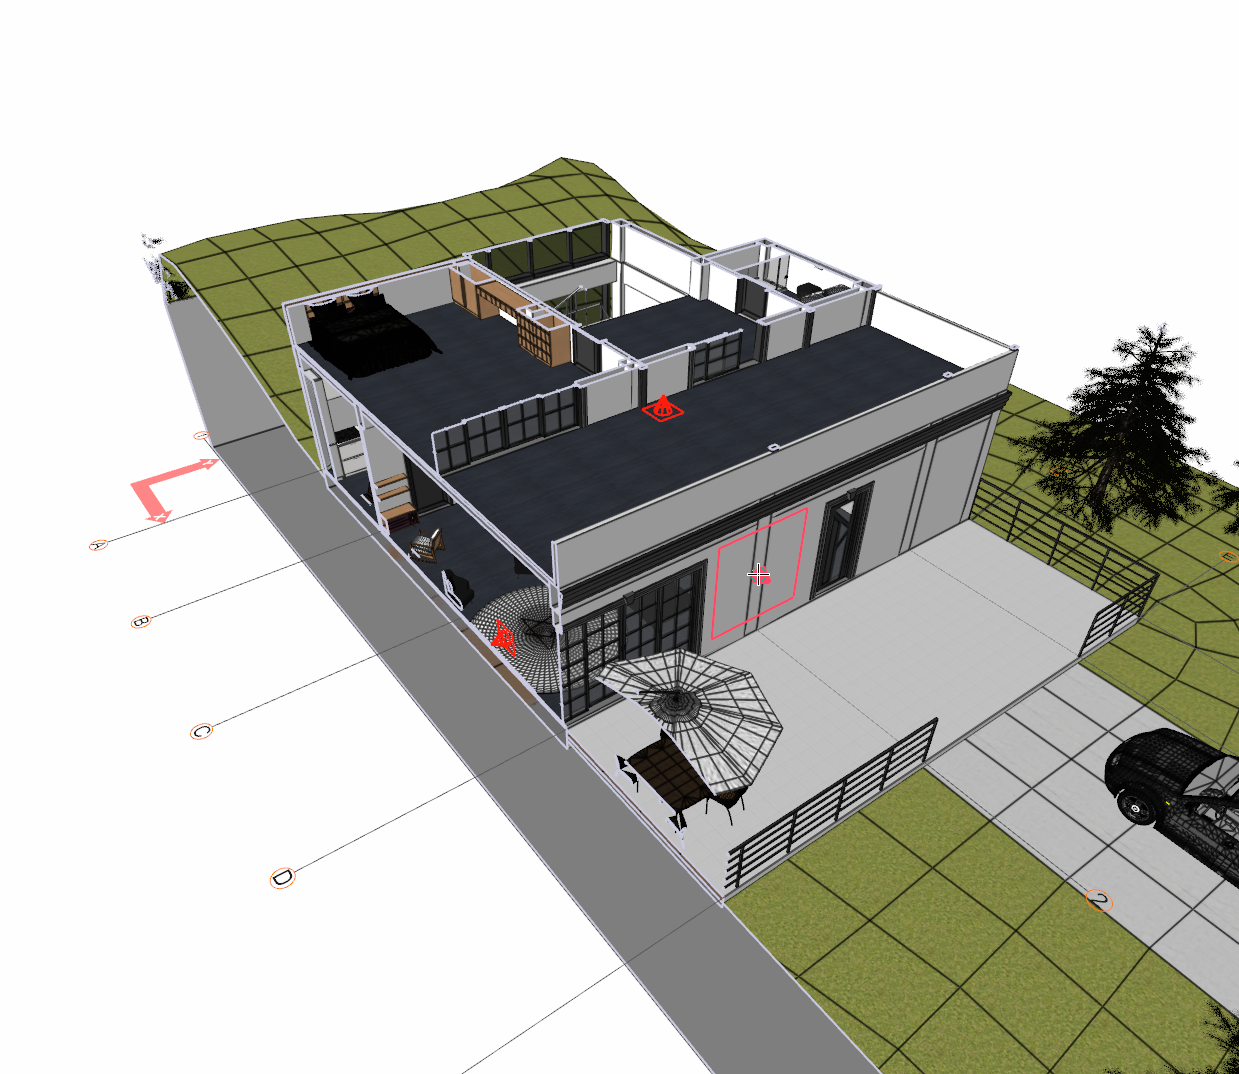
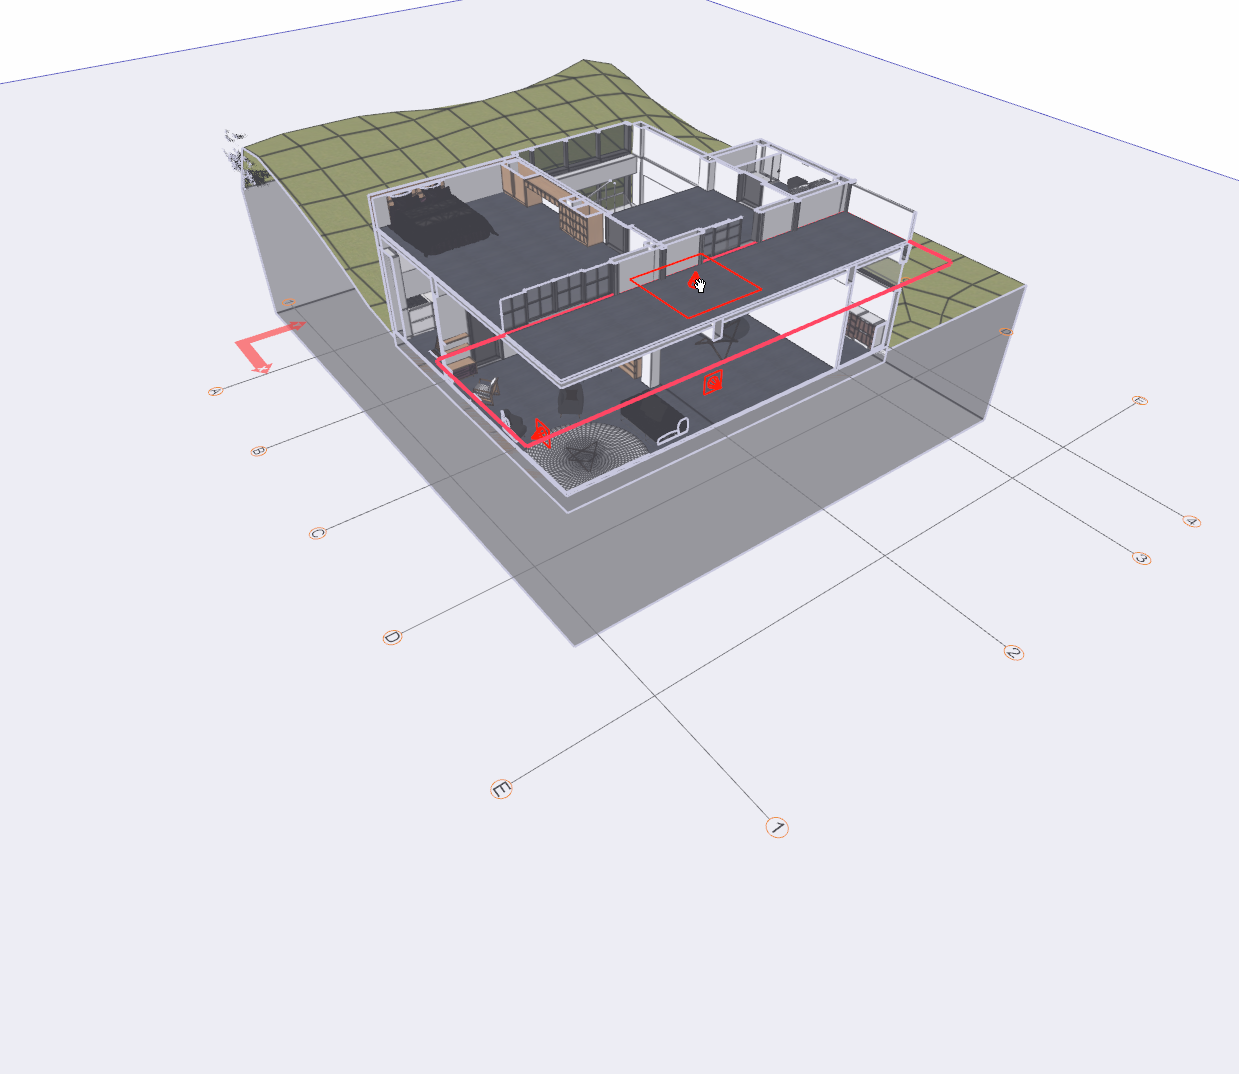
Changing the Clip Plane

The cutting points of the clip planes created can be changed at any time.

  • Perspective view after applying a clip plane

  • Click on the clip plane created parallel to the veranda with the left mouse button. The cutting recovery will appear.

  • Click again on the clip plane mark with the left mouse button and move your mouse while keeping it pressed.

  • Your cut point will change depending on the movement of your mouse.

  • After deciding on the cutting point, click the left mouse button. The clip plane will be formed in its new location.

Deleting Clip Planes

If the clip planes are more than one, to delete one of them;

  • Select the clip plane you want to delete by clicking it with the left mouse button.

  • Press the Delete button on the keyboard .

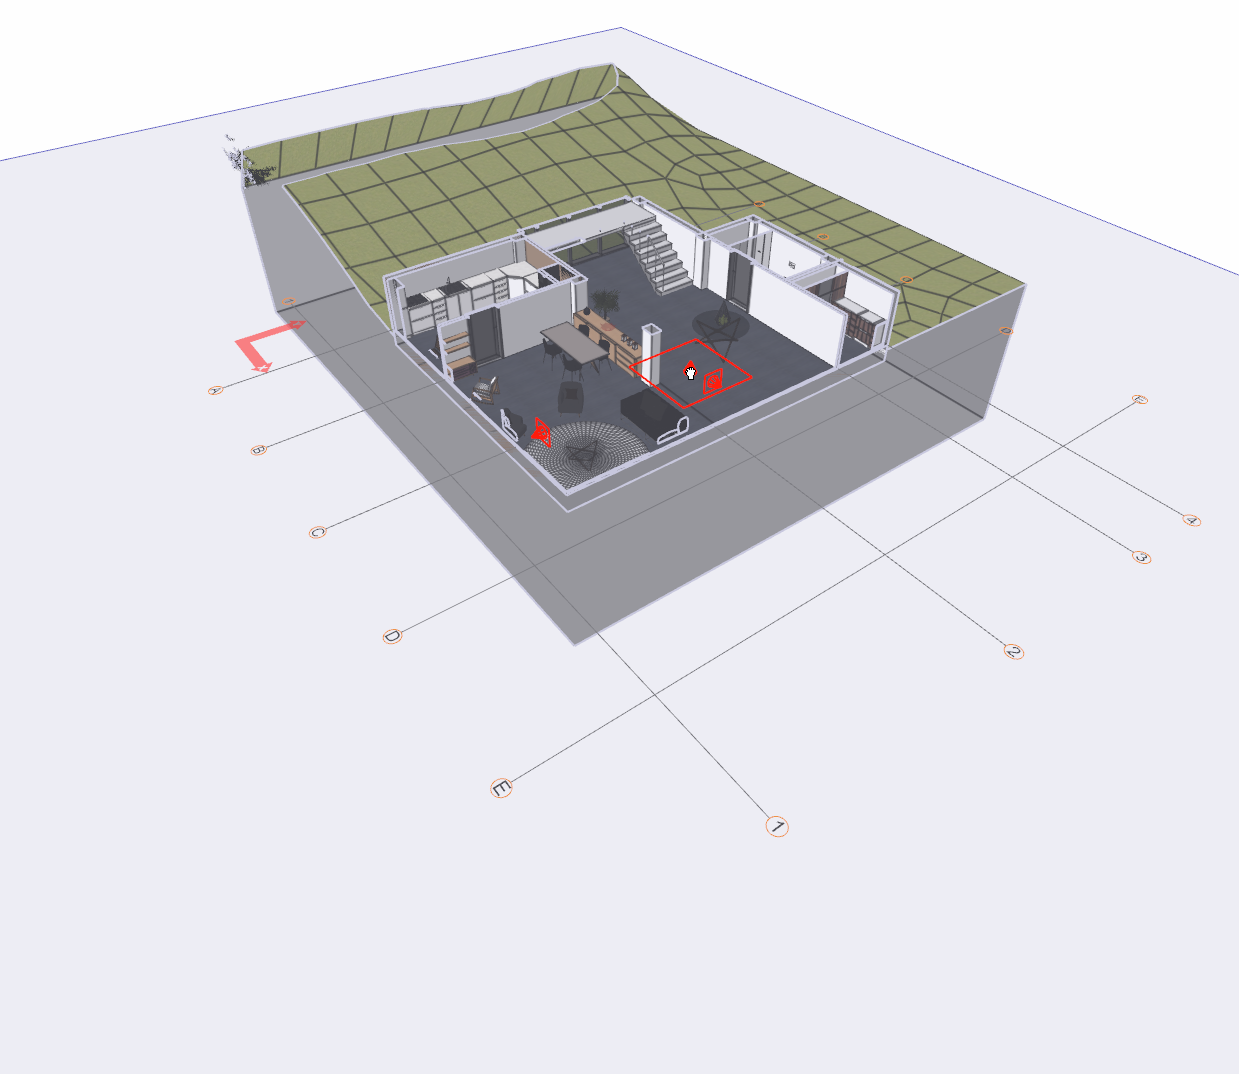
  • The clip plane you selected will be deleted and your solid model will return to its original state.

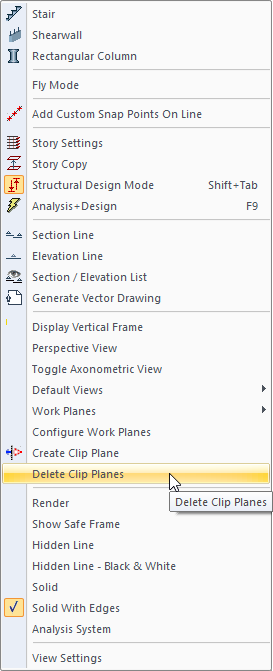
To delete all of the clip planes at once;

  • Click the right mouse button on the perspective window.

  • Click the Delete Clip Plane line from the menu that opens.

image-20240130-123134.png
  • All clip planes will be deleted and your solid model will return to its original state.

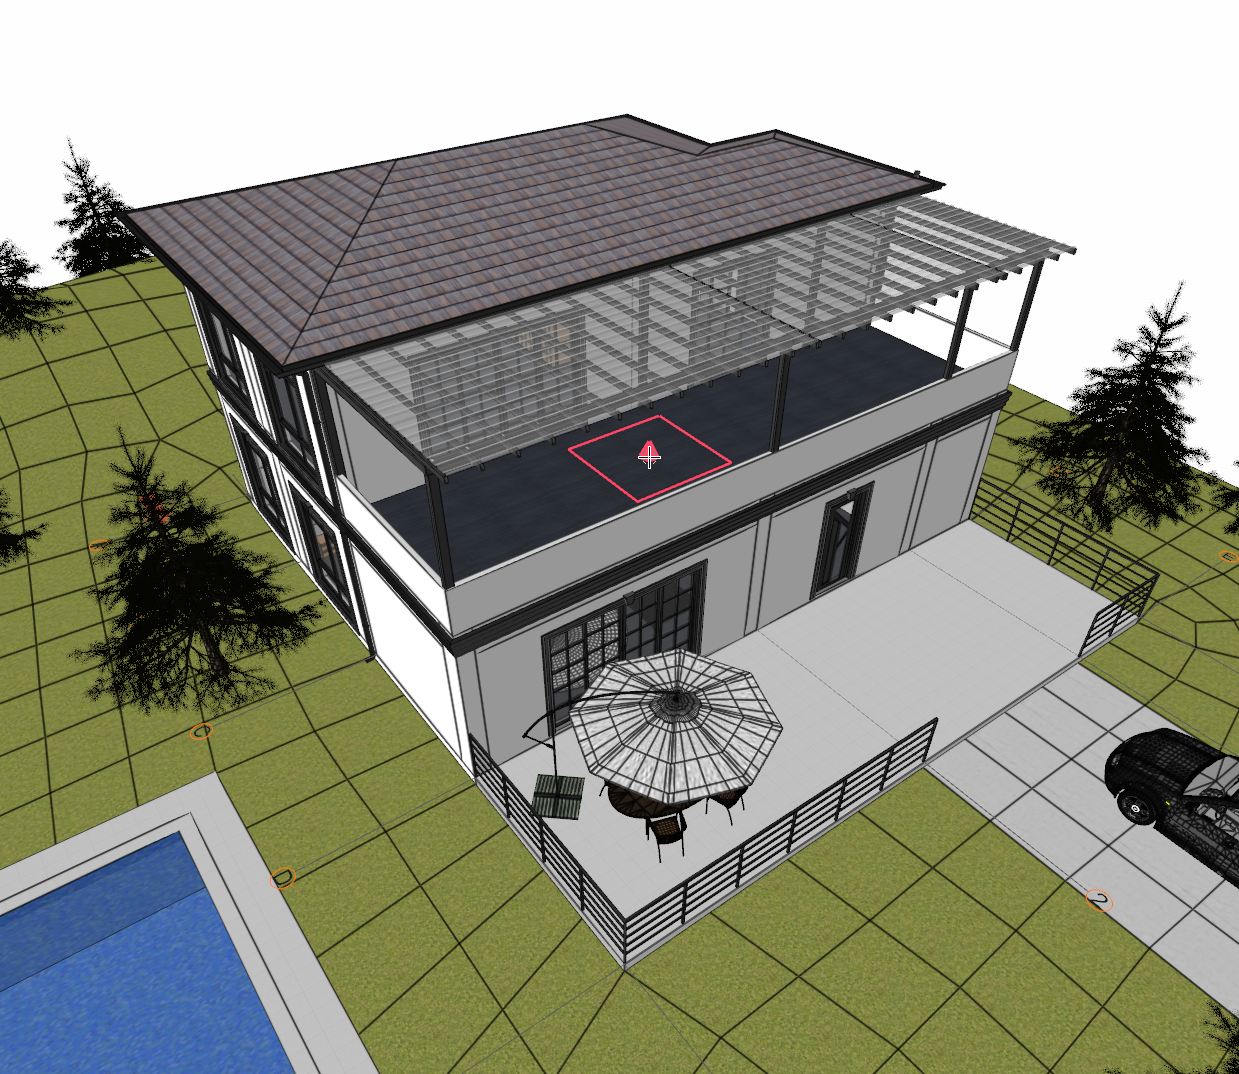
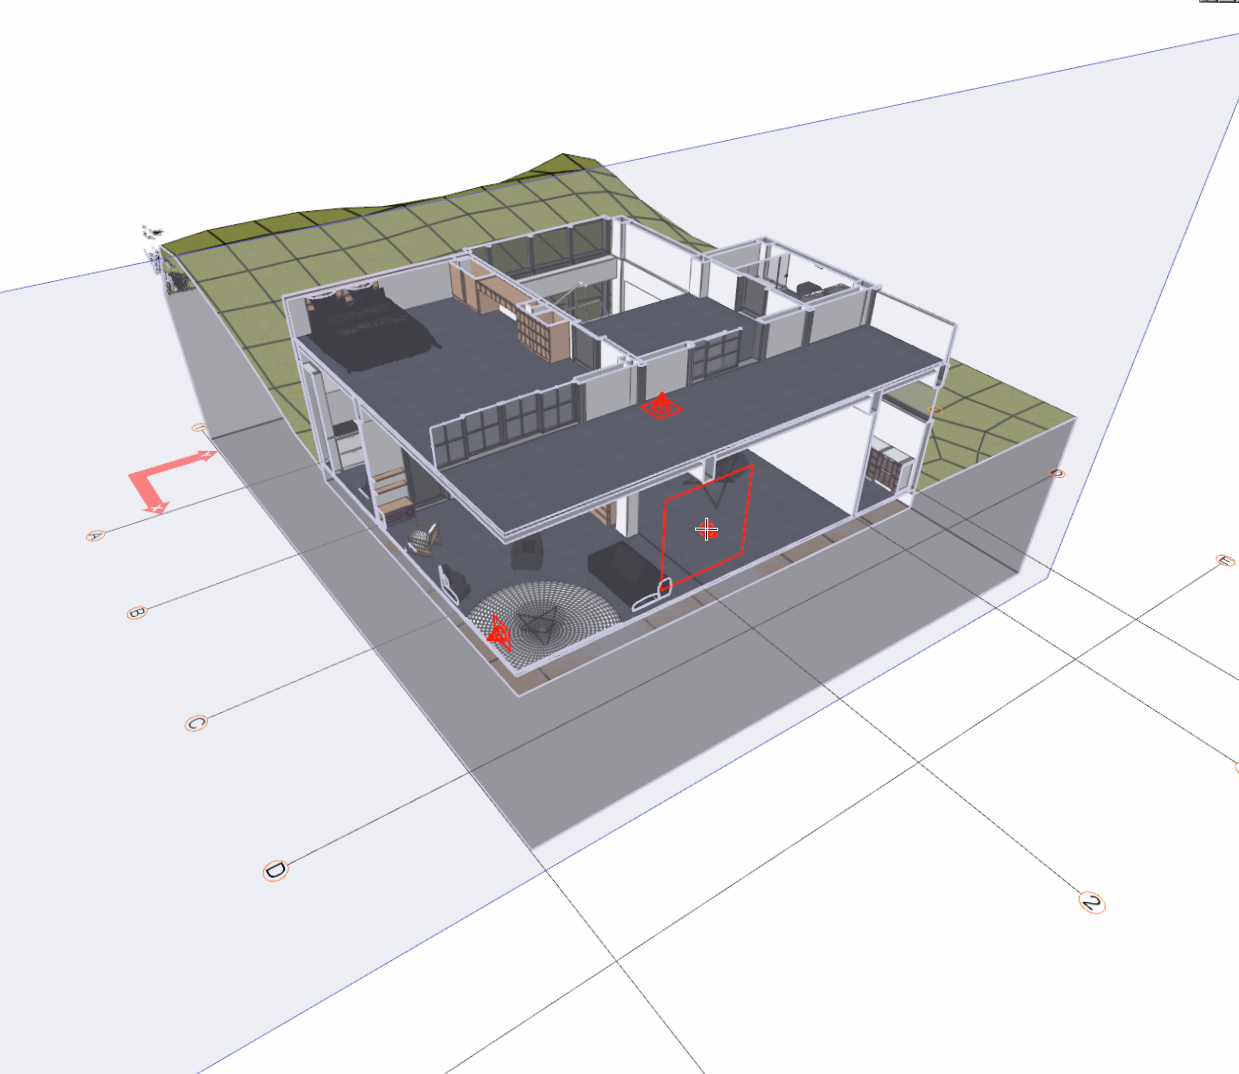
Perspective view with clip planes defined

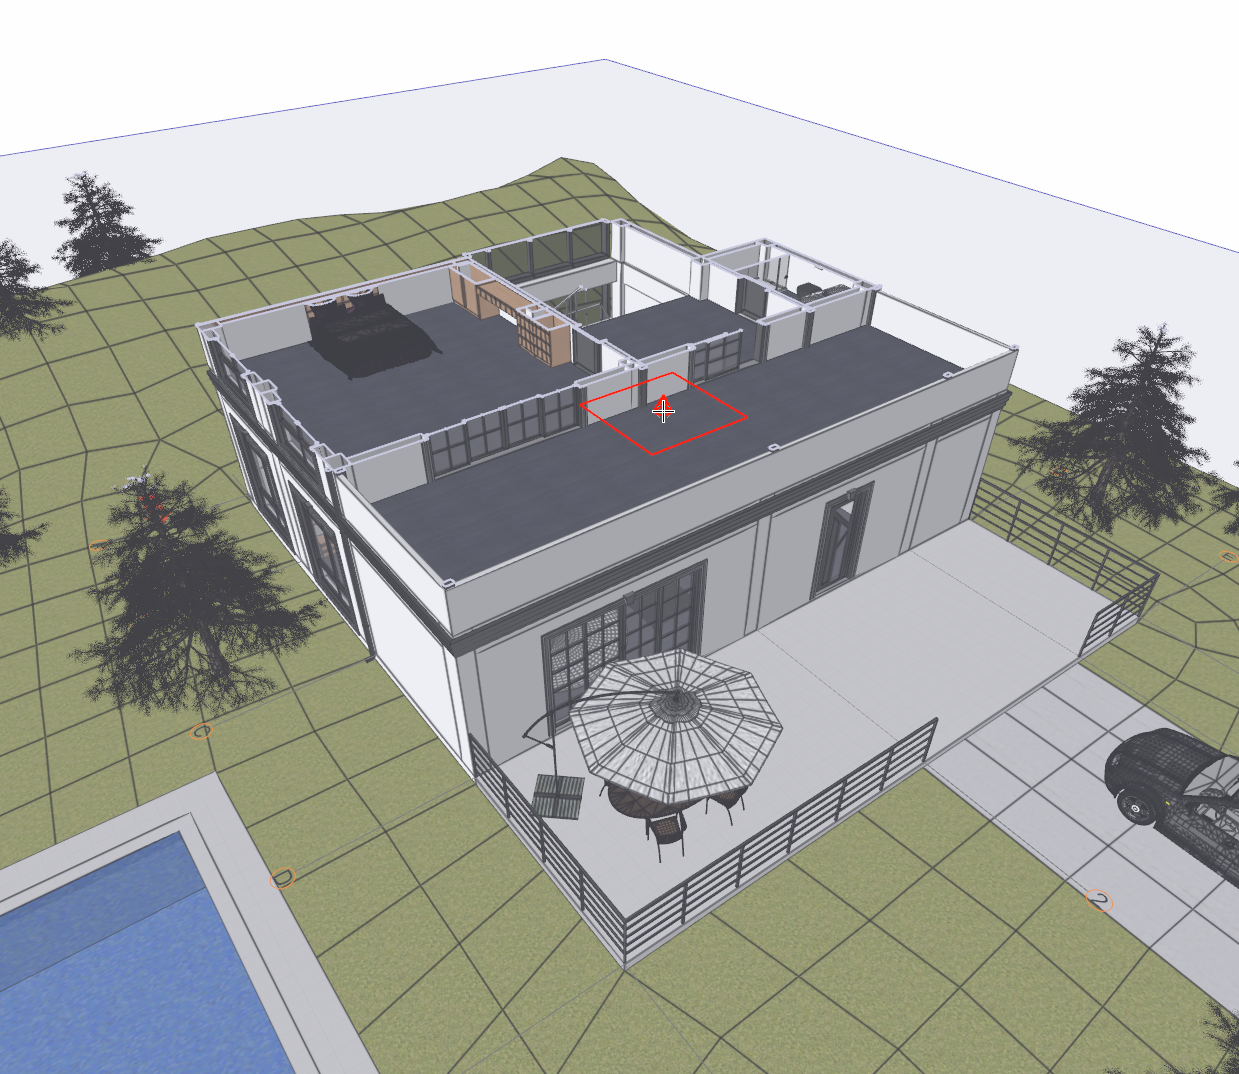
Perspective view when clip planes are deleted


JavaScript errors detected

Please note, these errors can depend on your browser setup.

If this problem persists, please contact our support.