
Create the stairs and railings in this section.
|
The previous steps have been followed in the project file Create the Stairs and Railings. You can download the file and follow the steps given in this title on the project. |
-
Click on the stair command. The stair preview will appear on the screen.
-
Press the spacebar on the keyboard to change the stair reference point and make it the upper left corner.
-
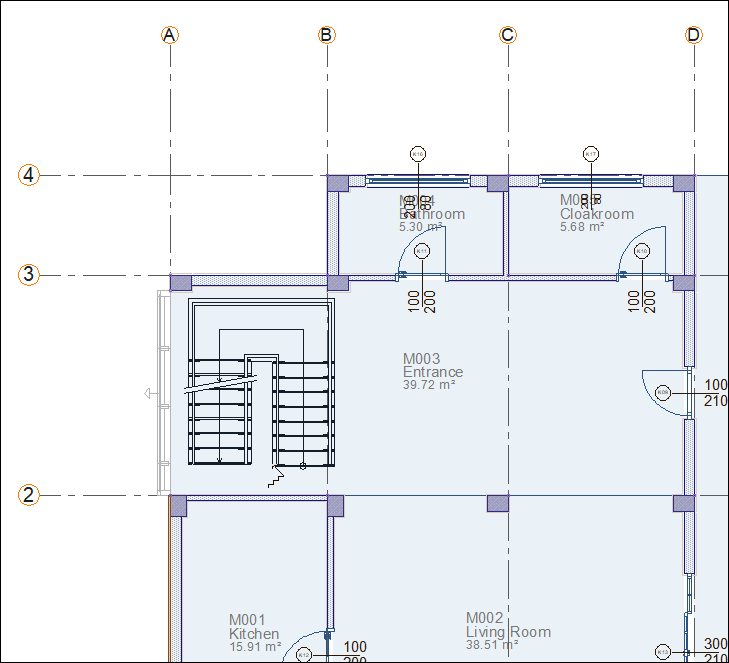
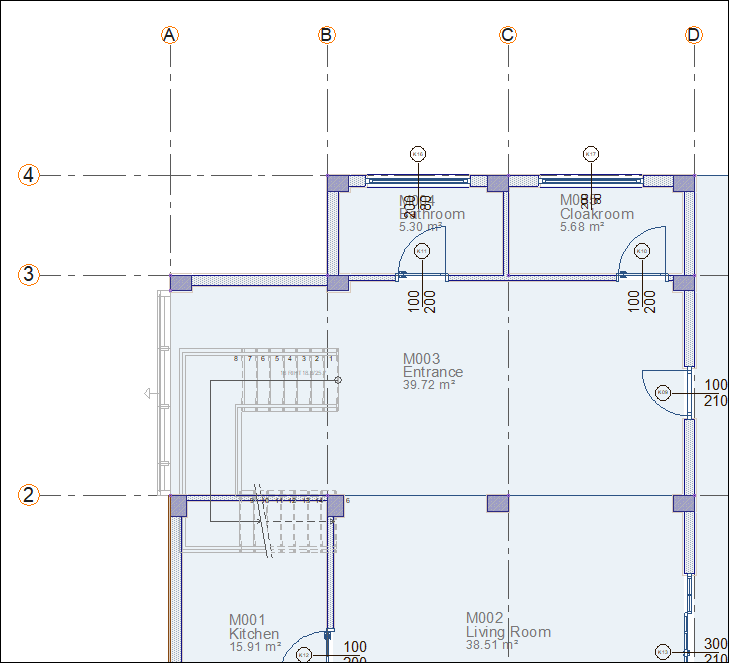
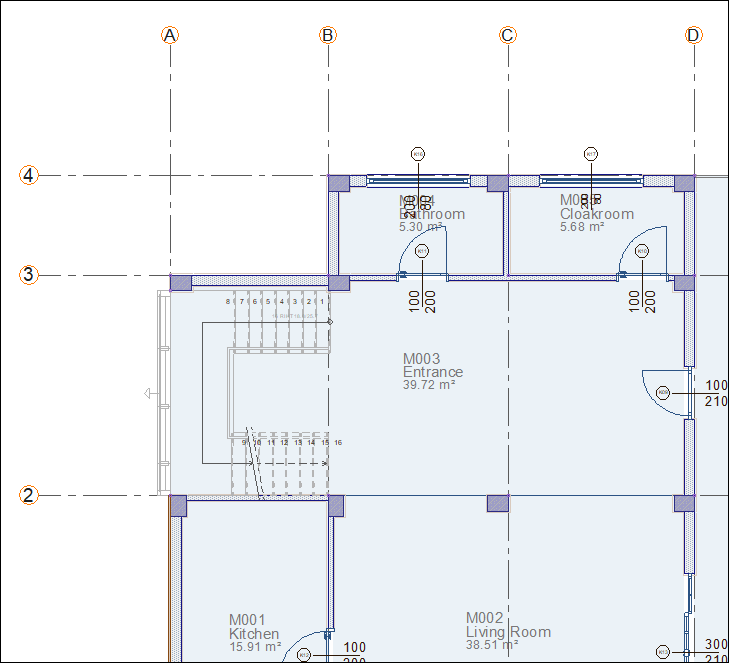
Click on the A-2 axis intersection. Click on the A-3 intersection to place your stair. Press the Esc key on the keyboard and exit the command.
-
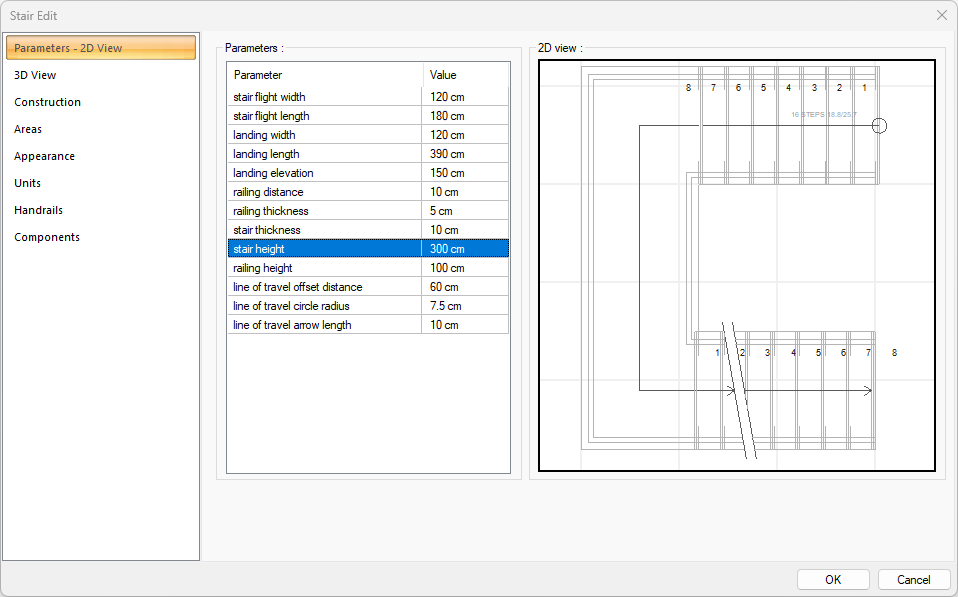
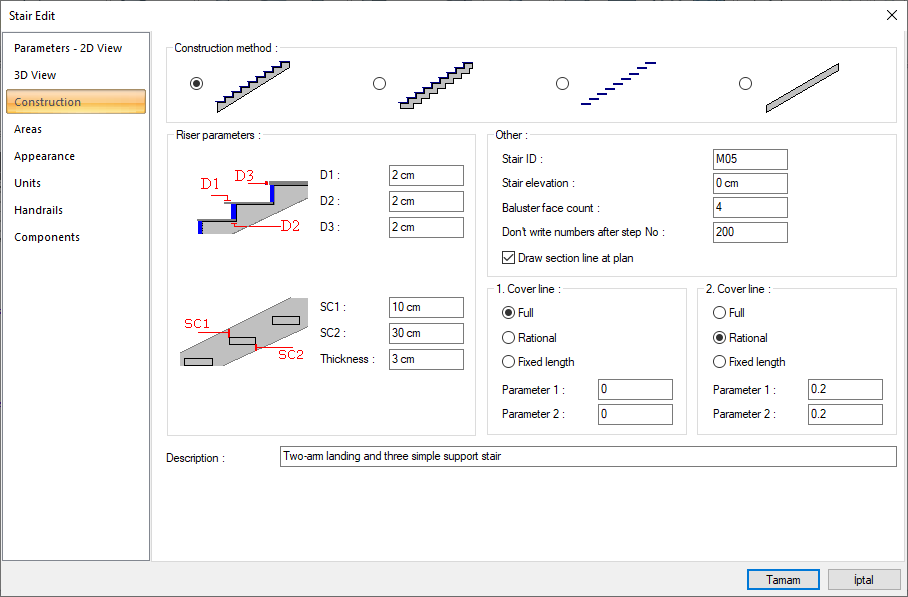
Double click on the stair to enter its settings.
-
Write 120 on the stair flight width, 180 on the stair flight length, 120 on the landing width, 3390 on the landing length, 150 on the landing elevation, and 300 on the stair height.
-
When you click the OK button, the stair will be shaped according to the entered values.
-
Select the stair and enter the move command. Place it at the A-2 axis intersection by clicking its left corner.
-
You can only see the active solid on the perspective screen by clicking the N button on the upper right corner of the perspective screen.
-
Double click on the stair to enter its settings.
-
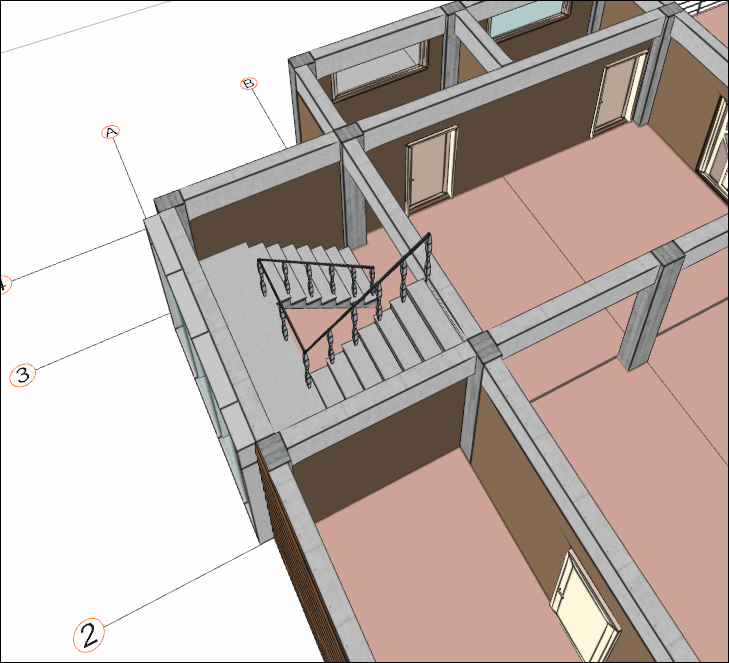
In the handrails tab, 1 type as the handrail profile and 1 as the balusters profile will be selected.
-
Choose 13 as the handrail profile and 20 as the baluster profile.
-
Click the OK button to close the dialog.
-
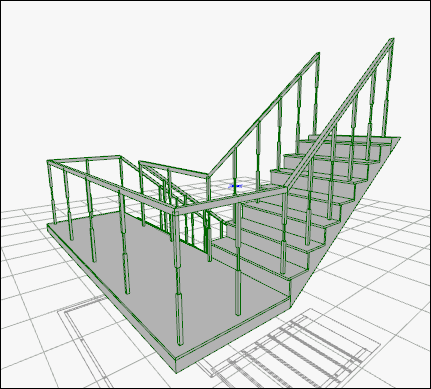
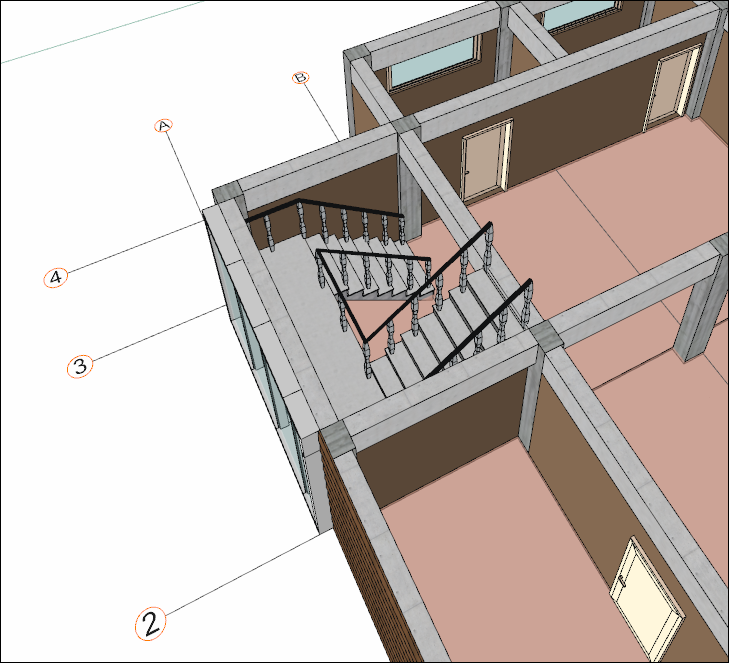
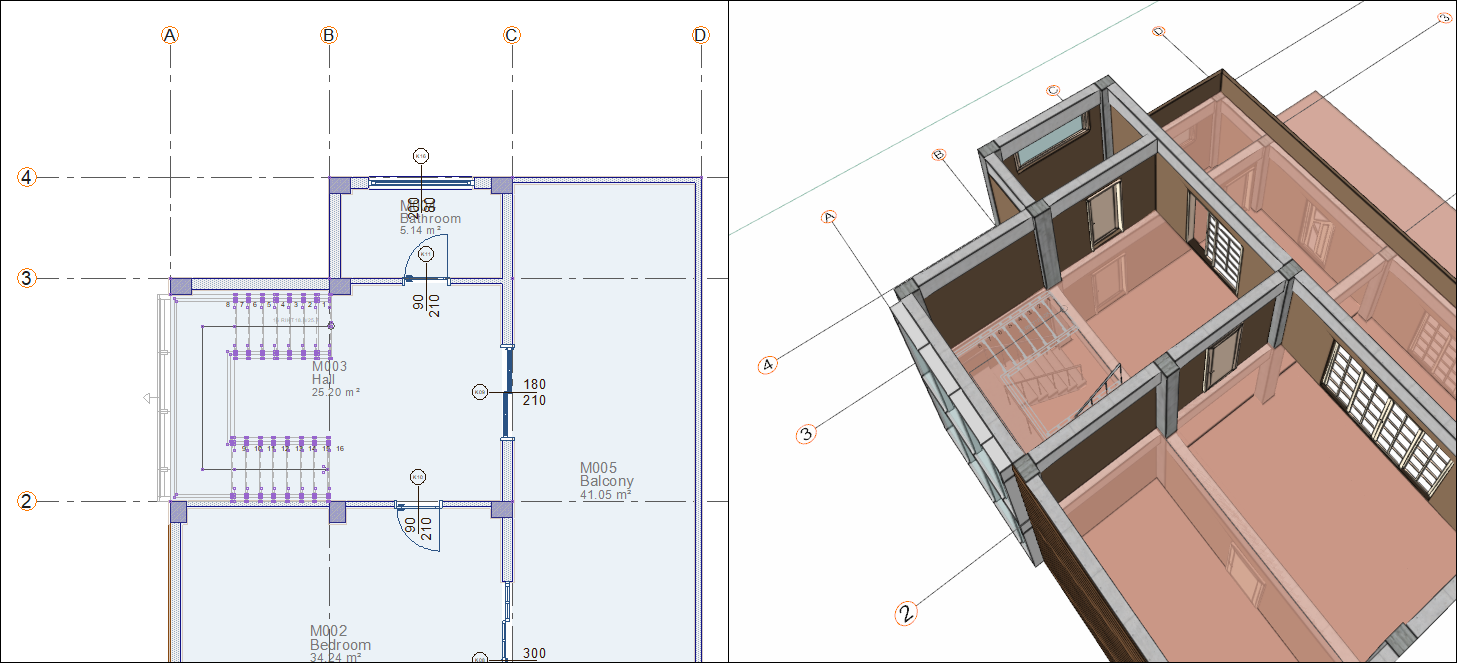
The base story stair is completed.
-
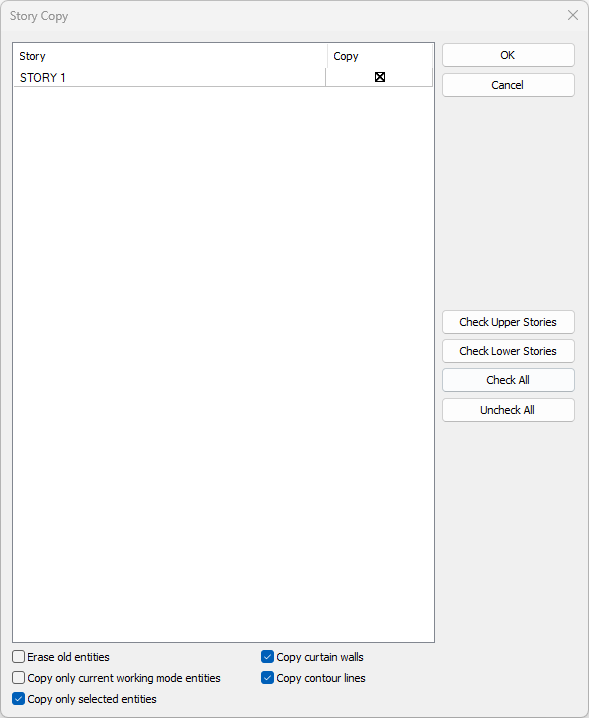
Select the stair and enter the story copy command. In the story copy dialog, mark story 1.
-
Uncheck the erase old entities option and click the OK button.
-
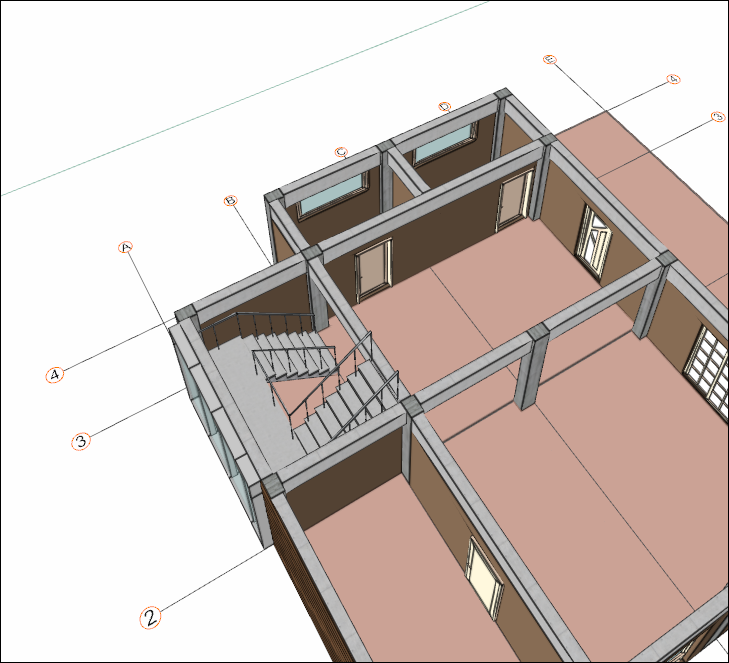
The stairs will be copied to the upper story. You can see all stories on the perspective screen by clicking the N button on the upper right corner of the perspective screen.
-
Click on the message line under the program interface. Go to the story 1 plan page by clicking the story 1 row from the list that opens.
-
Double click on the stair to enter its settings.
-
In the construction tab, uncheck draw section line at plan. Click the OK button to close the dialog.
-
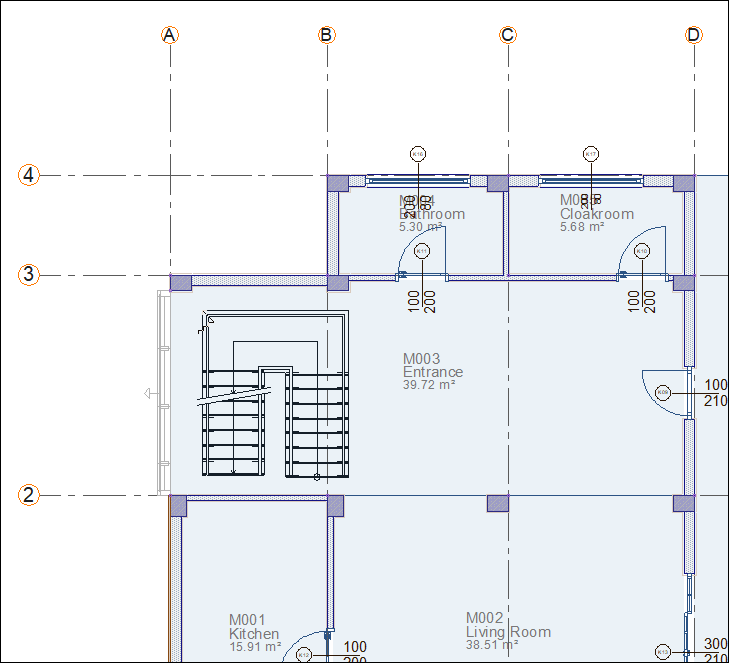
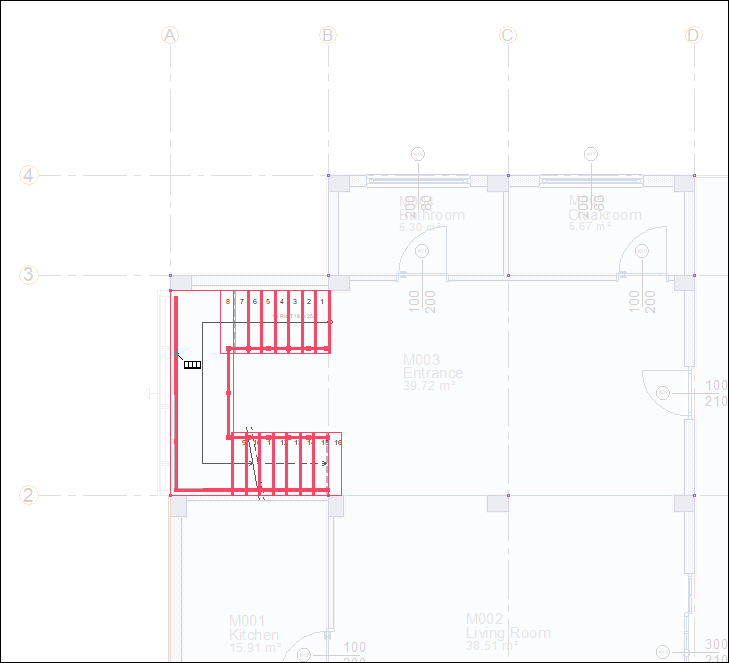
Select the stair and click the explode command. The stair will become two dimensional.
-
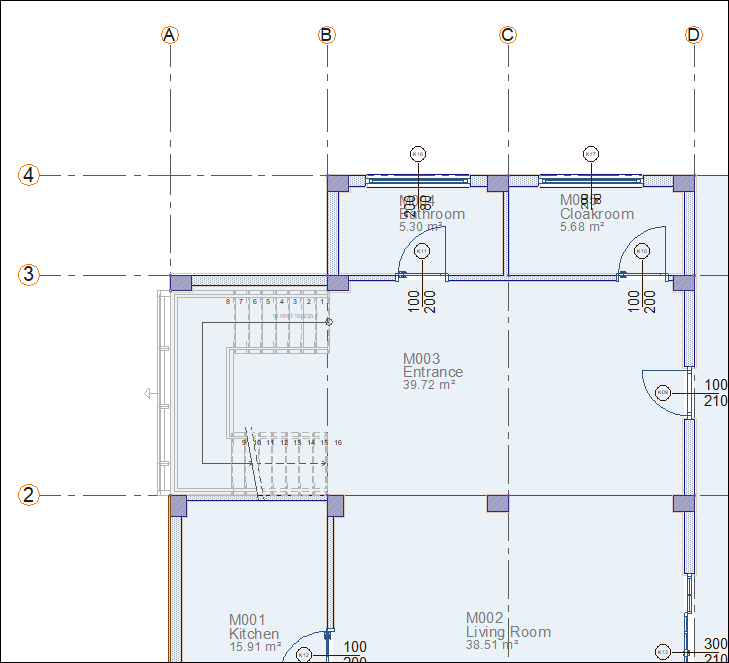
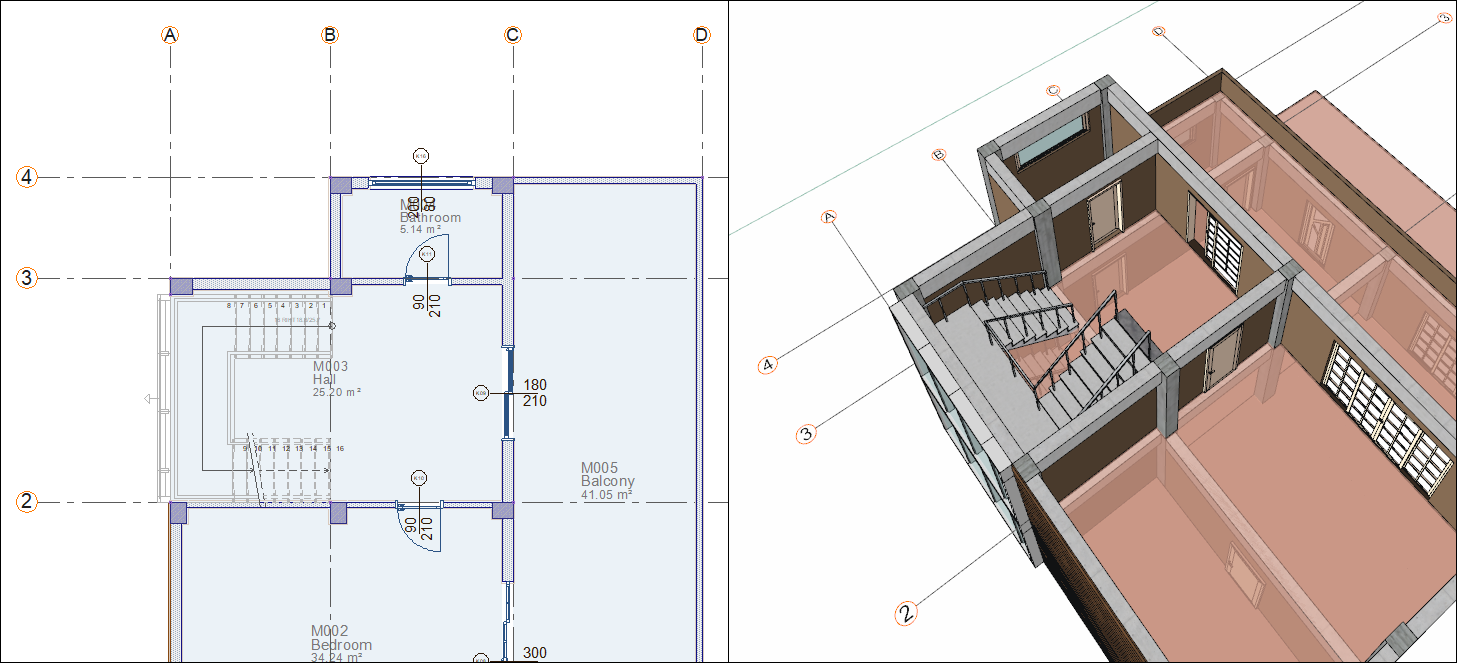
Click on the zone edge command to create the stairwell in the zone.
-
Click on B-2 axis intersection then click on B-3 axis intersection.
-
Your stairwell will be formed.
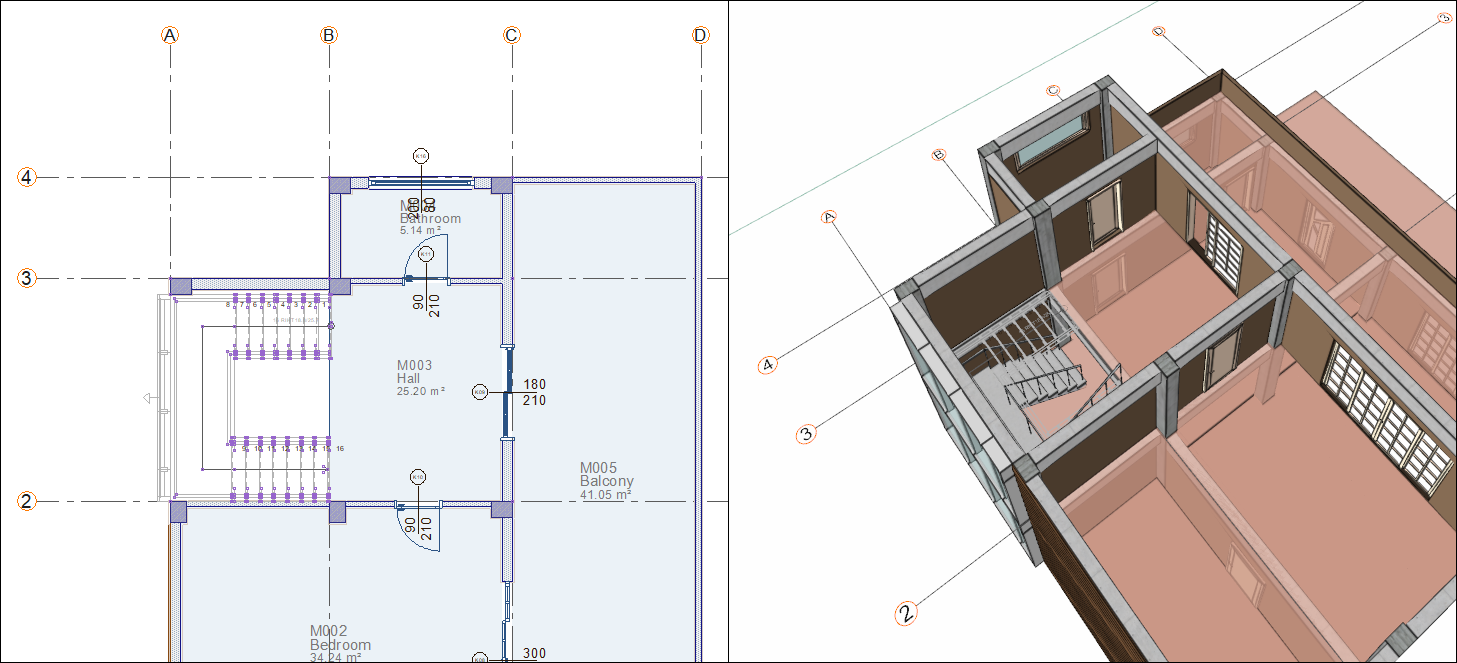
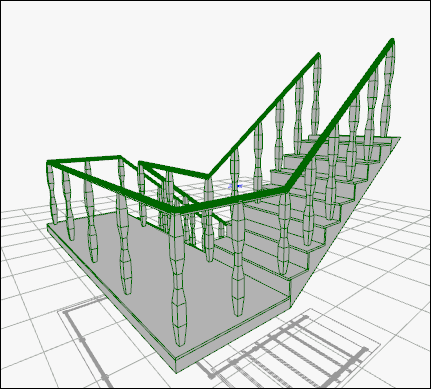
Hide the railings on the outer edge of the stair.
-
Go to the base story plan page. You can only see the active solid on the perspective screen by clicking the N button on the upper right corner of the perspective screen.
-
Click on the stair command.
-
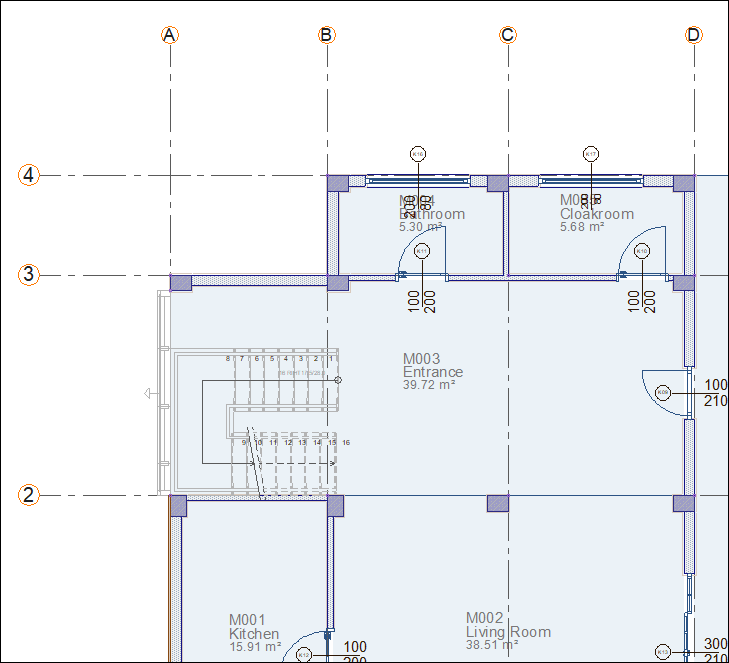
Click the command show/hide railing from the stair toolbar.
-
Click on the railings you want to hide.
-
Clicked on the railings will disappear.
-
With the railings on the outside edge of the stair hidden, exit the command by pressing the Esc command on the keyboard.
-
The railings on the outer edge of the stair will not be visible.
Follow the steps of the video below.
Next Tutorial