
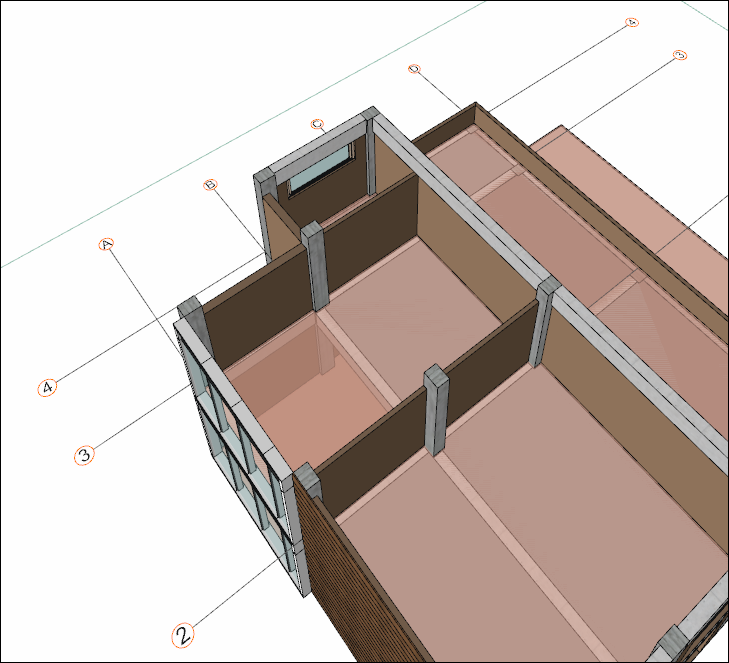
Create the upper story beams in this section.
|
Previous steps have been followed in the project file called Create the Upper Story Beams. You can download the file and follow the steps given in this title on the project. |
-
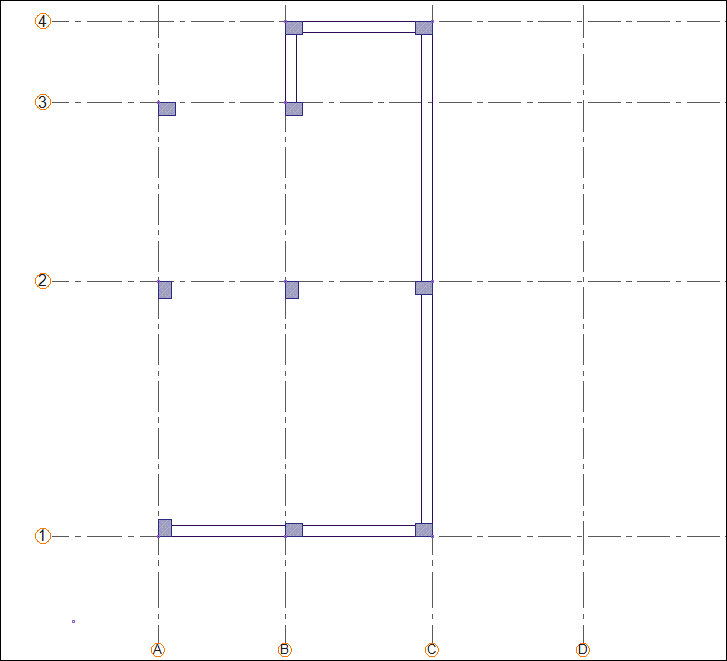
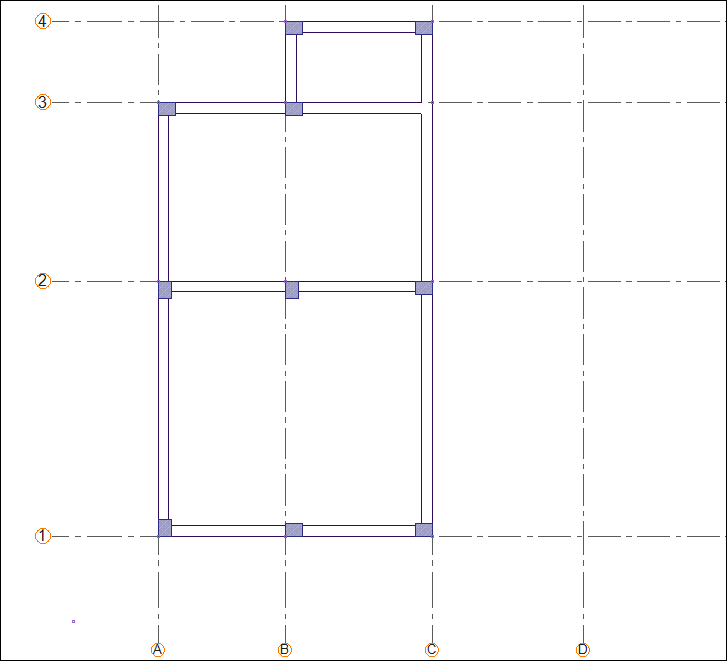
Click on the beam command from the concrete menu. The program will automatically switch to structural plan mode.
-
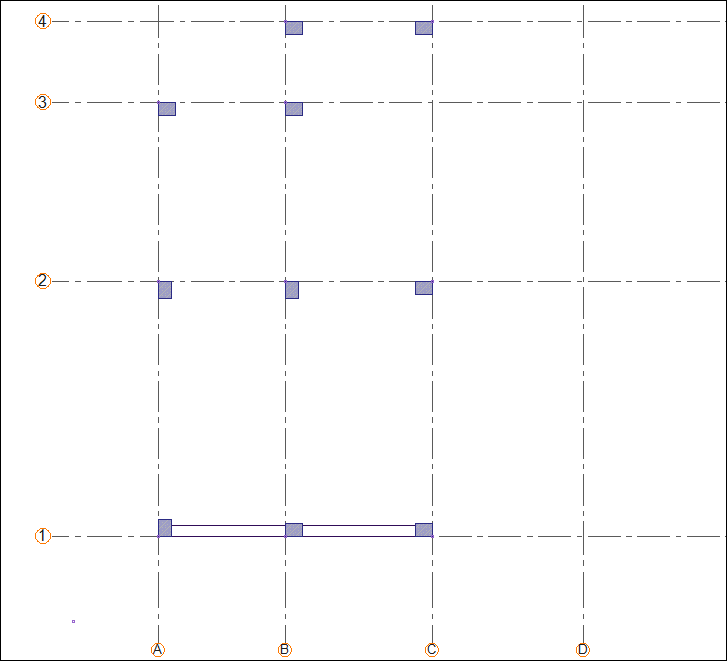
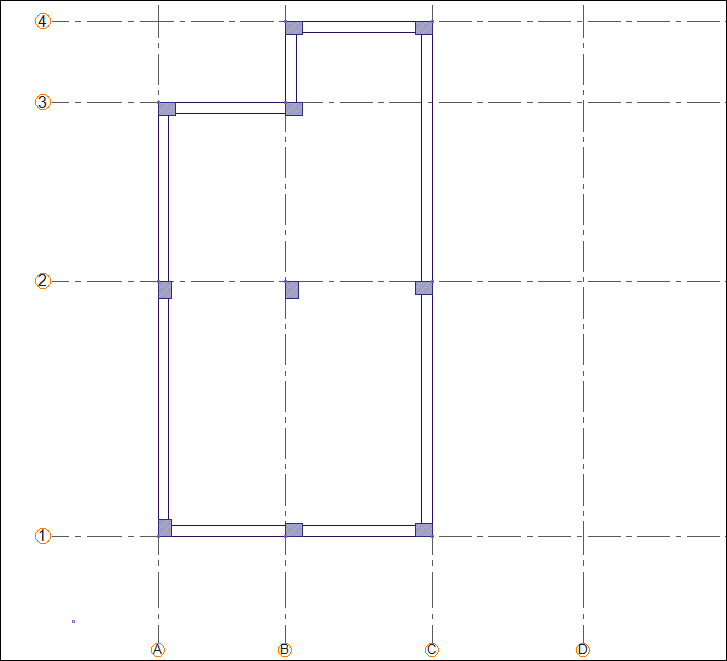
Click on the A-1 intersection as your starting point. Press the spacebar and slide the beam to the top of the axis.
-
Click on the C-1 axis intersection.
-
The beam will form between the A-C axes. The beam will be split according to the columns located between A-C axes.

-
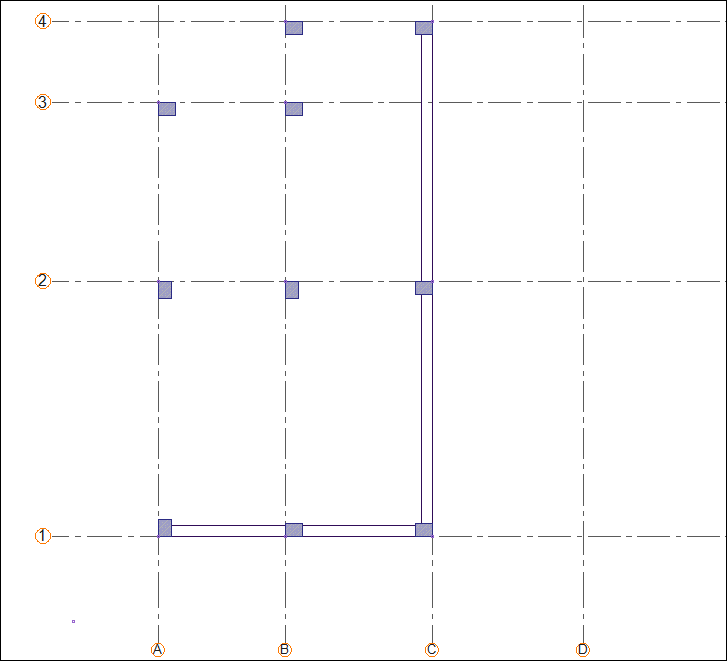
Click on the C-4 axis intersection.
-
The beam will be formed between 1-4 axes.
-
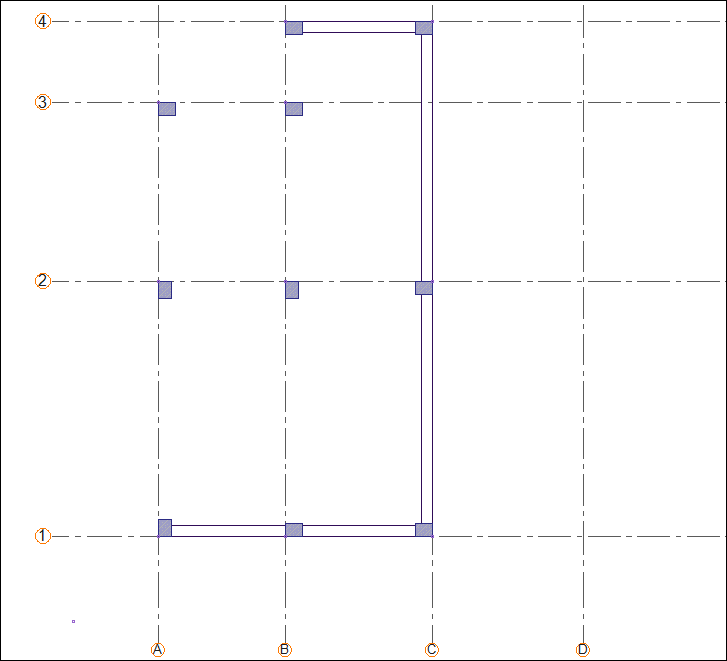
Click on the B-4 axis intersection.
-
The beam will be formed between the C-B axes.
-
Click on the B-3 axis intersection.
-
The beam will be formed between 4-3 axes.
-
Click on the A-3 axis intersection.
-
The beam will form between the B-A axes.

-
Click on the A-1 axis intersection.
-
The beam will be formed between 3-1 axes.
-
To draw a beam independent of the drawn beam, press the Esc key on the keyboard to exit the command.
-
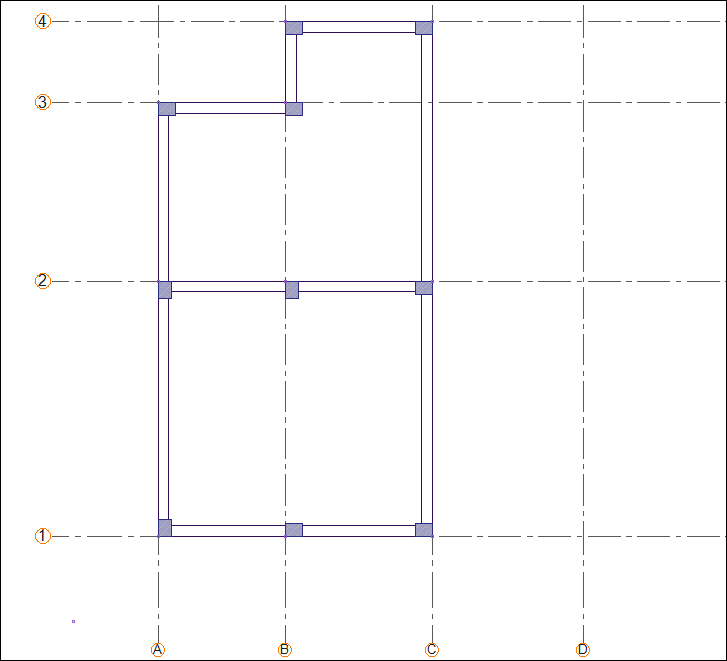
Enter the beam command. Click on the A-2 axis intersection, press the spacebar and slide the beam to the other side of the axis.
-
Then click on the C-2 axis intersection.
-
The beam will form between the A-C axes.
-
To draw a beam independent of the drawn beam, press the Esc key on the keyboard to exit the command.
-
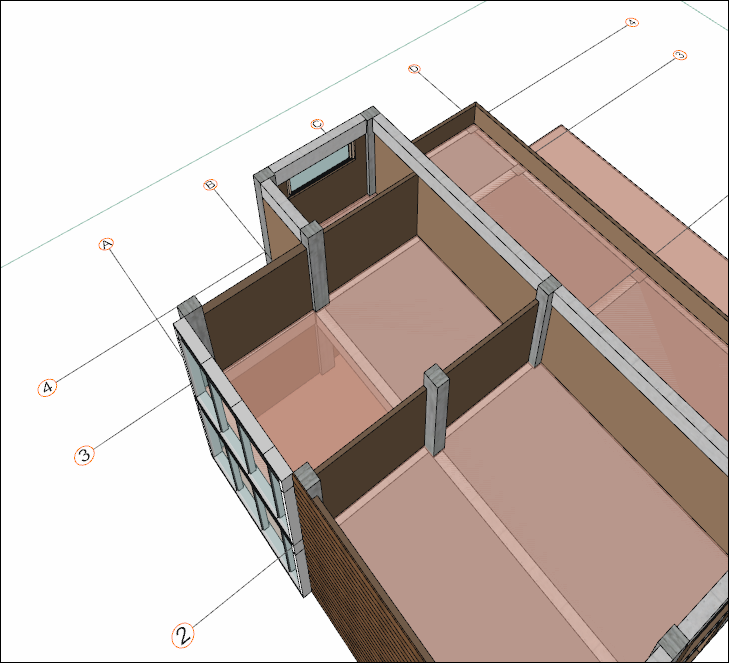
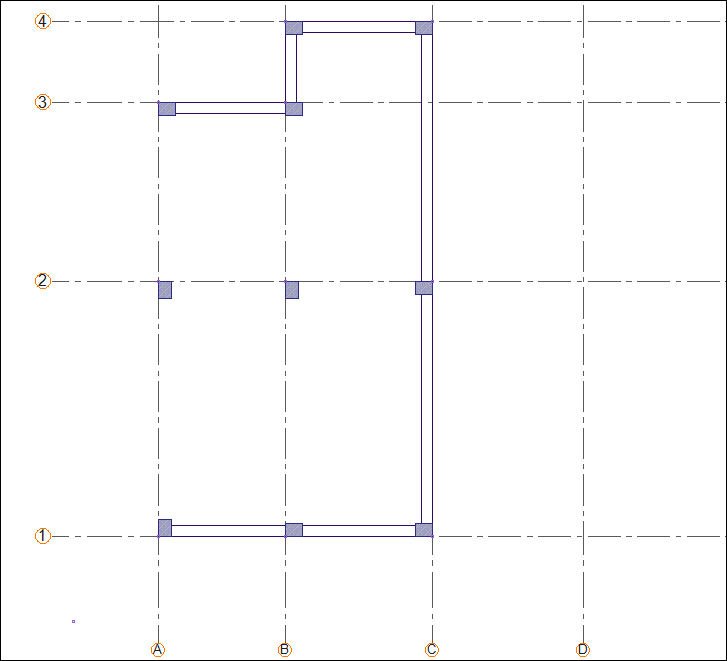
Enter the beam command. Click on the B-3 axis intersection then click on the C-3 axis intersection.
-
The beam will form between the B-C axes.
-
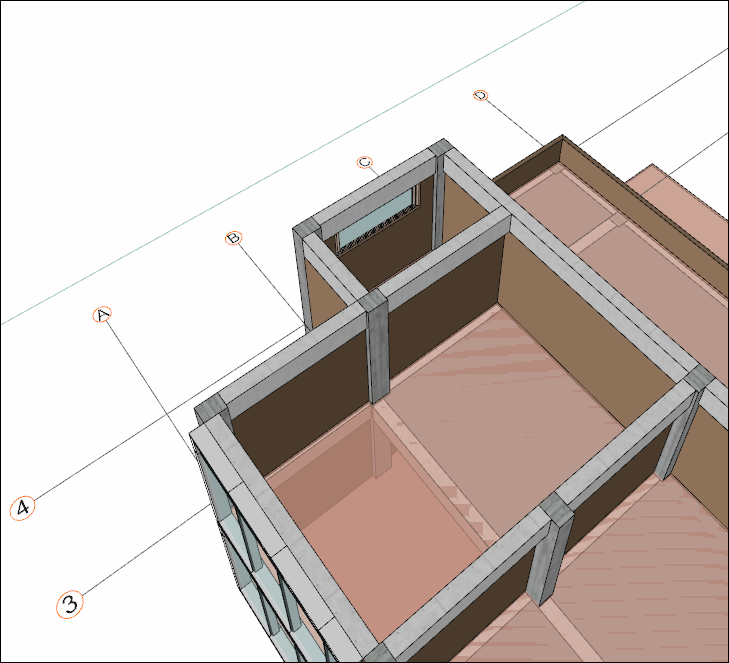
Press the Esc key on the keyboard to exit the command. The upper story beams are completed.

Follow the steps of the video below.
Next Tutorial