
With the vault command, vaults of concrete design are created.
Location of Vault Command
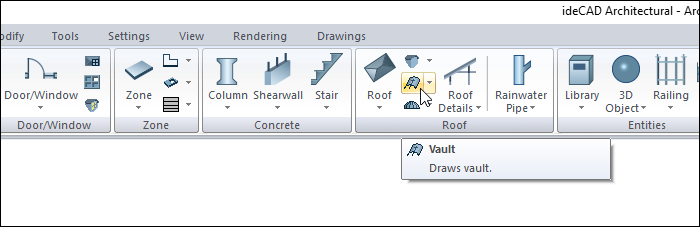
In the Architectural Program
You can access under the ribbon menu Home tab, Roof title.
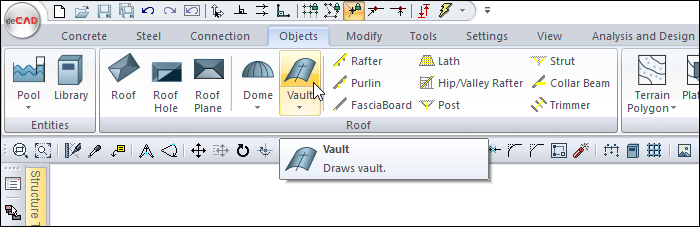
In Structural Program
You can access ribbon menu, Objects tab, Roof title.
Usage Steps - By Defining the Path
Draw the shape of the vault section in the drawing area using the line, arc or curve commands. The vault section can be in arc, curved or linear shapes.
-
Define a path to the vault with the route command in addition to your section. Your vault will be defined along the way you create.
-
Click the Vault icon from the ribbon menu .
-
The vault toolbar will open.
-
When you click on the vault icon, your cursor will change and the number 1 will appear. Indicates that you are in the first stage of the vault drawing.
-
In the first step, select the lines, arc or curve you have drawn to determine the section form by clicking with the left mouse button in the drawing area.
-
Click the right mouse button. The number that appears on your cursor will appear as 2. Indicates that you are in the second stage of the vault drawing.
-
In the second step, select your path by clicking with the left mouse button in the drawing area. As soon as you choose your path, a preview of your tone will be formed.
-
If you have other ways, you can create them with the same section. Exit the command by pressing the esc key on the keyboard.
|
Usage step |
|---|
|
Defining the section and path for the vault 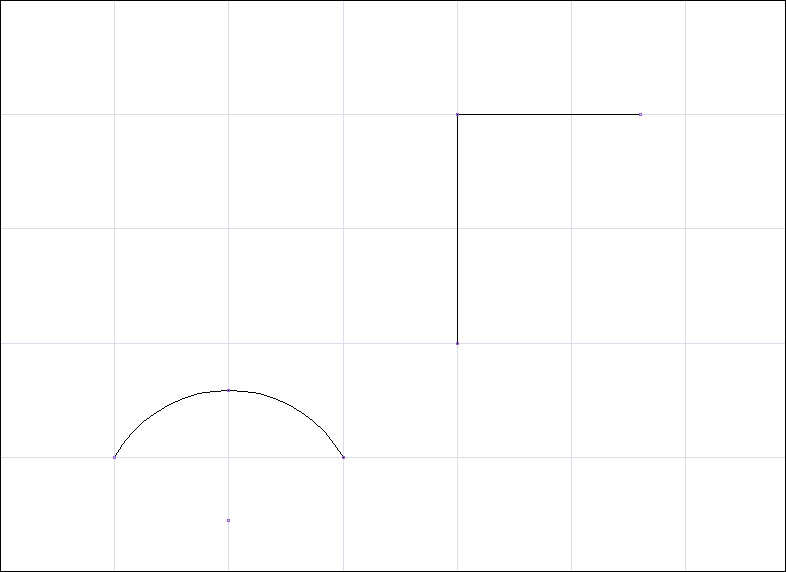
|
|
Choosing a section for the vault 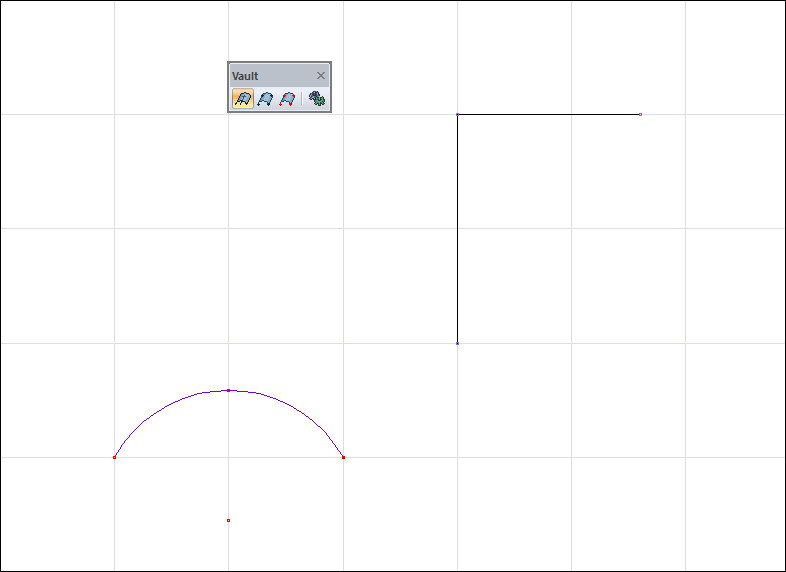
|
|
Choosing the road for the vault and creating a preview 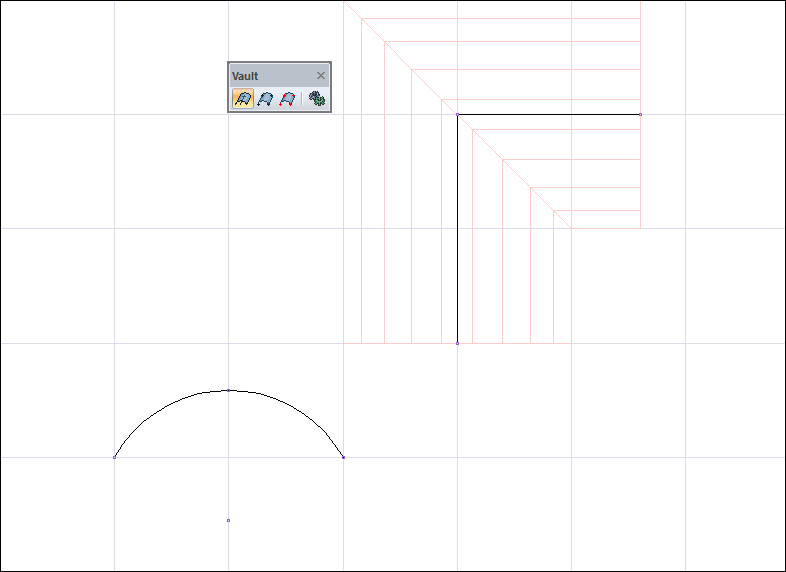
|
|
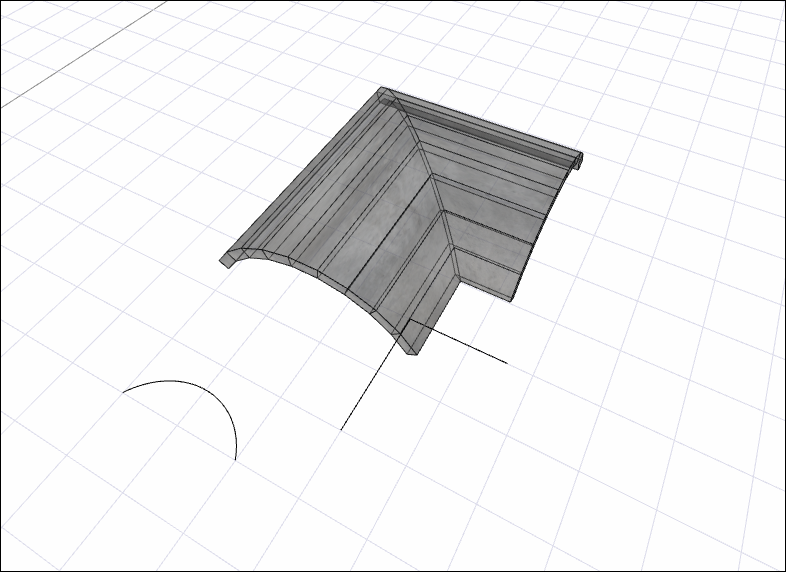
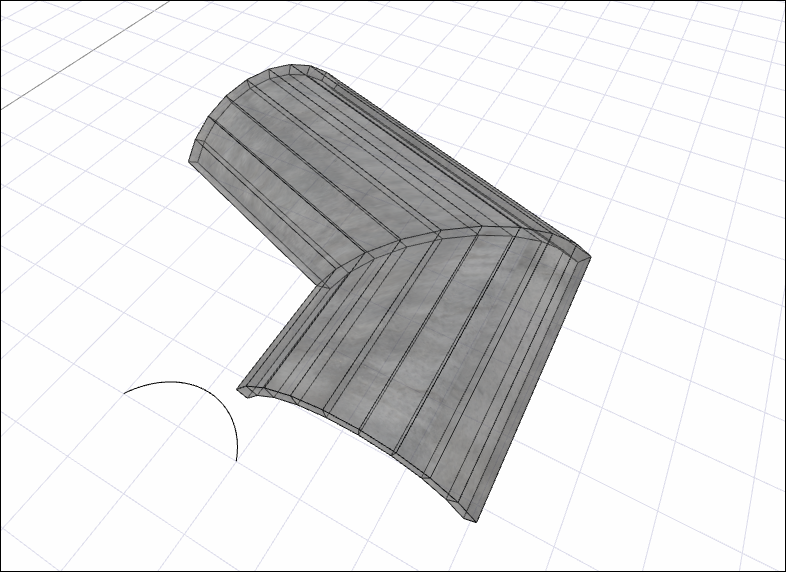
The formation of the vault 
|
Usage Steps - By Free Drawing
You can also create the tone by freehand drawing, if you want. For this;
-
Draw the shape of the vault section in the drawing area using the line, arc or curve commands.
-
Click the Vault icon from the ribbon menu .
-
The vault toolbar will open.
-
When you click on the vault icon, your cursor will change and the number 1 will appear. Indicates that you are in the first stage of the vault drawing.
-
In the first step, select the lines, arc or curve you have drawn to determine the section form by clicking with the left mouse button in the drawing area.
-
Click the right mouse button. The number that appears on your cursor will appear as 2. Indicates that you are in the second stage of the vault drawing.
-
In the second step, click the right mouse button again. It will allow you to skip the path determination process and draw freehand.
-
Click on the drawing area with the left mouse button. The clicked point will be the starting point of the vault.
-
Drag the mouse cursor. Your vault will move with your mouse.
-
By pressing the spacebar on the keyboard, you can define the vault at the bottom, top or middle.
-
Click the left button again to select the second point of the vault. The vault will be drawn.
-
Draw the desired number of vaults by dragging the mouse and clicking the left button. They are interconnected and their turns will be compatible.
-
Click the right mouse button to finish drawing the vault. At this stage, you can choose a new section and create a vault.
-
Exit the command by pressing the esc key on the keyboard.
|
Usage step |
|---|
|
Defining the section for the vault 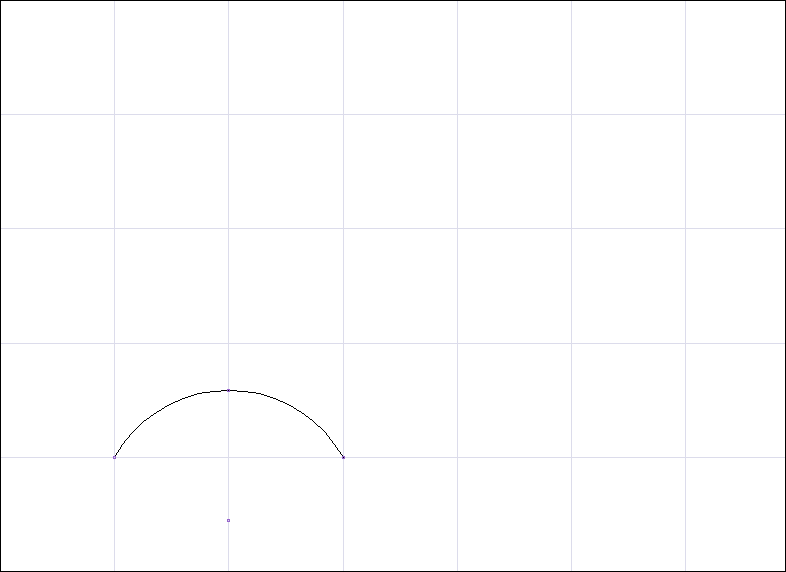
|
|
Choosing a section for the vault 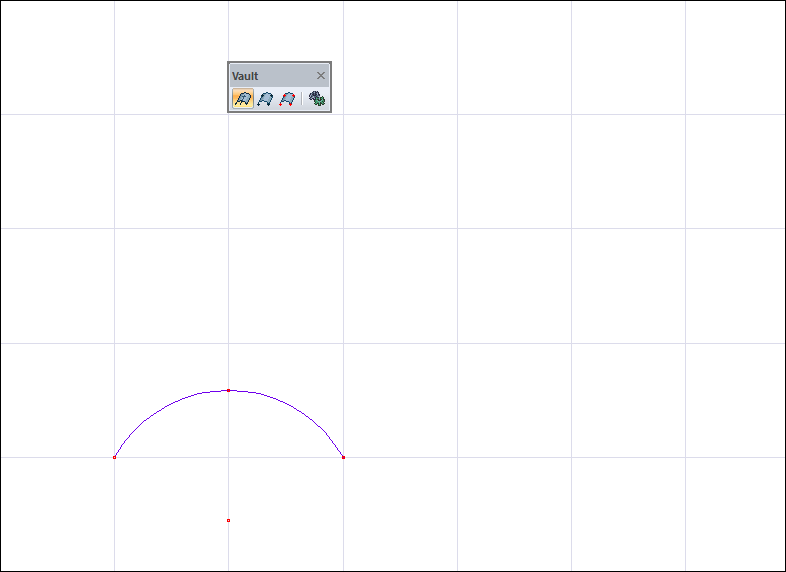
|
|
Determination of the vault starting point and creation of the preview 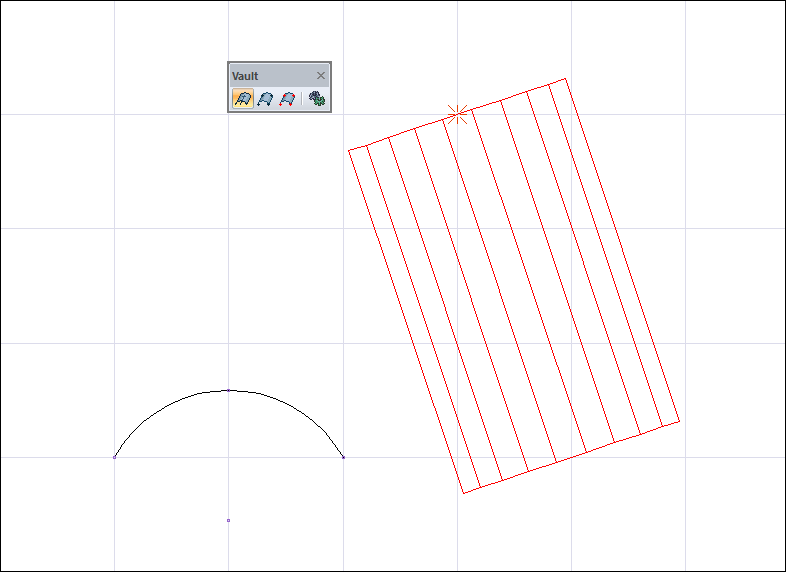
|
|
Changing the offset by pressing the spacebar on the keyboard 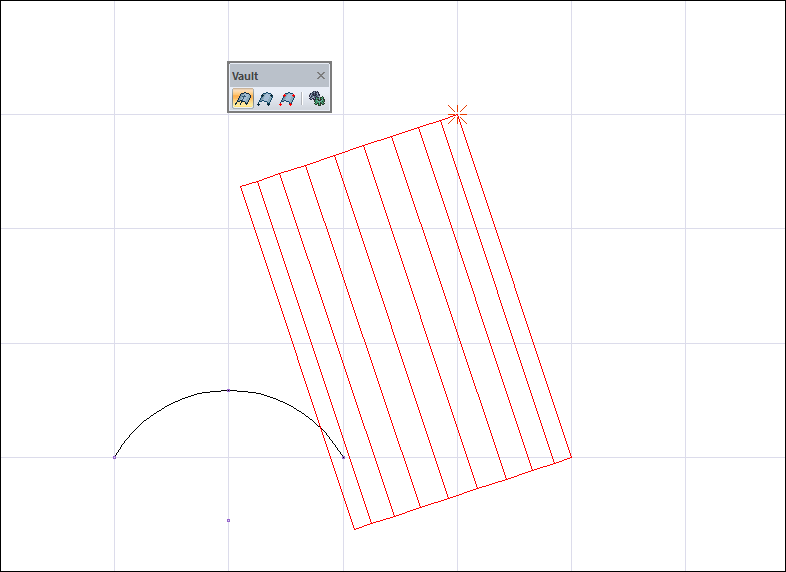
|
|
Creation of the second and third points for the vault 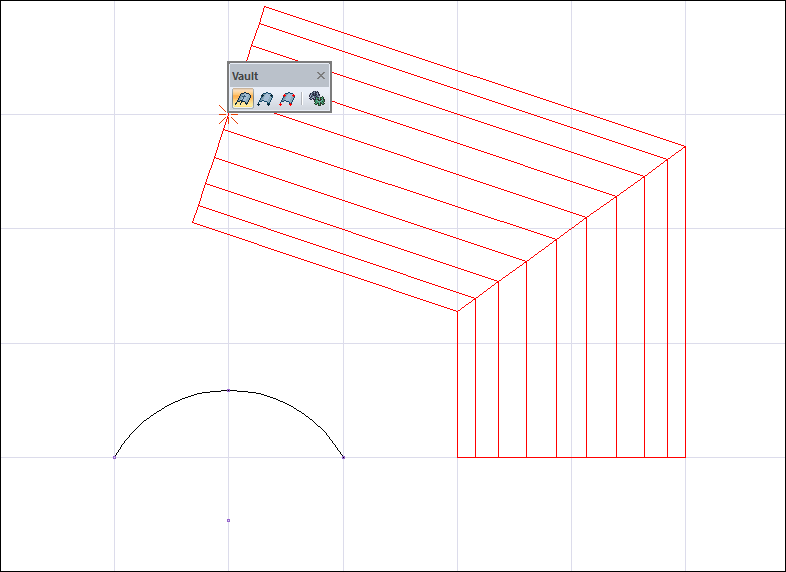
|
|
Completing the point creation for the vault by clicking the right mouse button 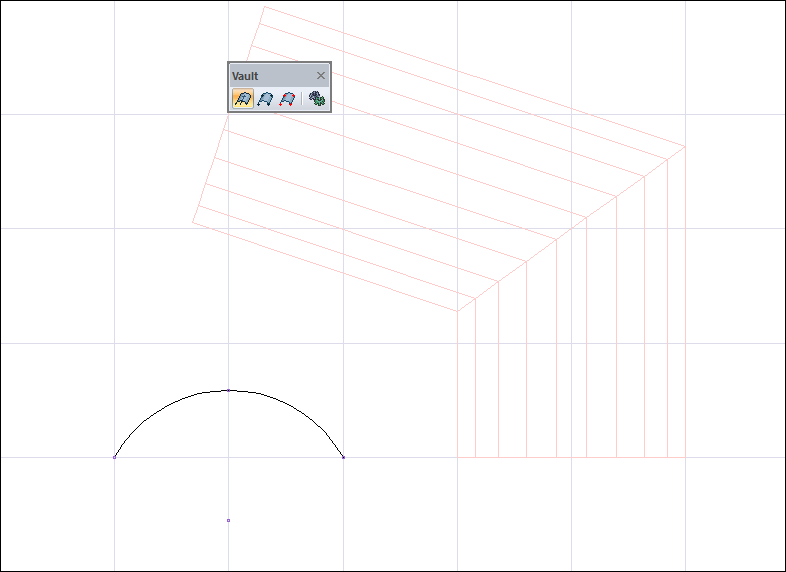
|
|
Completing the creation of the vault 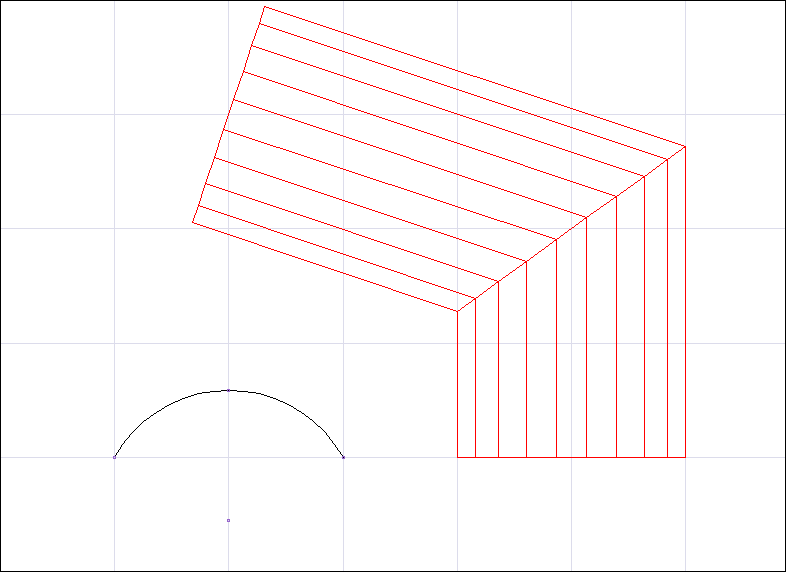
|
Next Topic
Related Topics