
With the stair command, the appropriate stair type is selected from the stair library in the stair settings and placed in the drawing area. Stairs are 3D parametric objects prepared in various types and thrown into the library.
Location of Stair Command
In Architectural Program
You can access it under the ribbon menu Home tab, Concrete title.

In Structural Program
You can reach it under the ribbon menu Concrete tab, Concrete title
Usage Steps
To draw a stair:
-
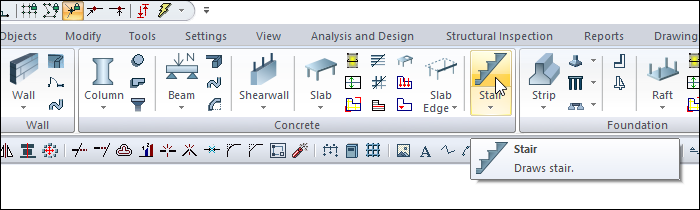
Click the Stair icon in the ribbon menu .
-
The stair toolbar will open.
-
The virtual image of the selected stair is displayed. The preview of your stair will move with the movement of your mouse.
-
Move the stair to the point you want to place in the drawing area and click with the left mouse button. The stair preview will be fixed.
-
When you move the mouse, the stair will rotate around this clicked point depending on the mouse movement.
-
The reference point used when placing your stair by pressing the insertion point icon from the stair toolbar or the spacebar on the keyboard will allow you to place it by reference to different points such as the stair end, the landing end or the stair flight end.
-
When you click the left mouse button a second time, your stair will settle, a preview of the new stair will be created.
-
Press the esc key on the keyboard to exit the command.
|
Usage step |
|---|
|
Stair preview creation and location 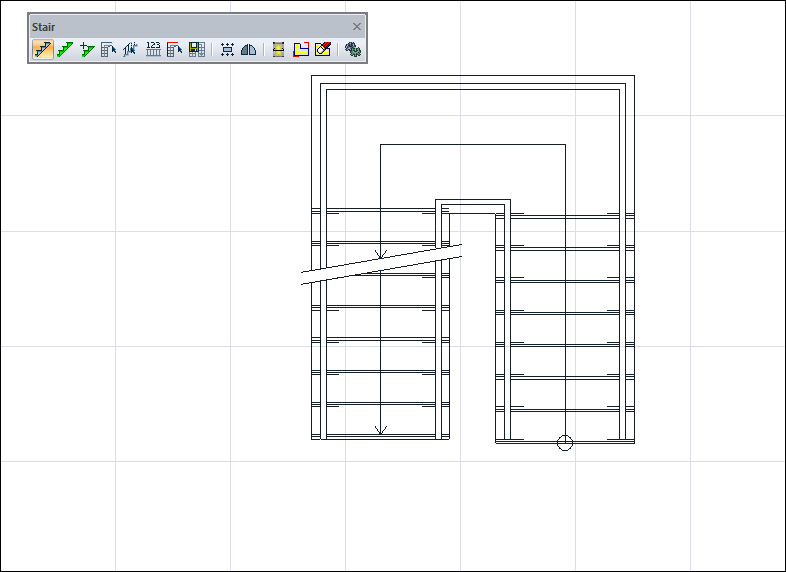
|
|
Fixing stair preview by clicking the left mouse button 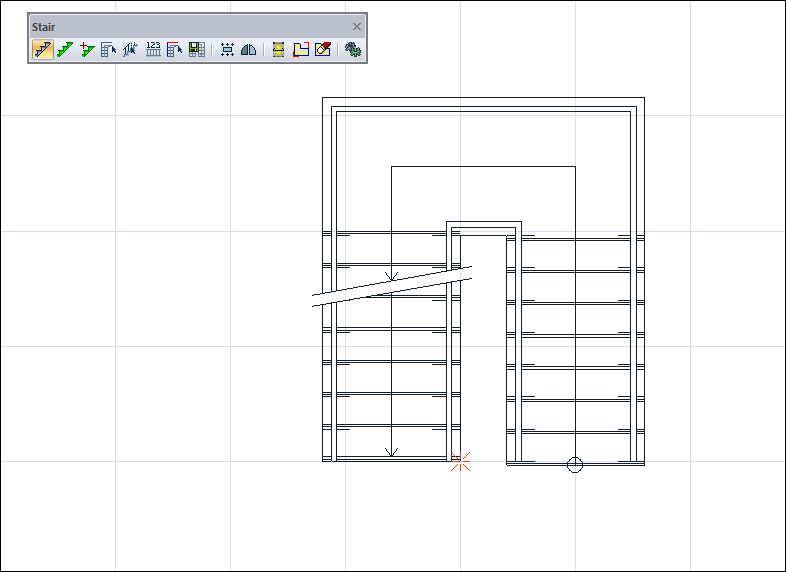
|
|
Turning the stair 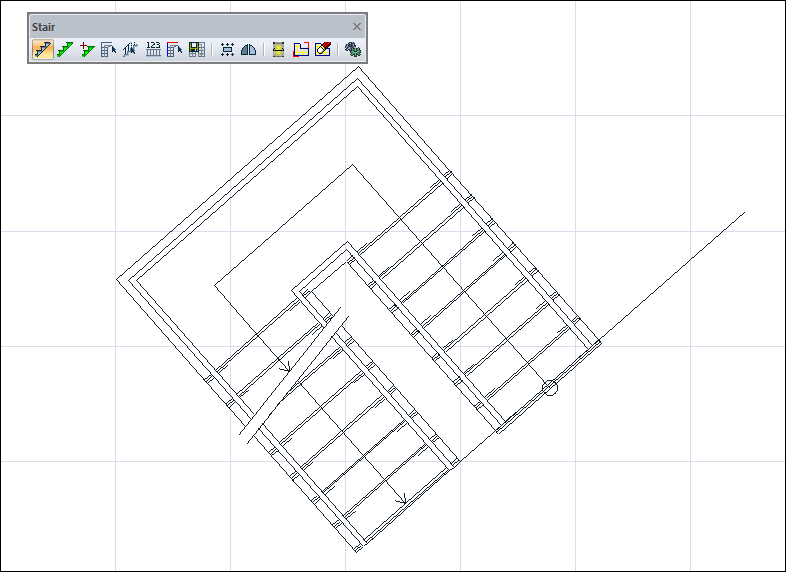
|
|
Changing the stair layout reference point by pressing the spacebar on the keyboard 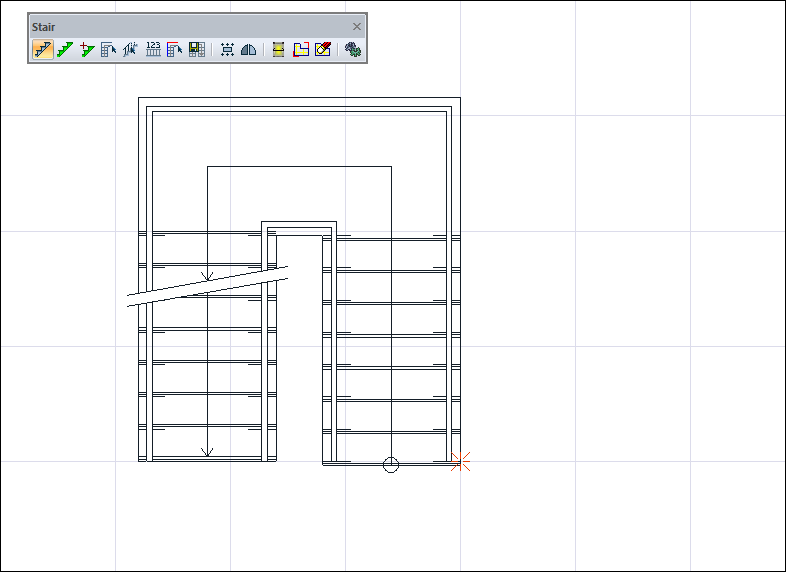
|
|
Place the stair by clicking the left mouse button 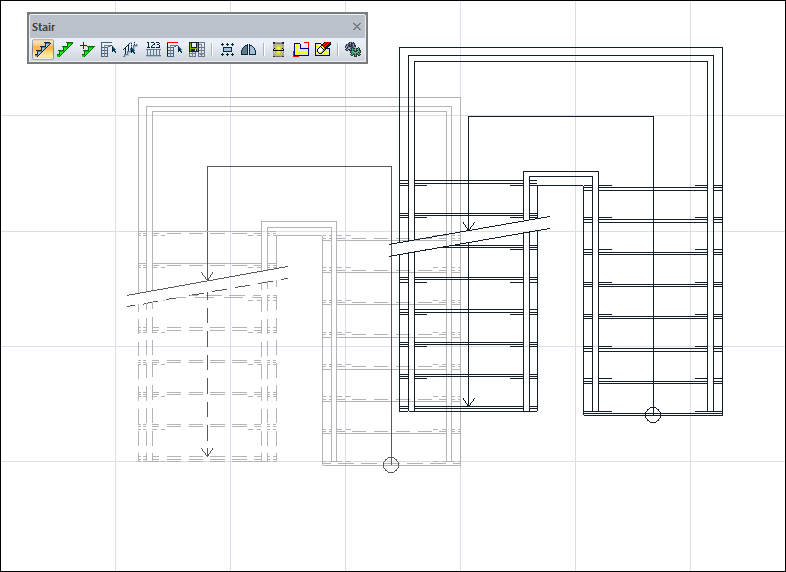
|
|
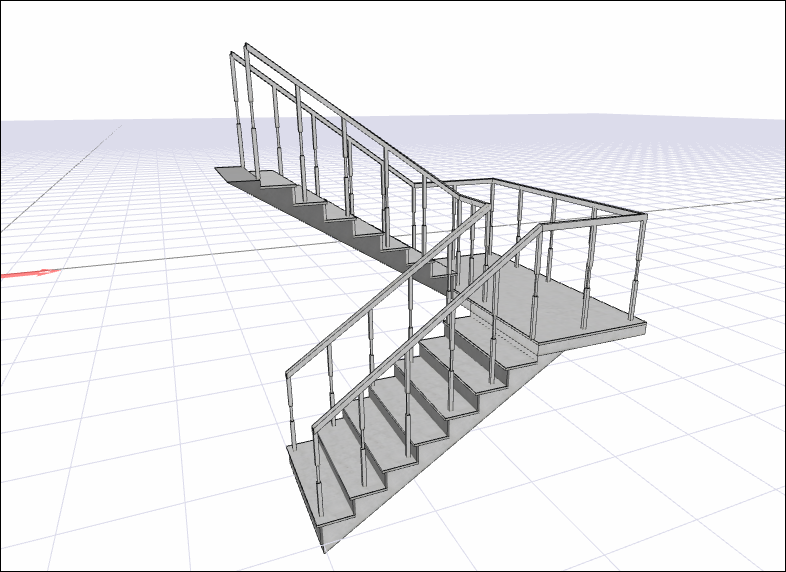
Stair 
|
Next Topic