
With the truss length and aligned settings, the truss length and aligned are adjusted by entering the truss settings.
Location of Truss Length and Alignment Settings
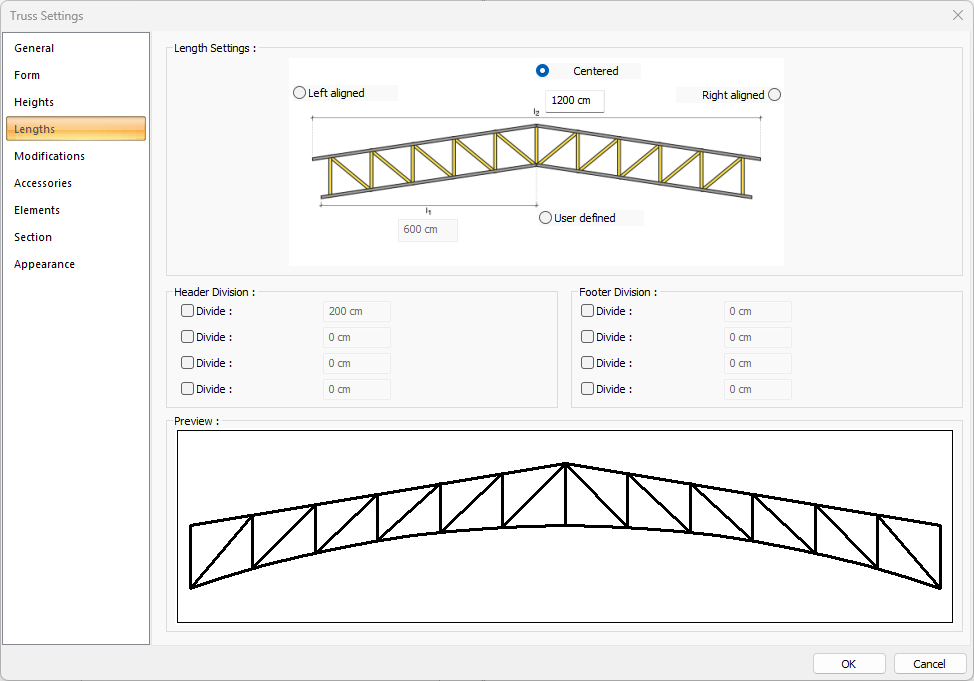
You can access the Truss Settings dialog by clicking the Settings icon from the Trusses toolbar that opens when the Truss command is clicked. Truss width and alignment settings are available on the Lengths tab.
Usage Steps
-
Click the Trusses icon in the ribbon menu .
-
The trusses toolbar will open. Here Settings, click the icon.
-
The Trusses Settings dialog will be displayed. Here Lengths ,click the tab.
-
Enter the value for the trusses width. The value you enter will be the unit size for the trusses and the edits made in the trusses settings dialog will also be based.
-
Choose from left aligned, centered, right aligned and user-defined options.
-
When you exit the dialog by saying OK, your trusses will be created according to the approach type you choose.
-
If you create the trusses longer or shorter than the value you entered, the trusses width will change automatically, it will show the width of the trusses you have created.
Lengths Tab
|
Specifications |
|---|
|
Truss width 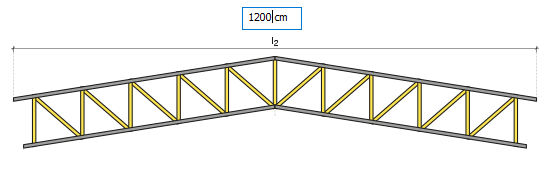
Truss width is entered. |
|
Left aligned 
The left aligned option is marked so that the hill ridge is on the left edge. |
|
Centered 
The centered option is marked so that the hill ridge is in the middle of the truss. |
|
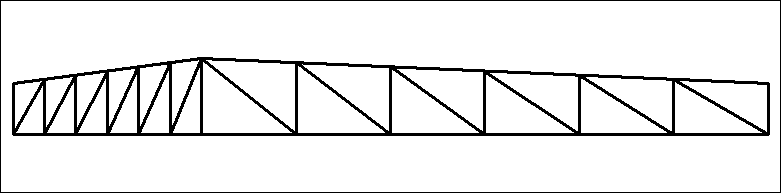
Right aligned 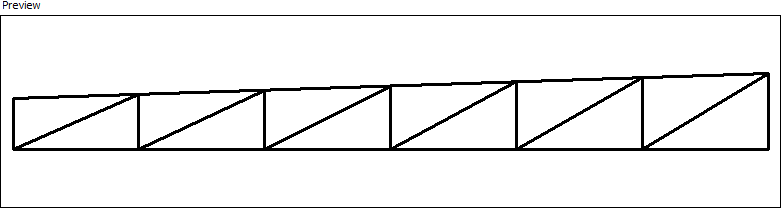
The right aligned option is marked so that the hill ridge is on the left edge. |
|
User defined 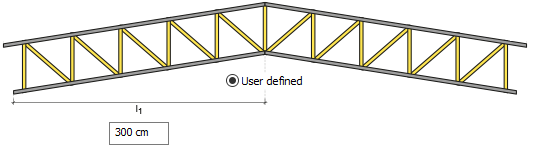
It is the value determining the height of the top of the trusses. |
|
Header division 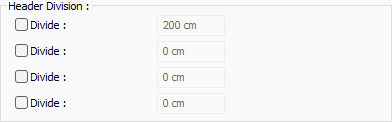
Divides the header of the truss at the entered distance. Divided in a maximum of 4 points. |
|
Footer division 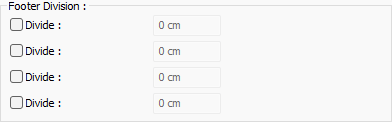
Divides the footer of the truss at the entered distance. Divided in a maximum of 4 points. |