
New materials are defined by the user and can be assigned to various objects. New materials are created with the Create command in the material list.
In the Material Editor dialog that opens when the Create command is clicked, a new material is defined by selecting a color or texture if wanted.
Location of the Create Command for the New Material
You can access the Create command from the material dialog.

Creating Material by Selecting Color
-
Name your material.
-
Click the color box in the material editor dialog.
-
You can choose the color you want from among the basic colors, determine the tone you want by clicking on the color map on the side, or you can enter the red/green/blue color codes.
-
In the material editor dialog, you can define properties such as transparency and reflectivity to your material.
-
When you close the item editor by clicking the OK button, your material will be added to the material list.
|
Usage step |
|---|
|
Naming the material 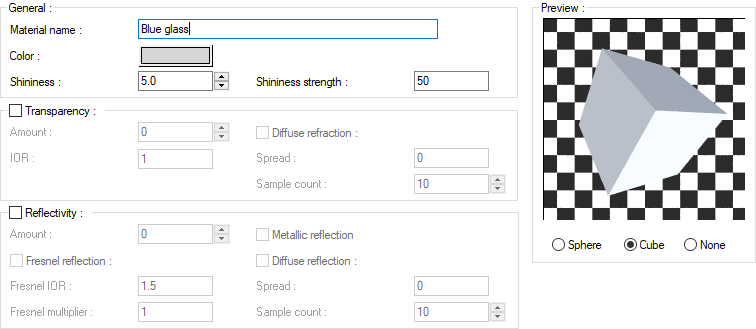
|
|
Opening the color dialog and determining the color 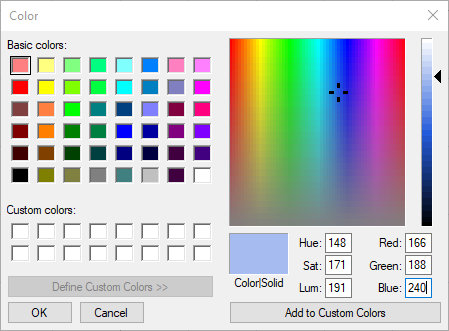
|
|
Choosing the color 
|
|
Giving the transparency feature, entering 50 in the amount box 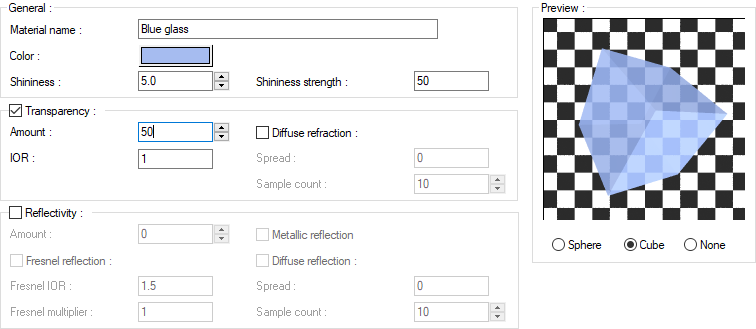
|
|
Giving reflection feature, entering 10 in the value box, activating fresnel reflection 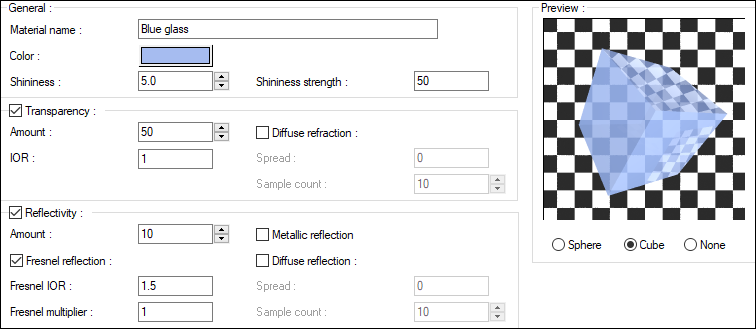
|
|
Adding the created material to the material list by clicking the OK button 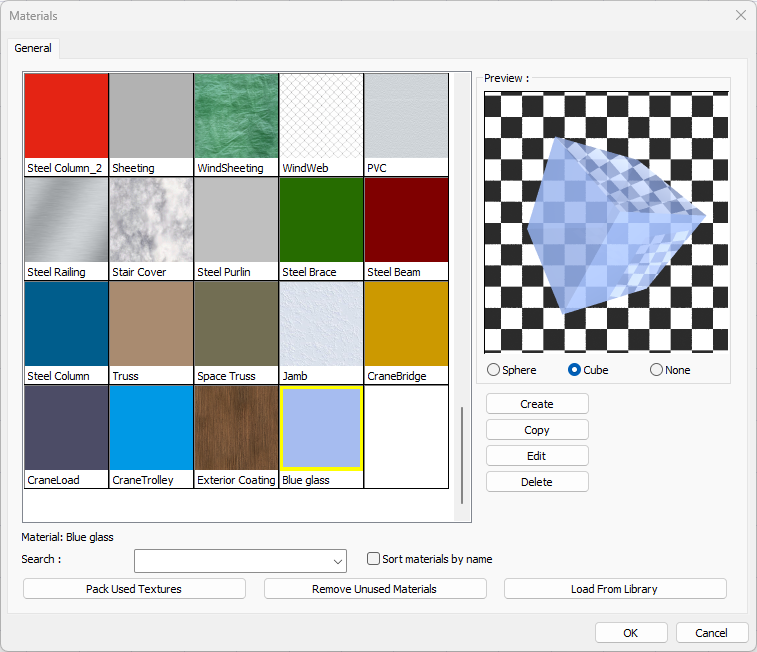
|
Creating Material by Selecting a Texture

-
Click the select button of the texture line in the material editor dialog maps section.
-
The textures dialog will open. From here, you can select the image you want, or you can go to another location on your computer and choose an image from there.
-
Click OK and come back to the material editor dialog.
-
Likewise, you can add opacity, bump, shininess and reflectivity on sections in the maps section.
-
In the material editor dialog, you can define properties such as transparency and reflectivity to your material.
-
When you close the material editor by clicking the OK button, your texture will be added to the material list.
|
Usage step |
|---|
|
Naming the material 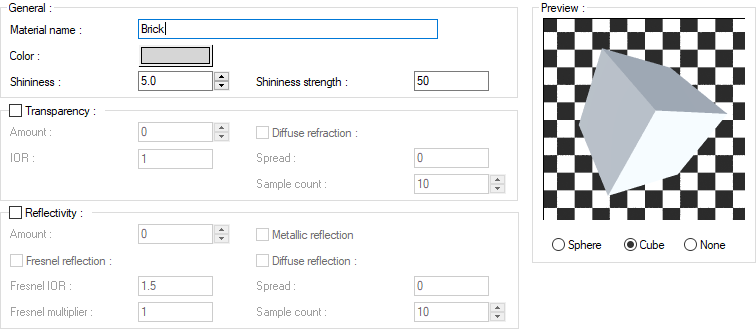
|
|
Clicking the select texture button in the overlays section and selecting the texture 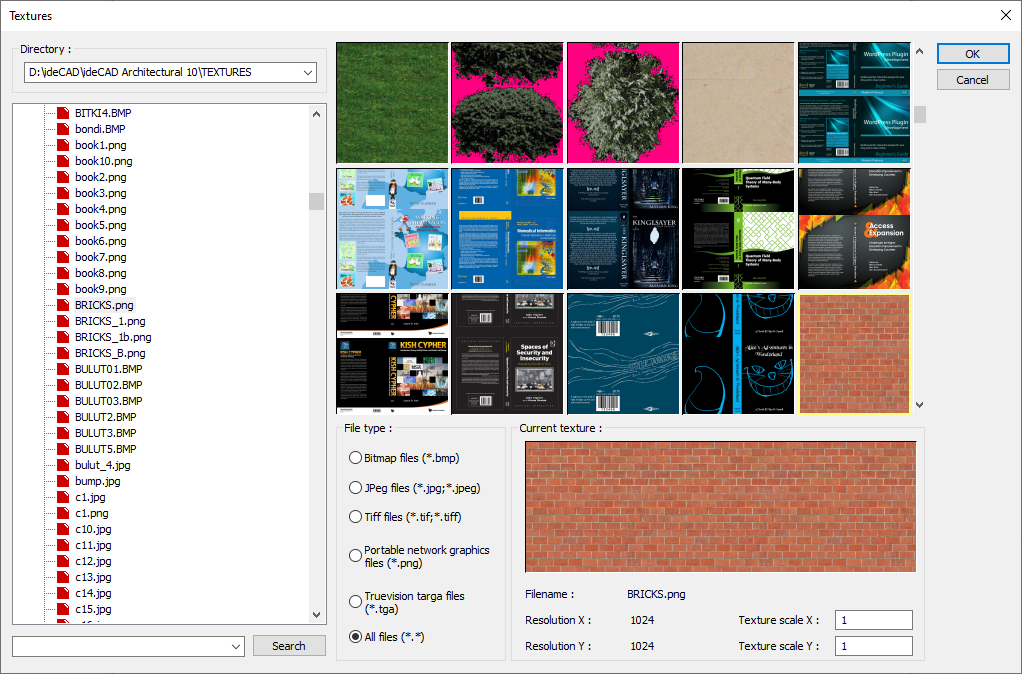
|
|
Adding texture to the embossing section 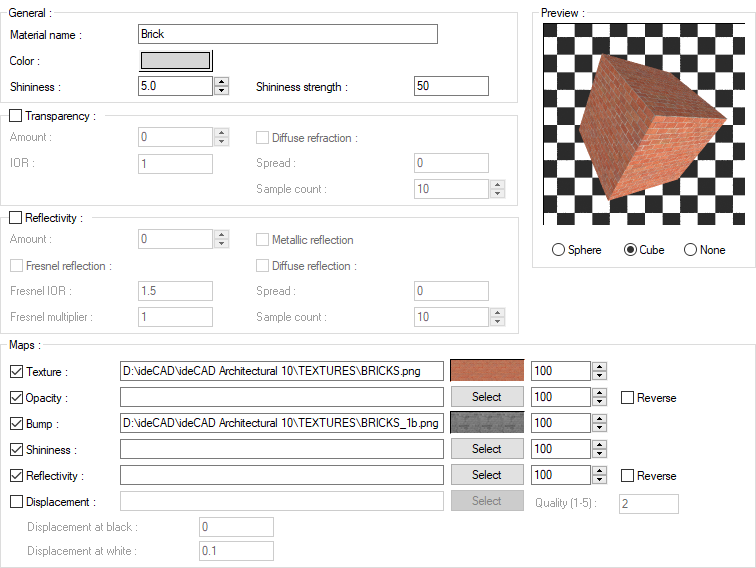
|
|
Adding the created material to the material list by clicking the OK button 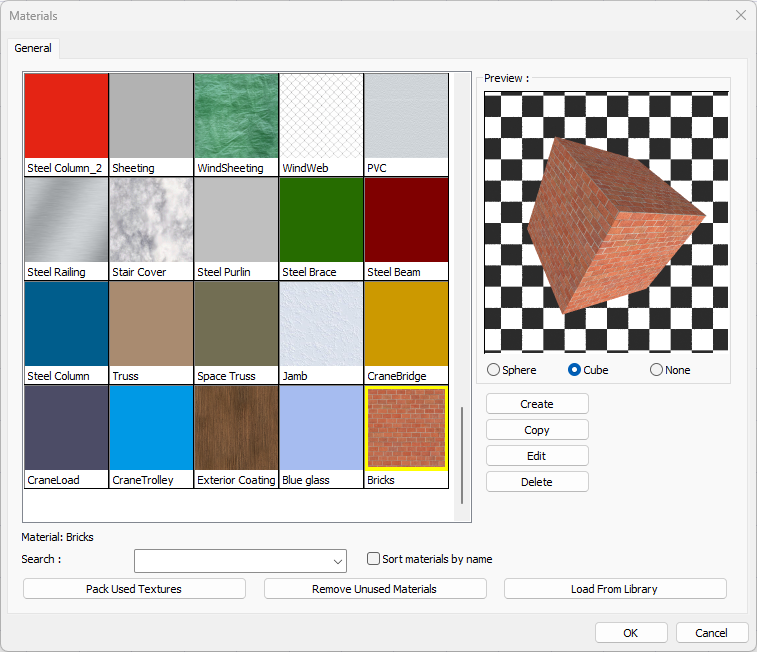
|
Saving Material
It saves the created material as .imt extension. The material can be used in the desired project by loading it from the material editor.
-
Select the material you want to archive from the material list
-
Open the material editor dialog by double clicking on it with the left mouse button.
-
Click on the Save Material button.
-
Determine the location to save. Give a file name and click the save button.
-
Your material will be saved as .imt extension.
|
Location of the Save Material button |
|---|
|
Clicking the save item button 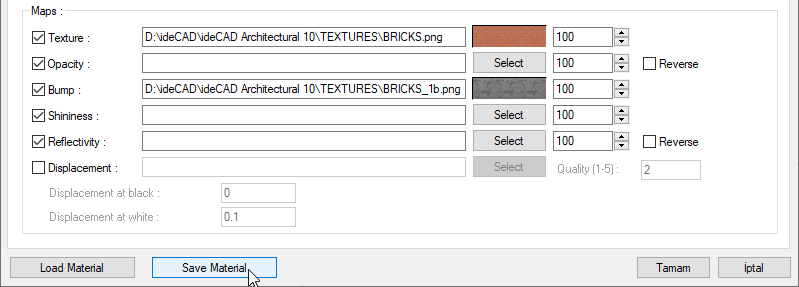
|
Loading Material
You can use previously saved materials by loading them to the material list..
-
Click the Load Material button from the material editor or click the Load From Library button from the material list
-
Select your previously saved material file with .imt extension.
-
Clicking the Open button will be added to the item list.
|
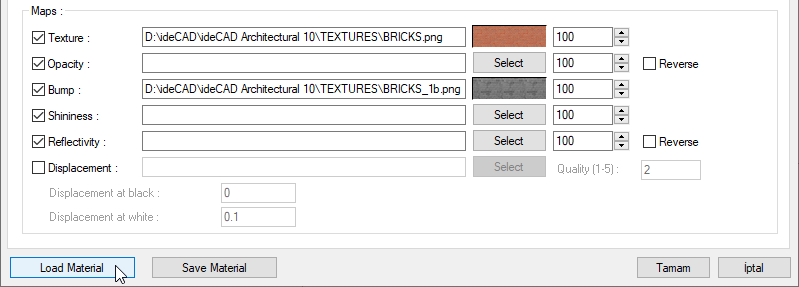
Location of the load material button |
|---|
|
|
Location of the load from library button |

|
Next Topic