
Build steel purlins in this section.
|
Previous steps have been implemented in the project file called Create the Steel Purlins. You can download the file and follow the steps given in this title on the project. |
-
Click on the steel purlin command from the steel menu.
-
Select the RHS 50 * 100 * 3 section from the steel purlin toolbar section list.
-
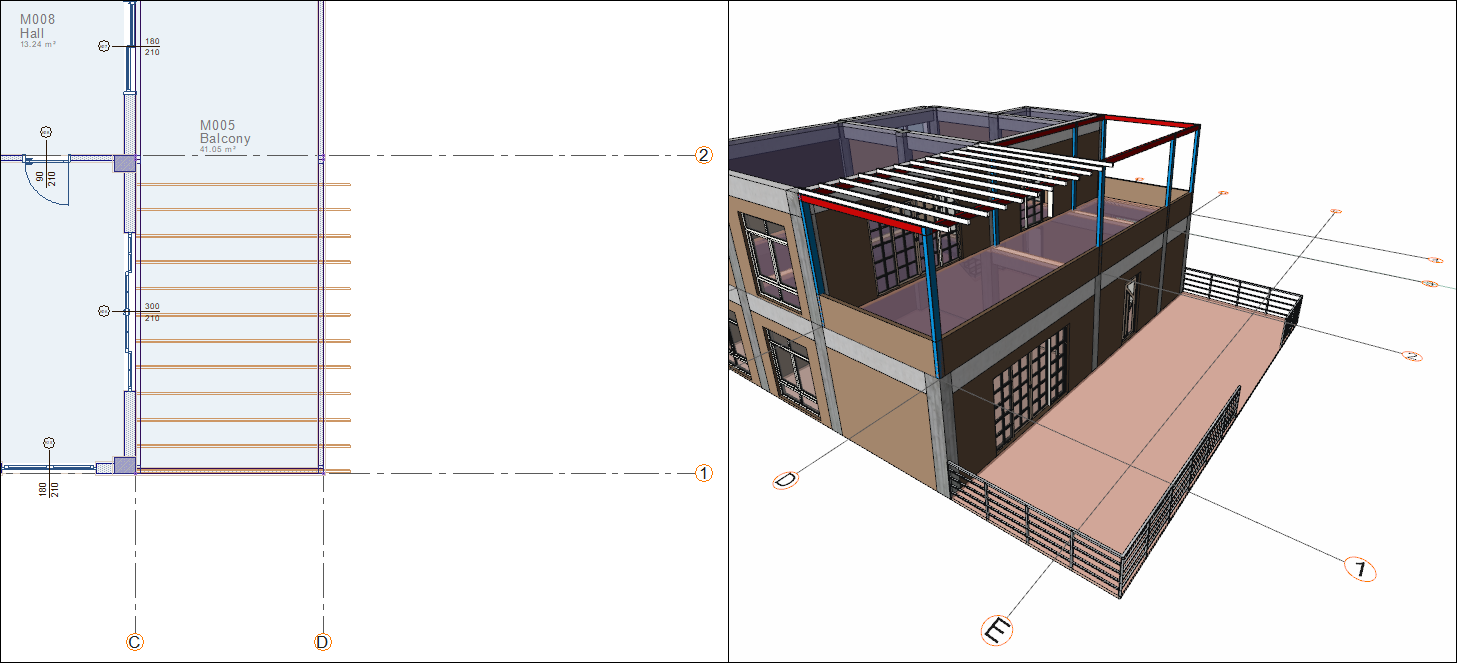
First select the beam on the axis D between the 1-2 axes and then the beam on the axis C between the 1-2 axes.
-
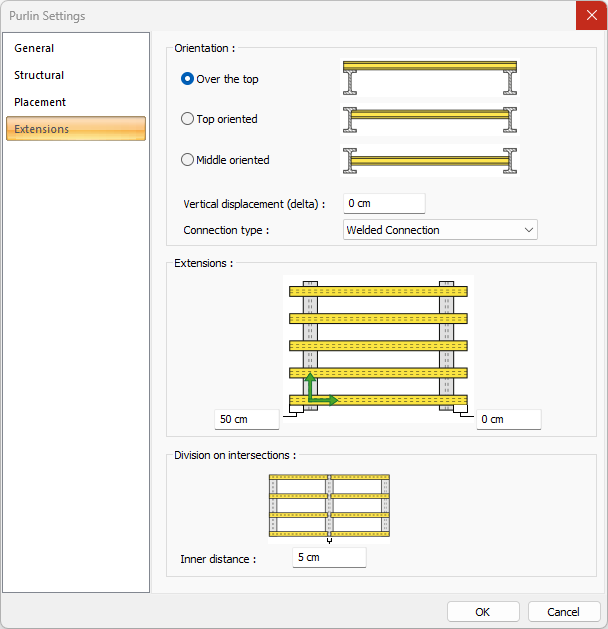
The purlin settings dialog will open.
-
In the placement tab, enter 12 as the count based value, 45cm and 2.5cm as the offsets value.

-
In the extensions tab, enter 50 cm in the left extension value.
-
Click the OK button to close the dialog. Your steel purlins will be formed.
-
Click on the steel purlin command.
-
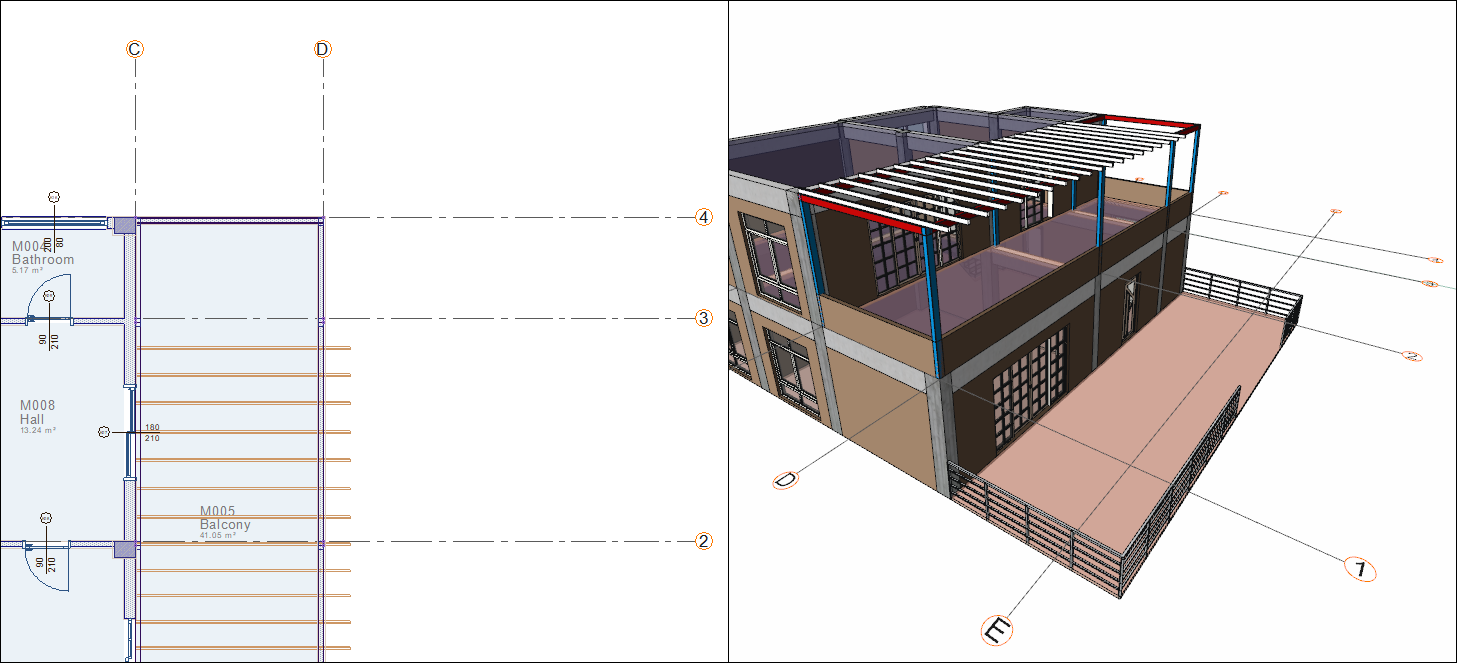
First select the beam on the axis D between the 2-3 axes and then the beam on the axis C between the 2-3 axes.
-
The purlin settings dialog will open.
-
In the placement tab, enter 8 as the count based value and 45 as the offsets value.

-
In the extensions tab, verify that the left extension value is 50 cm.
-
Click the OK button to close the dialog. Your steel purlins will be formed.
-
Click on the steel purlin command.
-
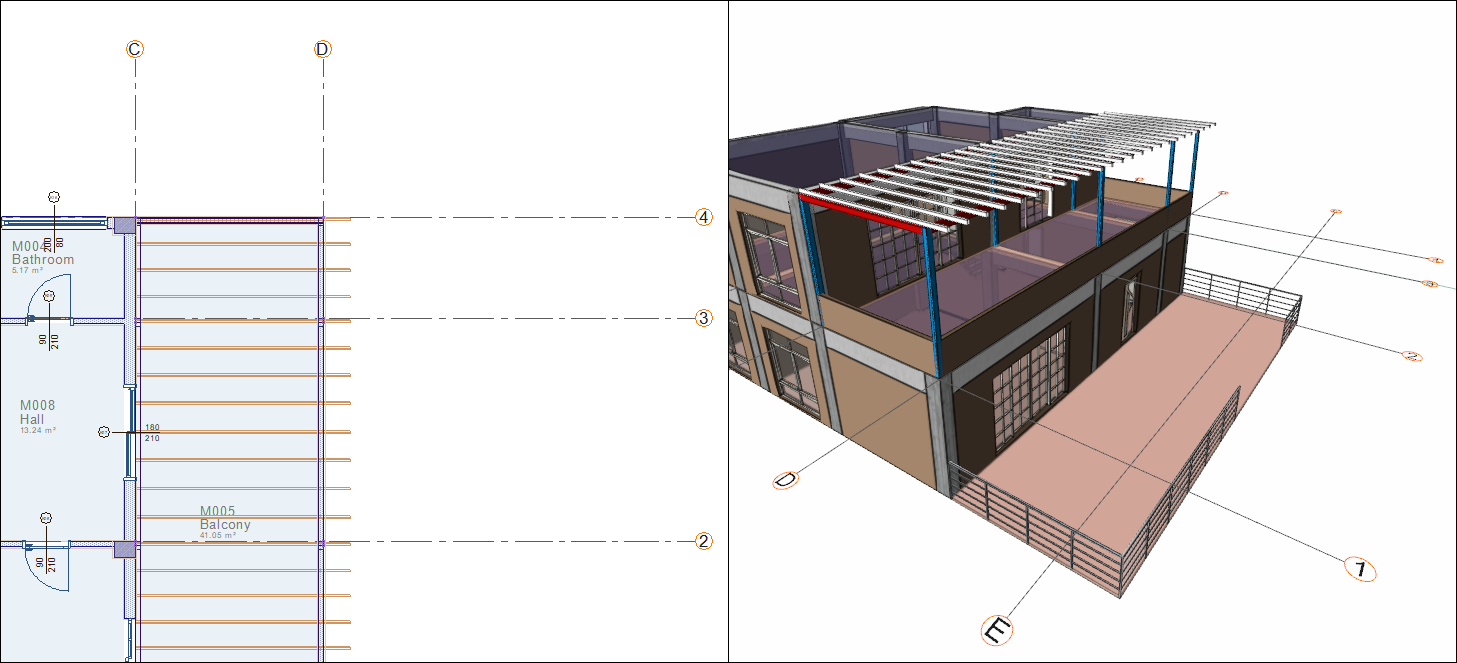
First select the beam on the D axis between the 3-4 axes and then the beam on the C axis between the 3-4 axes.
-
The purlin settings dialog will open.
-
In the placement tab, enter 5 as the count.

-
In the extensions tab, verify that the left extension value is 50 cm.
-
Click the OK button to close the dialog. Your steel purlins will be formed.
Follow the steps of the video below.
Next Tutorial