
The Edit Walls command is used to change the properties of existing (drawn) walls. In the Wall Parameters dialog, there are some parameters in the Wall Settings dialog. In addition, some changes regarding the state of the wall in the drawing area are made with the wall edit command.
Location of Edit Walls Command
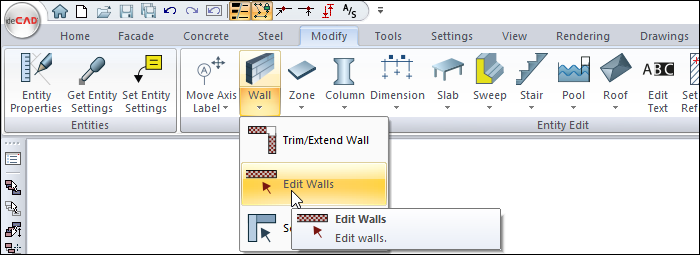
You can access it from the Ribbon menu Modify tab under the Entity Edit heading.
Usage Steps
-
Click on the edit walls icon.
-
Select the walls you want to change by clicking on them with the left mouse button.
-
If you want to change the wall's angle in length or plan, it is important where you click on the wall. If you click on a point near the left end of the wall, the left end of the wall is fixed, if you click on a point near the right end, the right end of the wall is fixed, if you click on a point near the middle of the wall, the middle point of the wall is fixed. This point is kept fixed (its position does not change) during length or angle changes.
-
Click the right mouse button. The Wall Parameters dialog will appear.
-
Select the wall by clicking on the left end of the wall.
-
Change the length of the wall. The wall will lengthen or shorten to the right.
-
Change the angle of the wall. Your wall will rotate by accepting the wall left node as the center.
-
Exit the dialog by clicking the OK button with the left mouse button. The changes you make will be applied to the wall(s) you have selected.
|
Usage step |
|---|
|
Before edit walls command 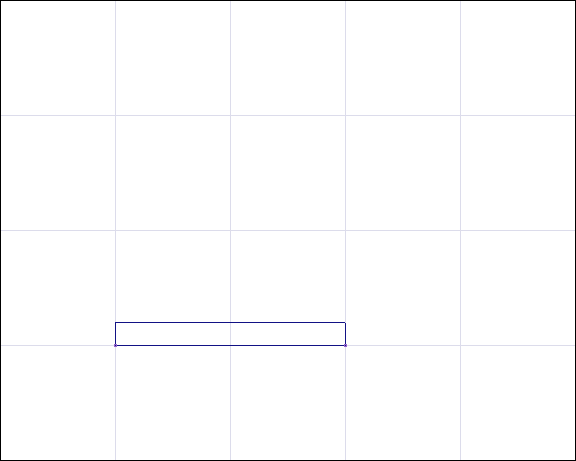
|
|
Selecting the wall you want to change by clicking on the left end 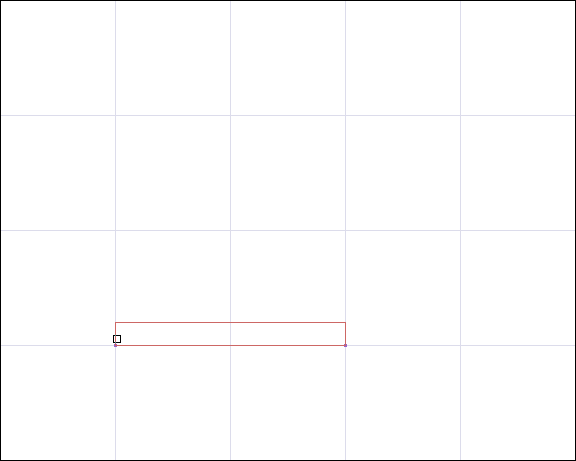
|
|
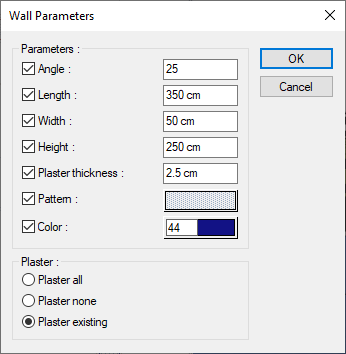
Entering 25 as an angle value, 350 as a length, 50 as a width 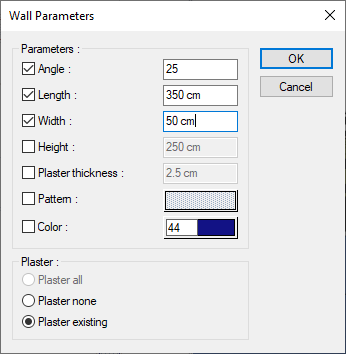
|
|
After edit walls command 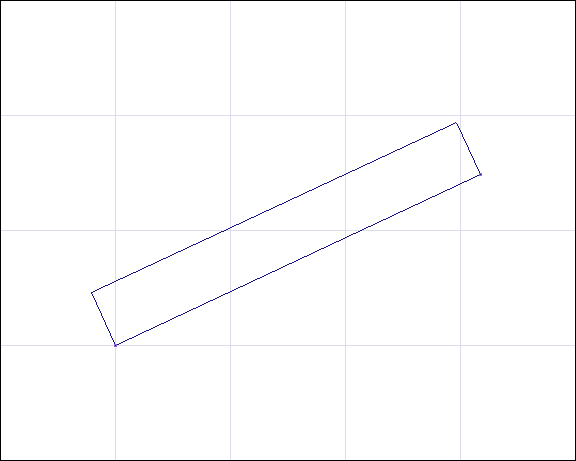
|
Wall Parameters
|
Specifications |
|---|
|
Angle It is the angle of the wall in plan and its unit is degrees. |
|
Length The wall length value is entered. |
|
Width The wall thickness value is entered. |
|
Height The wall height value is entered. |
|
Plaster thickness The thickness of the wall plaster is entered in the plan. |
|
Pattern The hatch of the wall in the plan is selected. Clicking the hatch box on the right with the left mouse button opens the Hatch Options dialog. New pattern type and color can be selected from this dialog. |
|
Color It is the color of the wall lines in the plan. Click on the color box with the left mouse button. It is scrolled on the color palette that opens by holding down the key. If the key is released when the desired color is hovered, it will be seen that the color changes. If you click on the color box by holding down the Shift key on the keyboard, the pen thickness of the relevant color can be adjusted. |
|
Plaster all If checked, all selected walls will be rendered plastered. |
|
Plaster none If checked, all selected walls will be rendered unplastered. |
|
Plaster existing If checked, only the walls that were drawn as plastered when drawing from the selected walls will be rendered as plastered. |
Next Topic