
With the Set Auto Elevation command, ideCAD sees the object in the place where the library object will be created. It automatically detects the object elevation and places the library on it. If there is more than one object in the same place, object selection is made.
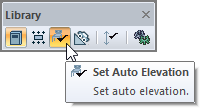
Location of Set Auto Elevation Command
You can access it from the Library toolbar that opens when the library command is clicked .
Usage Steps
-
Click on the library command.
-
Activate Set Auto Elevation command from the toolbar.
-
Click on the point where you want to place your library.
-
Select the elevation (object) you want to place from the object selection dialog.
-
Click the OK button to close the dialog.
-
Place your library by clicking the left mouse button.
-
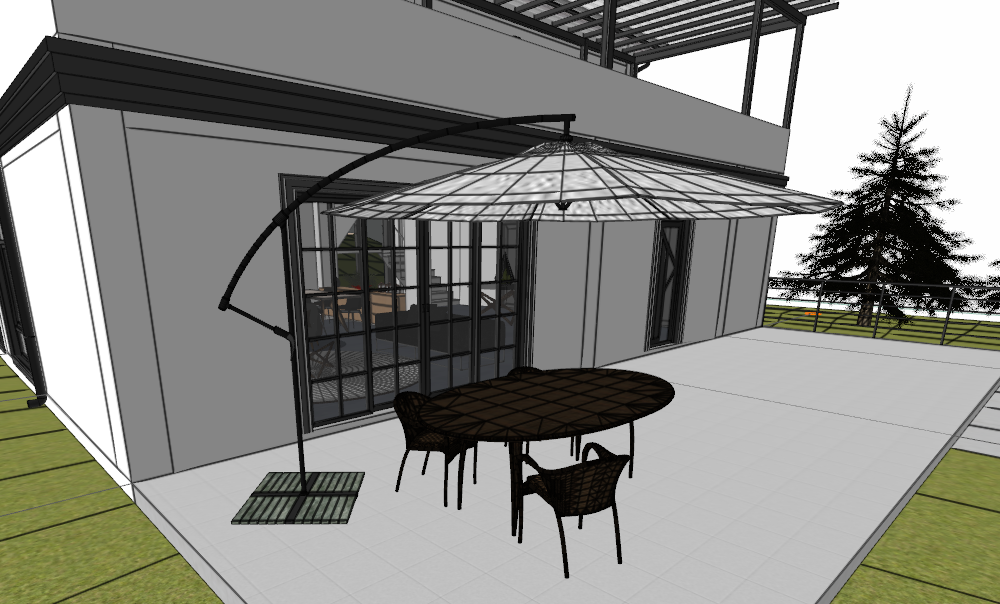
Your library will be placed in the elevation you selected.
|
Usage step |
|---|
|
Where to create a library 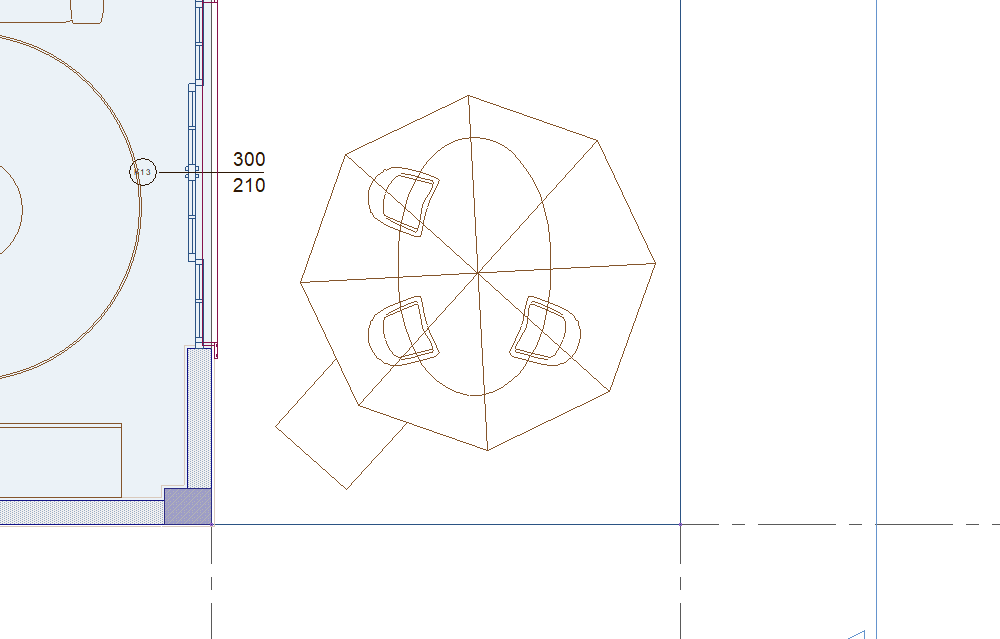
|
|
Determining the point where the object will be placed and fixing it by clicking the left mouse button 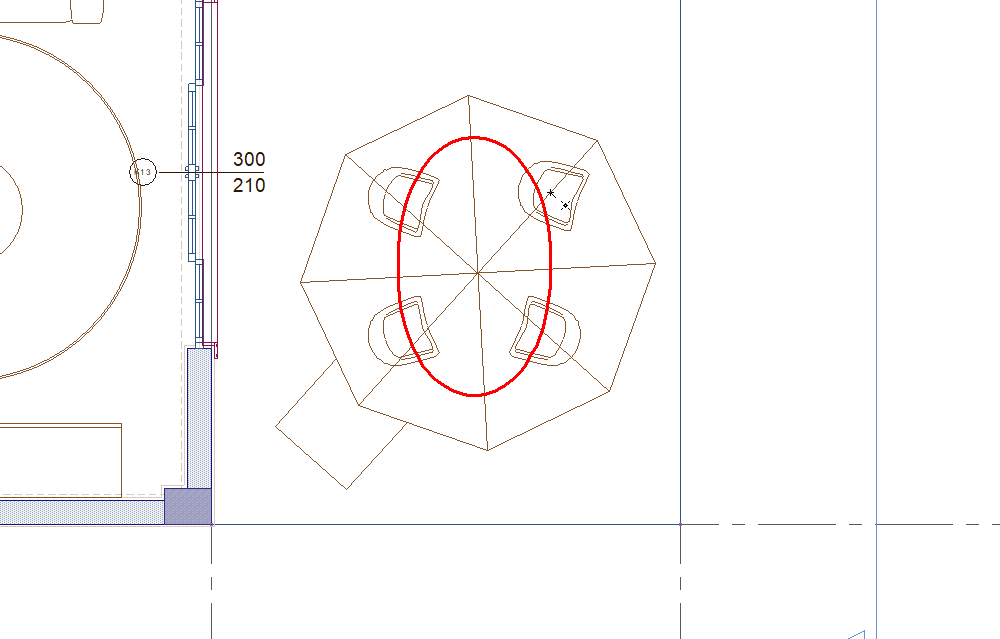
|
|
Selecting the elevation (object) where the library will be placed 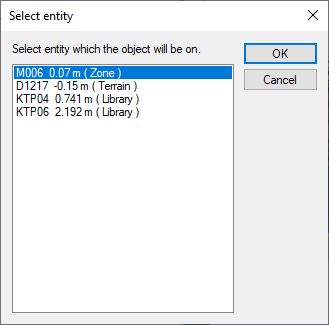
|
|
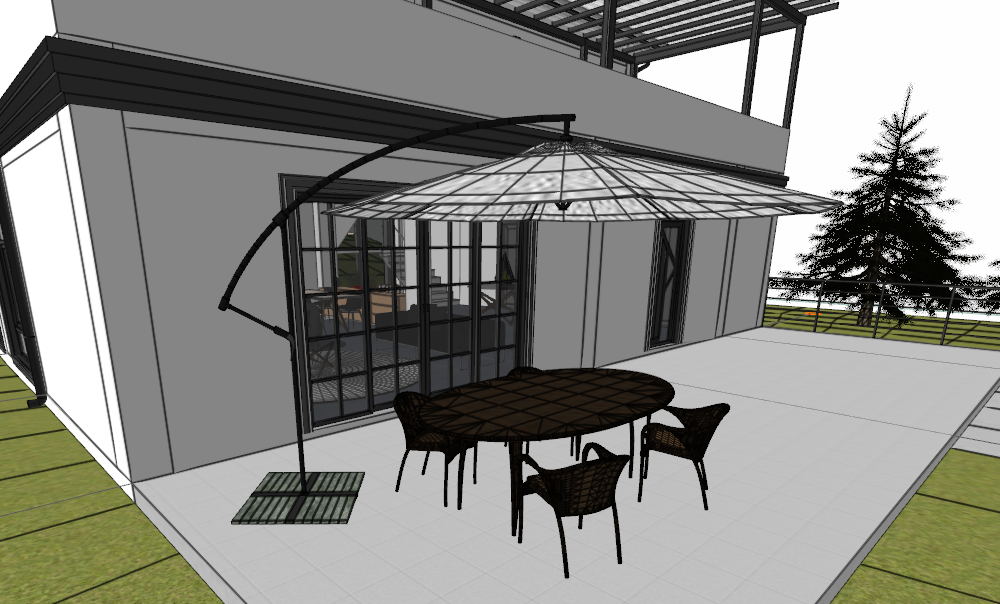
Creation of the library 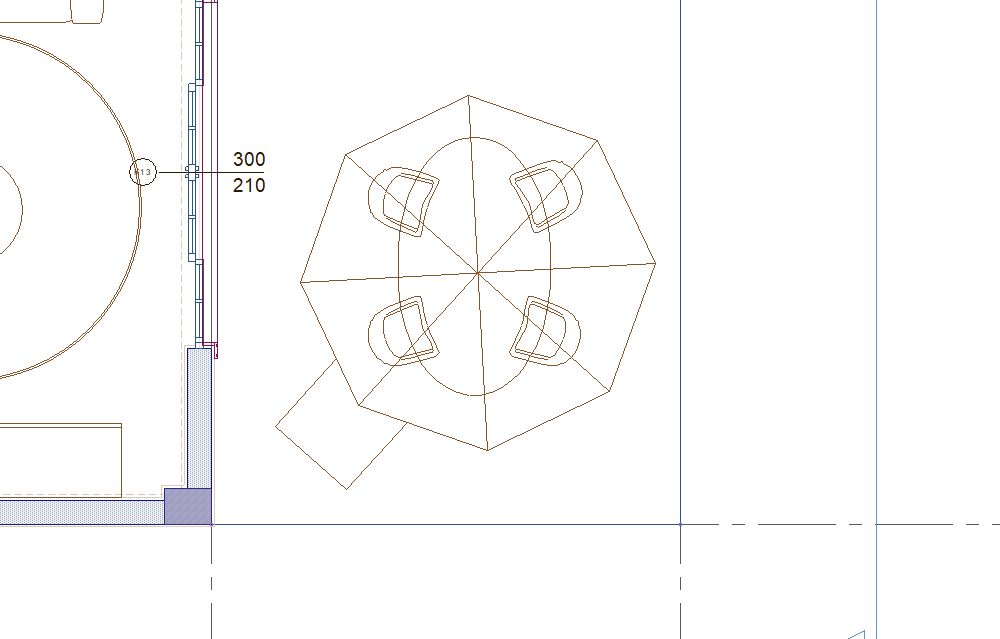
|
Next Topic