
Create the animation in this section.
|
Previous steps have been followed in the project file named Create the Animation. You can download the file and follow the steps given in this title on the project. |
-
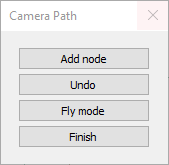
Click the camera path command from the rendering menu.
-
The camera path dialog will open.
-
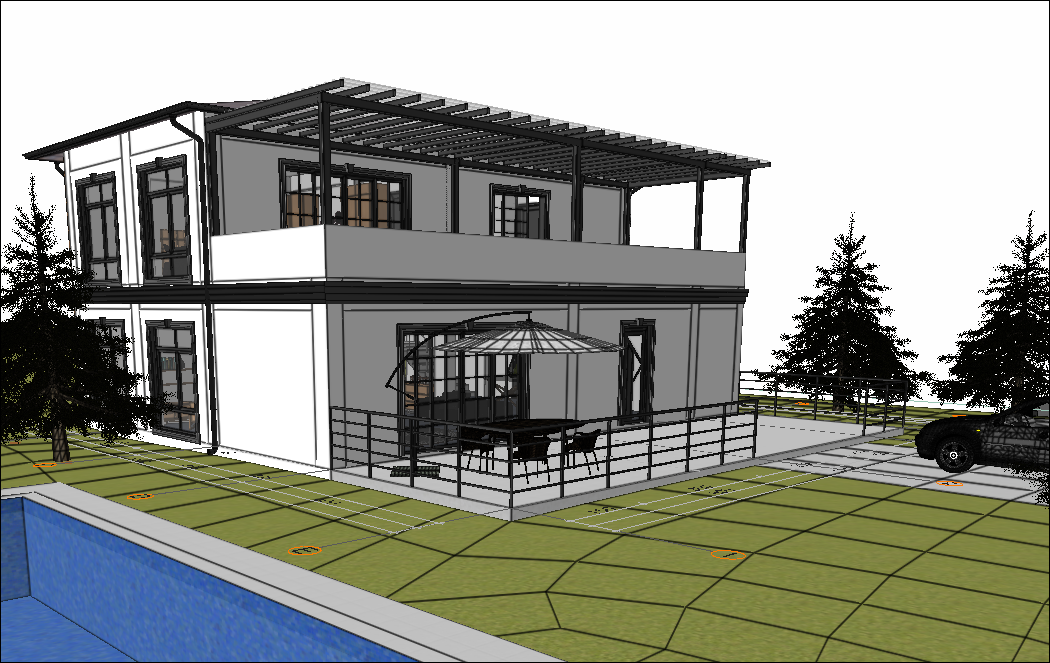
Determine the camera path by adding nodes. Click the add node button so that your starting point will be the point where you are.
-
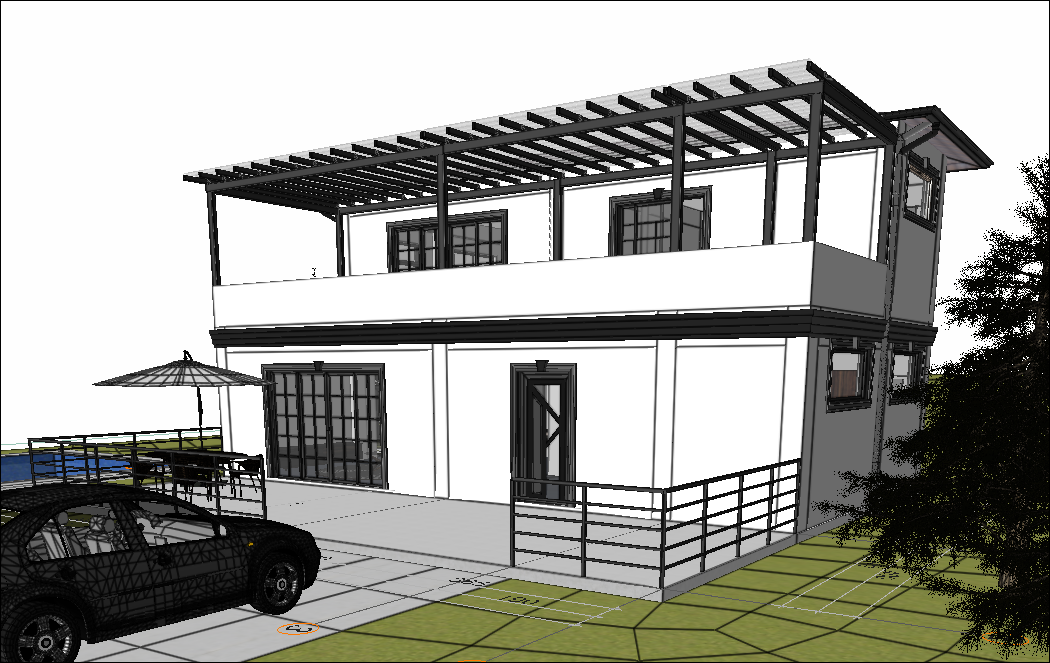
Move on the perspective screen and set your second point and click the add node button.

-
Set your third point and click the add node button.
-
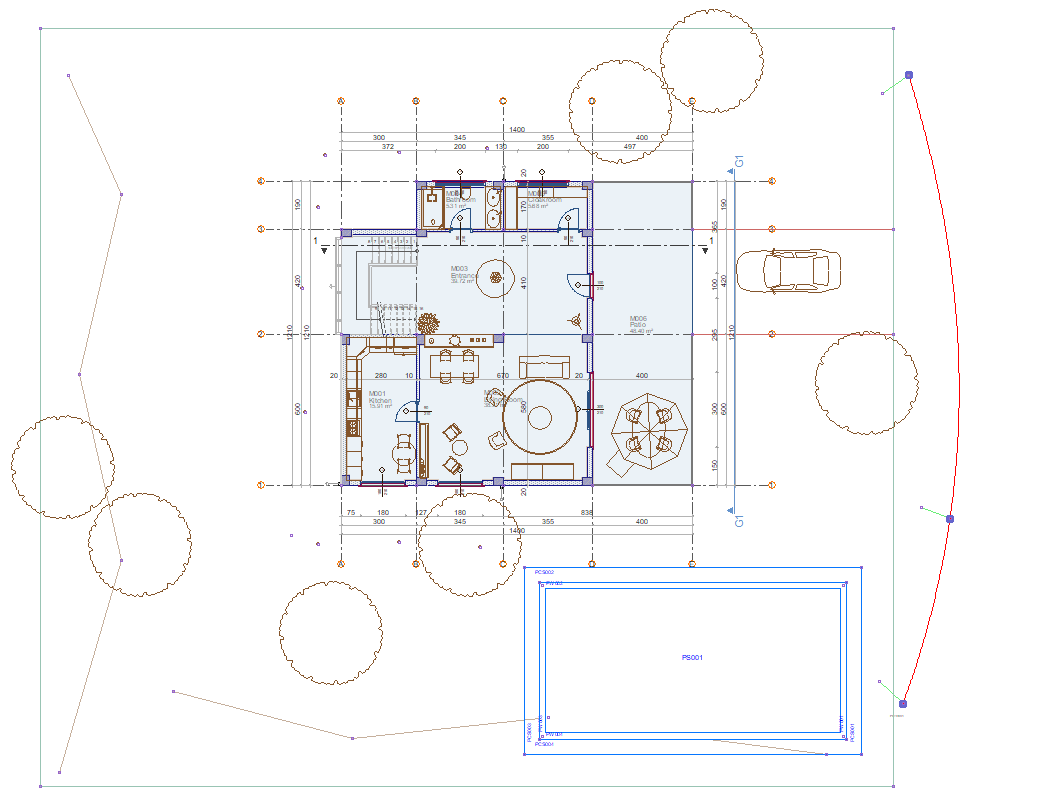
Click the finish button to complete the camera path creation process.
-
The camera path will be formed.
-
Click on the command for camera animation.
-
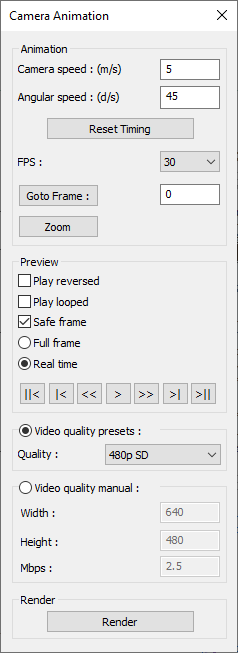
Select the camera path you created and click the right mouse button. The camera animation dialog will open.
-
Uncheck the option to play looped. Choose 480p SD as the quality.
-
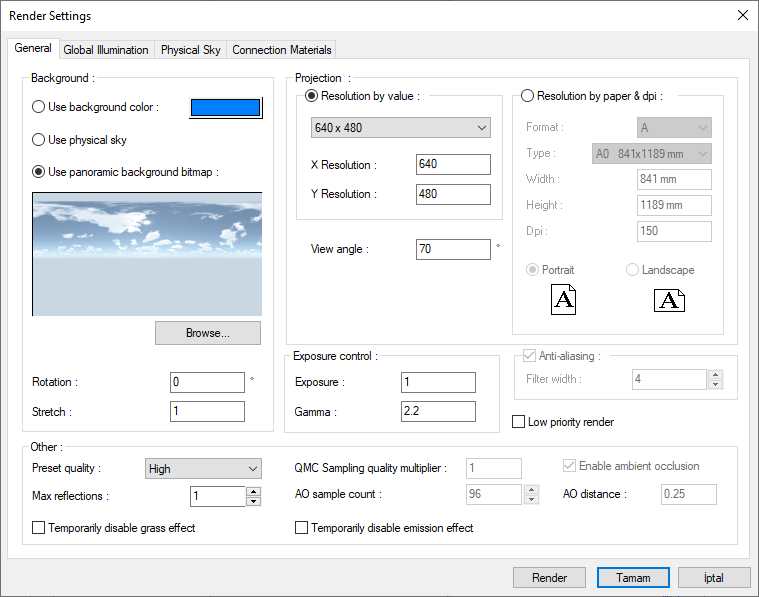
When you click the render button, the render settings dialog will open.
-
Select high preset quality and click the OK button.
-
Name the animation. The rendering process will begin. The animation will be ready when the rendering process is completed.
Follow the steps of the video below.
Next Tutorial