Creating a Text
Text command is used to create text. In architectural and structural project designs, 2D texts are created with the text command.
Location of the Text Command
In the Architectural Program
You can access it under the ribbon menu Drawings tab, Text title.

In the Structural Program
You can access it under the ribbon menu Drawings tab, Text title.

Text Toolbar

Icons |
|---|
Text  Runs the text command. |
Formatted text  It allows text to be written in a specific format, separated by tabs or columns. |
Import text  Pastes any text written in any program in text format into the drawing area. |
Settings  Opens the Text Settings dialog with text parameters. |
Usage Steps
To write text in the drawing area:
Click the Text icon in the ribbon menu .
Click on any point of the drawing area with the left button.
Drag the mouse to the direction you want to write in and click the left button again. This process will determine the angle of the text.
Click the left button again. Drag the mouse up or down and decide the size of the text. (If you enter information for the L value in the coordinate box and press the Enter key, you will set the font height)
Click the left button.
Type text using the keyboard.
Press Enter once to move to the bottom line.
Press Enter twice to end the text.
Usage step |
|---|
Creating the first point to determine the angle of the text 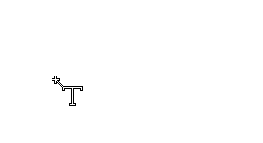 |
Creating the second point to determine the angle of the text 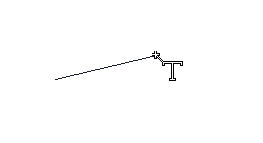 |
Deciding the font size by moving the mouse after clicking the left mouse button 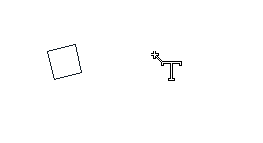 |
Writing the text 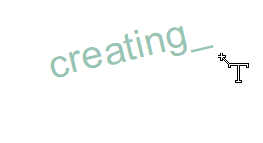 |
Switching to the bottom line by pressing the Enter key 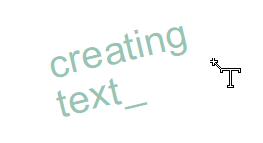 |
Text creation 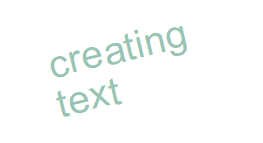 |
You can change the height or content of the text with Edit Text command.
Next Topic
