
With the bitmap hatch command, painting is done in view or in plan. Many color tones are obtained by changing the pattern and background colors.
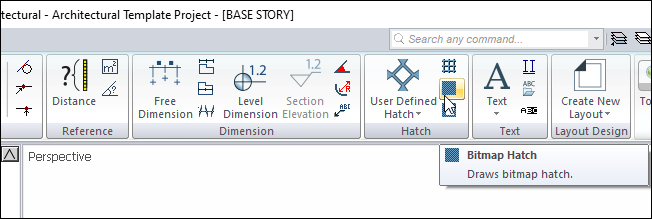
Location of the Bitmap Hatch Command
In the Architectural Program
You can access it under the Ribbon menu, Drawings tab, Hatch heading.
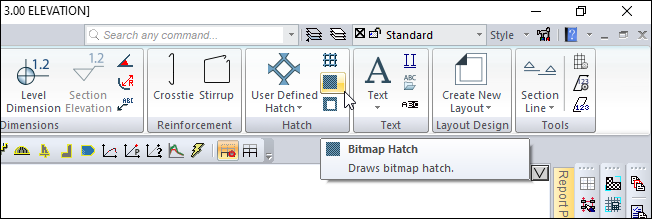
In the Structural Program
You can access it under the Ribbon menu, Drawings tab, Hatch heading.
Hatch Toolbar
|
Icons |
|---|
|
Parametric hatch Click to draw parametric hatch. |
|
User defined hatch Click to draw a user defined hatch. |
|
Bitmap hatch Click to draw a bitmap hatch. |
|
Hatch hole Used to create a hole in the hatch object. |
|
Create user defined hatch Creates hatch style from drawn primitive objects. |
|
Set hatch reference Hatch changes the reference point. |
|
Add point Adds a new point for hatch. |
|
Remove point Deletes an existing point in the hatch. |
|
Automatic hatch Automatically creates a closed area hatch without entangling the edges. |
|
Find hatch holes While in auto hatch mode, it creates a hatch from two closed inside areas to the outer area, leaving the inner area as a space. |
|
Add lines to edges Draws lines on the hatch edges. |
|
Settings The hatch settings dialog opens. |
Usage Steps
To create a hatch;
-
Click the Bitmap Hatch icon in the ribbon menu .
-
Create a closed polygon by clicking with the left mouse button in the drawing area.
-
Hatch will occur when you close the polygon.
|
Usage step |
|---|
|
Determining the first point of the closed polygon to be created for hatch 
|
|
Determining the second point of the closed polygon 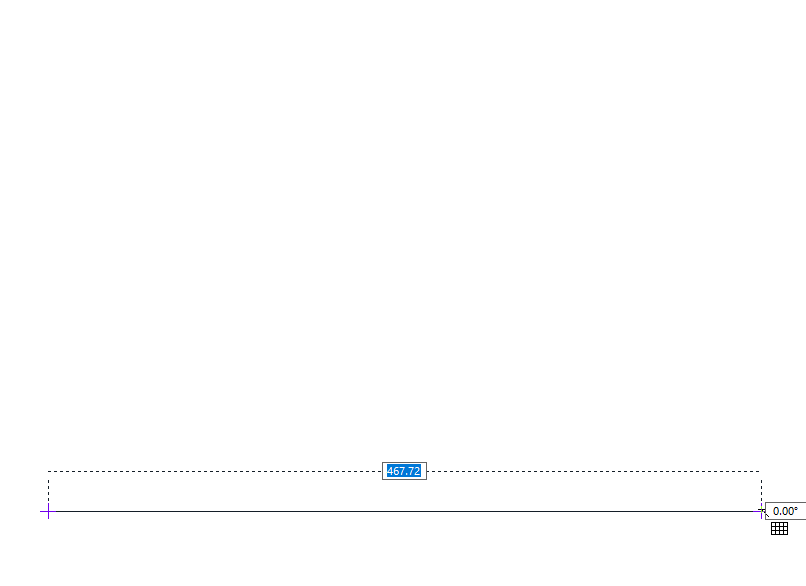
|
|
Determining the third point of the closed polygon 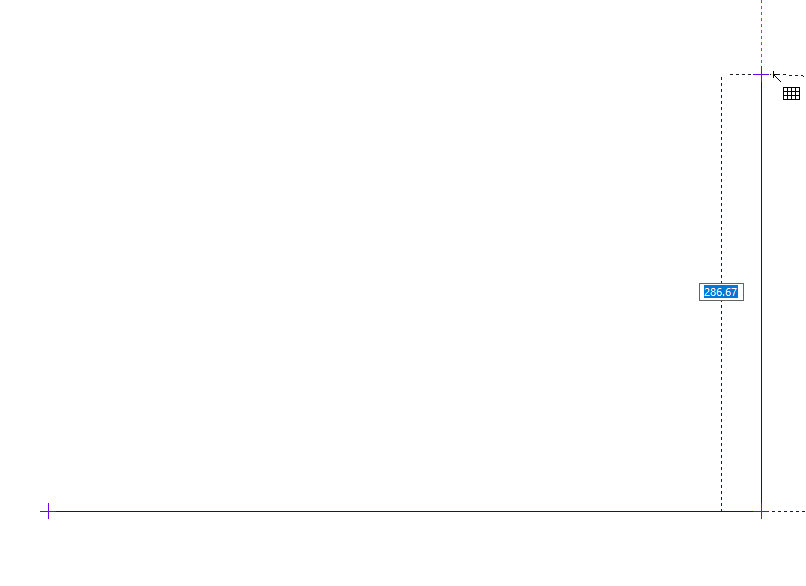
|
|
Determining the fourth point of the closed polygon 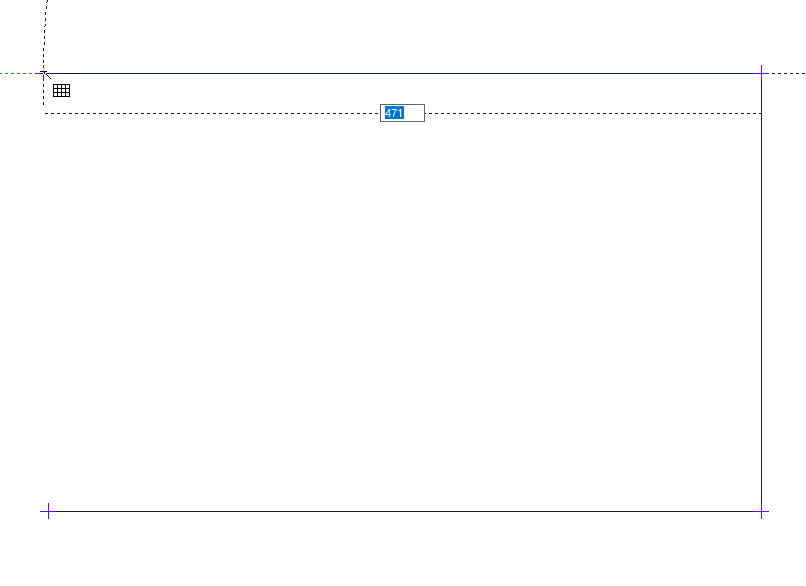
|
|
Determining the end point of the closed polygon 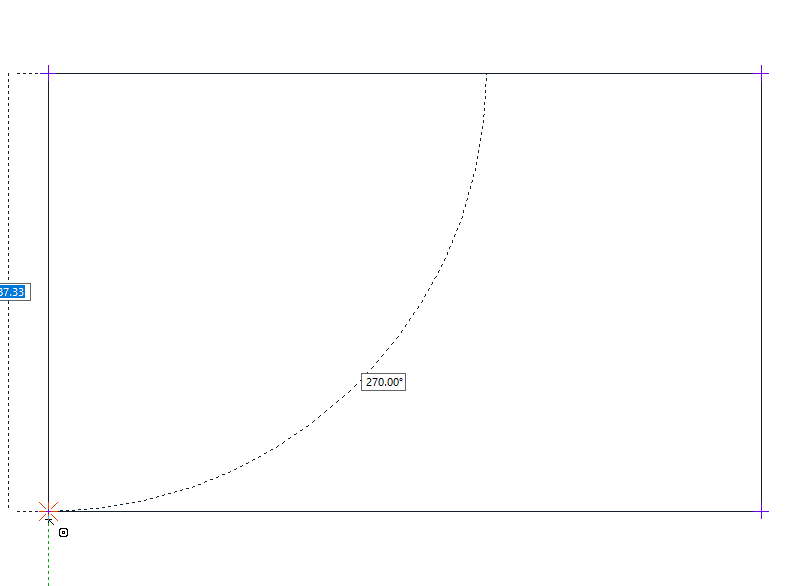
|
|
Bitmap hatch to occur 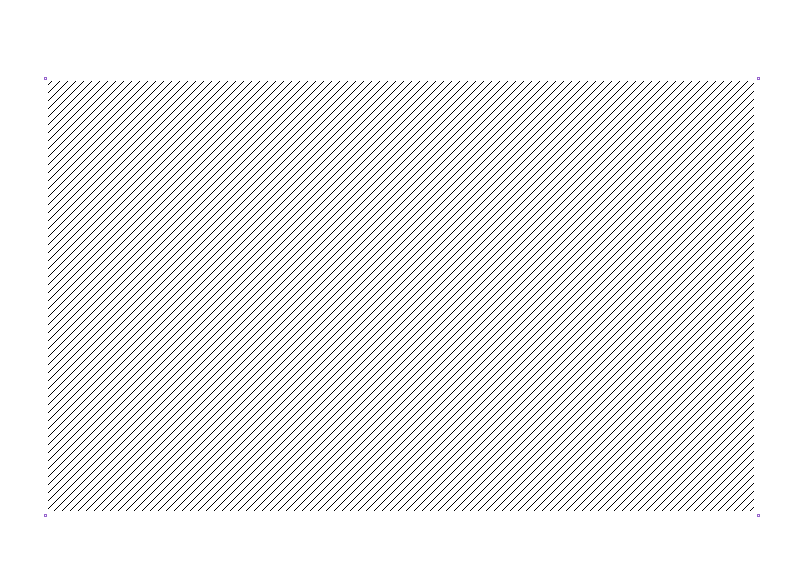
|
Location of Bitmap Hatch Settings Dialog
Bitmap Hatch Command Settings
After running the Bitmap Hatch command, you can access it by clicking the Settings icon in the Hatch utility toolbar that appears on the screen. The settings you make will be valid for the hatches you draw.
Bitmap Hatch Object Settings
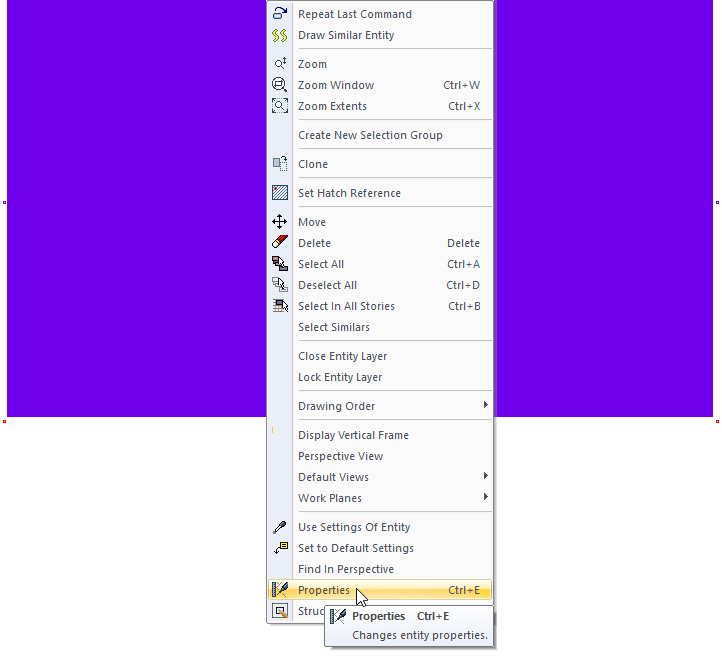
Select the hatch you want to enter its settings, click the right button of the mouse and click the Properties line from the menu that opens. The settings you make will be applied to the hatch you selected.
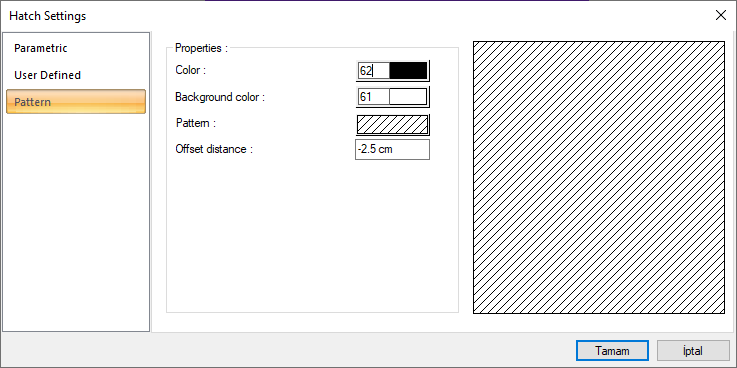
Bitmap Hatch Settings
|
Specifications |
|---|
|
Color Determines the hatch color. When the color box is clicked, the appropriate color is selected from the window that opens. |
|
Background color The background color of the bitmap hatch is selected. When the color box is clicked, the appropriate color is selected from the window that opens. |
|
Pattern If you click on the hatch sample with the left mouse button, the Hatch Options dialog opens. Select the wanted hatch type from the bitmap hatch options list here by clicking the left mouse button and clicking the OK button, and the bitmap hatch type is changed. |
|
Offset distance The offset distance is used to extend the hatch beyond or into defined limits. |
|
Hatch preview 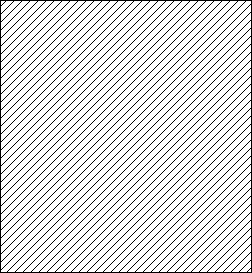
The preview of the hatch is available on the screen. The settings made in the dialog are simultaneously reflected on the preview screen. |
Next Topic