
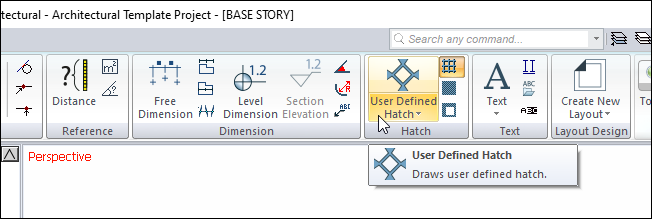
New hatch types are added to existing defined hatches with the User Defined Hatch command.
Location of Create User Defined Hatch Command
After entering the User Defined Hatch command under the ribbon menu Drawings tab Hatch title , you can access the Create User Defined Scan command from the Hatch dialog that opens .
Usage Steps
-
Create the drawing that determines the pattern of the hatch with primitives object commands (multiple lines, path etc.).
-
Make sure that the shape you are creating is the same width and height. Otherwise, there will be gaps in the hatch.
-
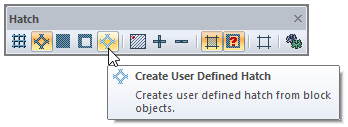
Click the create user defined hatch icon.
-
Select the drawing you created and click the right mouse button.
-
The User Defined Hatch dialog will open. In this dialog, there is a preview image of the hatch we created.
-
Type a name in the hatch name line and click the Save button.
-
The Save Hatch dialog will open. Save the hatch by naming it in the hatch name line in this dialog.
-
You can find your new hatch in the hatch settings dialog user-defined hatches list.
|
Usage step |
|---|
|
Creation of hatching pattern 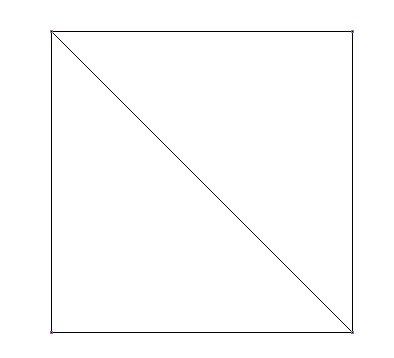
|
|
Hatch naming and preview 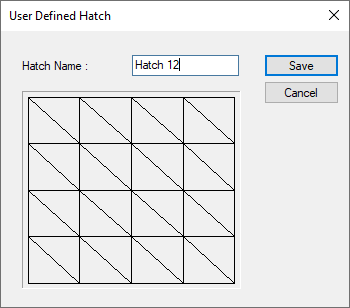
|
|
Saving the hatch 
|
Next Topic