
The revolved object command makes a 3D object by rotating the traces created with 2-dimensional objects such as paths, curves and lines with the given values. Sizing of the object is done by rotating it around the axes.
Location of Revolved Object Command
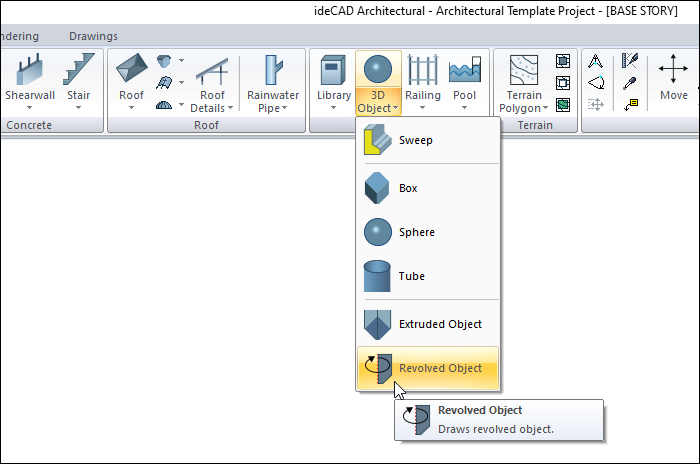
You can access it under the ribbon menu Home tab Entities title.
Usage Steps
-
Create the view (plan or section according to the object you want to obtain) of the object you want on the plan plane with multiple lines.
-
Click the Revolved Object icon in the ribbon menu .
-
The 3D Geometric Objects toolbar will open.
-
Select the drawings you have drawn and click the right mouse button.
-
To determine the turning axis, give the 1st and 2nd point of the axis.
-
The figure will appear on the screen with its virtual image.
-
At this stage, enter the size of the shape in the value box on the auxiliary toolbar.
-
In the last step, drag the mouse cursor to determine where the shape will be created.
-
Click the left mouse button to create your revolved object.
|
Usage step |
|---|
|
Creating the object section with the multiple line command 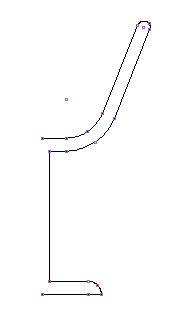
|
|
Selection of the created drawing 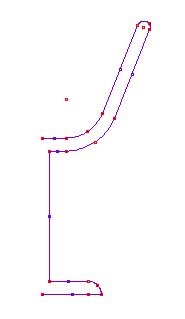
|
|
Creating the first point for the turning axis 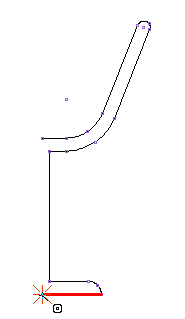
|
|
Creating the second point for the turning axis 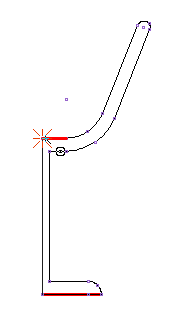
|
|
Pre-image creation of the object 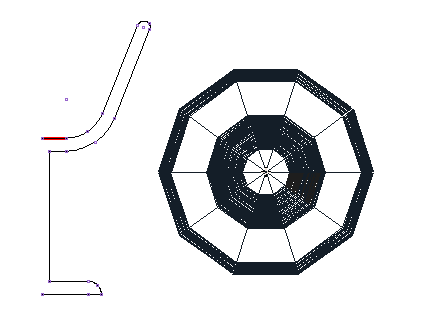
|
|
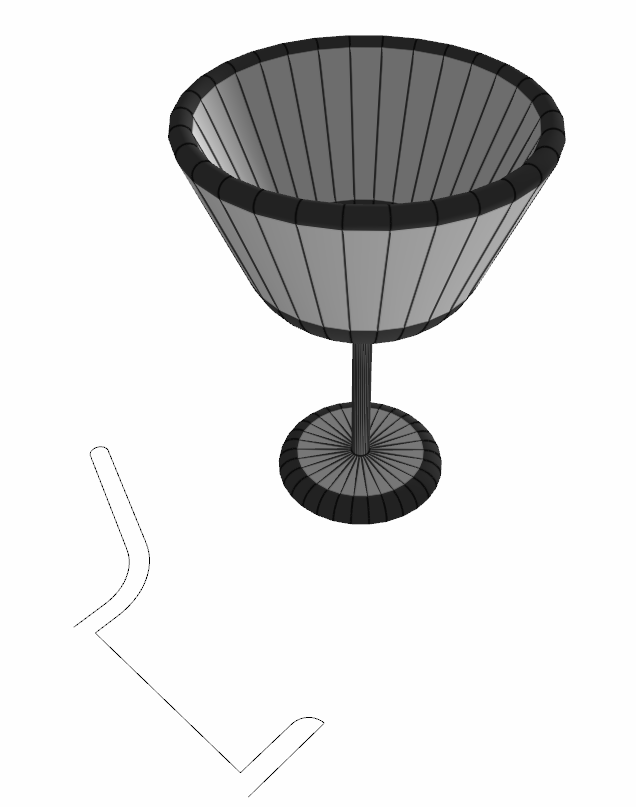
Creation of revolved object 
|
Next Topic