
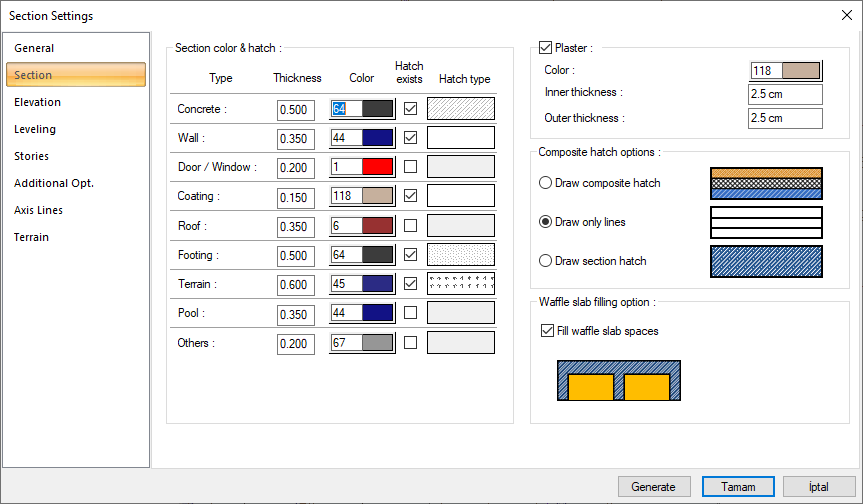
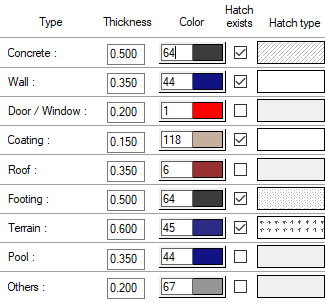
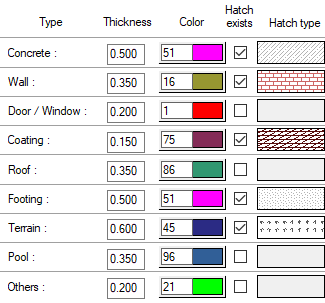
Colors, hatch and pen thickness values of the cut objects are adjusted. The cut objects are divided into different object types such as; concrete, wall, door/window, coating, roof, footing, terrain, pool and others, that thickness, color and hatch type can be arranged for each type.
Location of Section Color and Hatch Settings
You can access the section/elevation settings dialog from the section tab.
|
Specifications |
|---|
|
Type 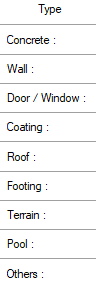
The list of objects that fall into the section, divided into types. |
|
Thickness The pen thickness that will appear in the section of the cut objects is listed. The thickness value of the assigned color is displayed on the thickness line. |
|
Color 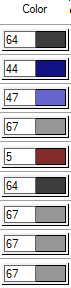
The colors of the cut object can be adjusted according to the object type. A color is selected by clicking the color box. The pen thickness of the color is determined by clicking the right mouse button on the color box. |
|
Hatch exists If the option is checked, it means that the cut object will be hatched. If the option is not selected, it means the object will be left blank without hatching. |
|
Hatch type 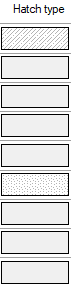
Hatch type of the object is set. Clicking on hatch opens the Hatch Settings dialog. The hatch type is selected from the lookup table in this dialog. |
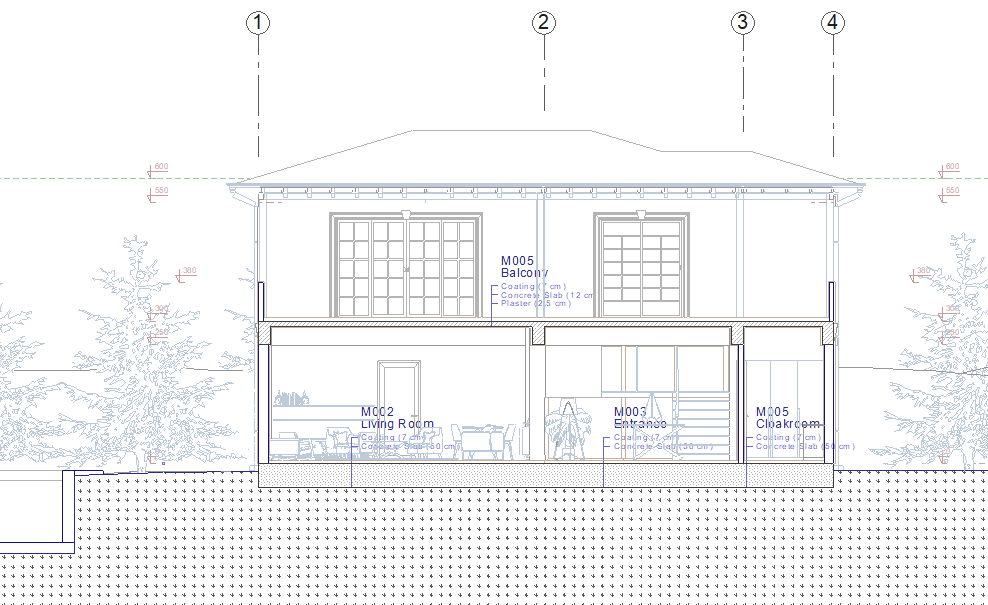
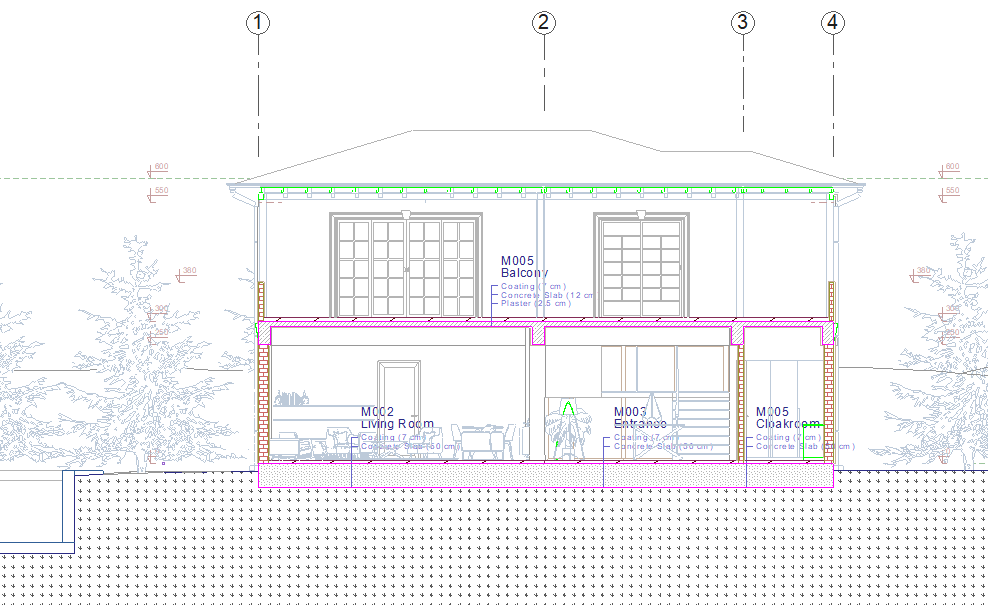
Section Samples at Different Hatch and Color Settings
|
Sample 1 |
|
|
Sample 2 |
|