
Components are designed by defining the units and materials to be used in the quantity with the Design Components command for detailed quantities . The name, unit and size (volume, length, area etc.) of the materials are determined.
Location of Design Components Command
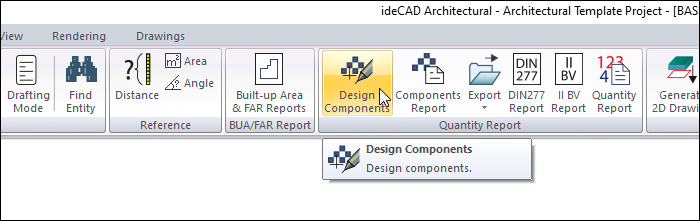
You can access it under the ribbon menu tools tab, Quantity Report title.
Create New Unit
First, the units that determine the size of the materials that make up the quantity are defined. For this;
-
Click the Design Components icon.
-
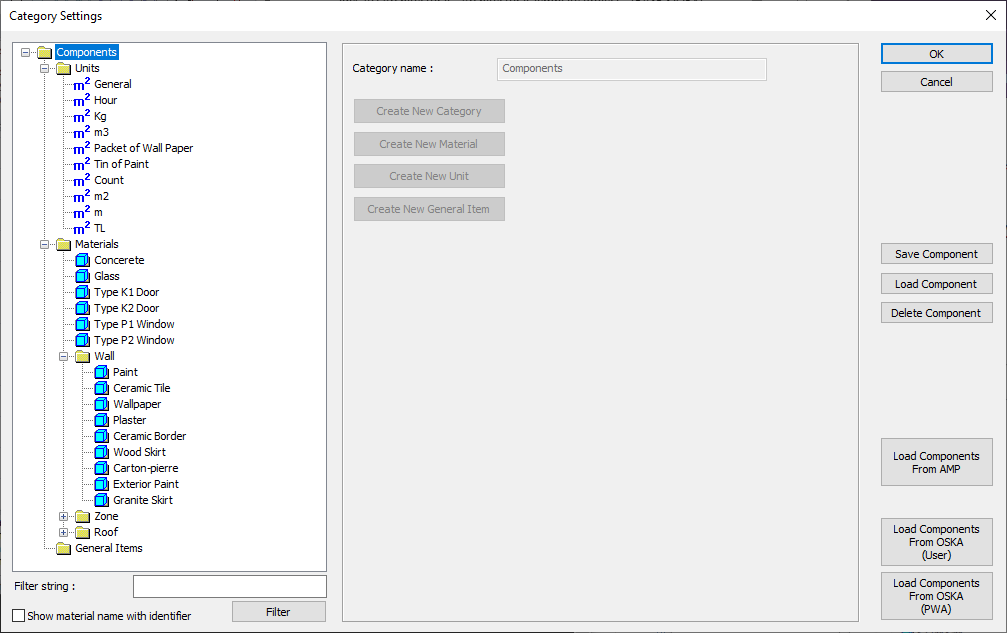
The Category Settings dialog will open.
-
Click the Create New Unit button after clicking the units folder with the left mouse button.
-
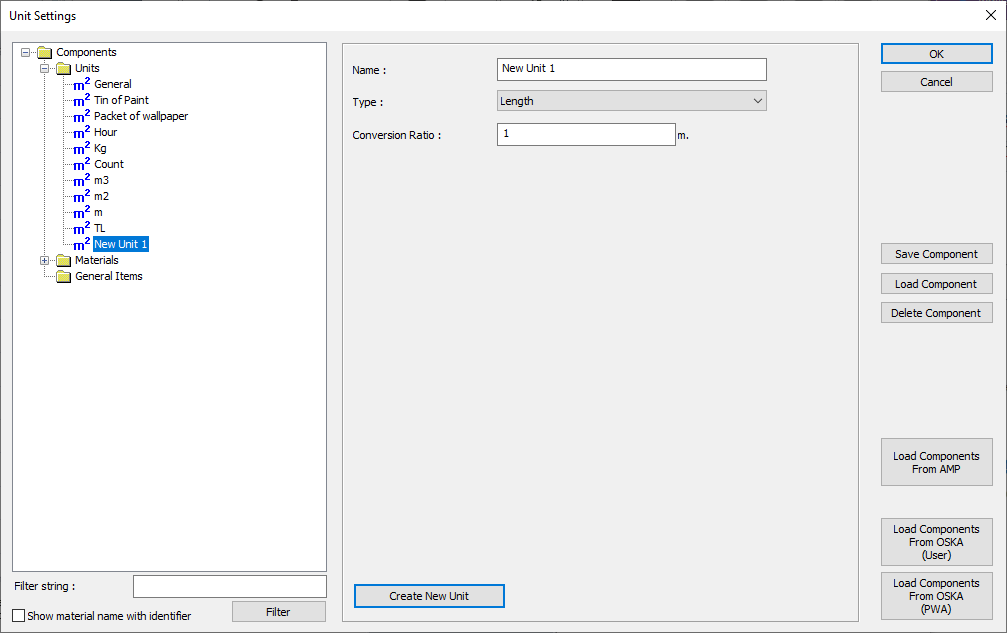
The program will switch to the Unit Settings dialog.
-
A line with the name New Unit 1 will appear under the units folder .
-
Enter the unit name and conversion rates and select the length type.
-
Your unit will be formed in the properties you enter.
-
Close the dialog by clicking the OK button. Otherwise, the unit you created appreciation will not be added to the list.
Create New Material
For the components report, the materials to be used in the quantity are defined. The name, unit and size (volume, length, area etc.) of the materials are determined.
-
Click on the Design Component icon.
-
The Category Settings dialog will open.
-
After clicking the materials folder with the left mouse button, click the Create New Material button.
-
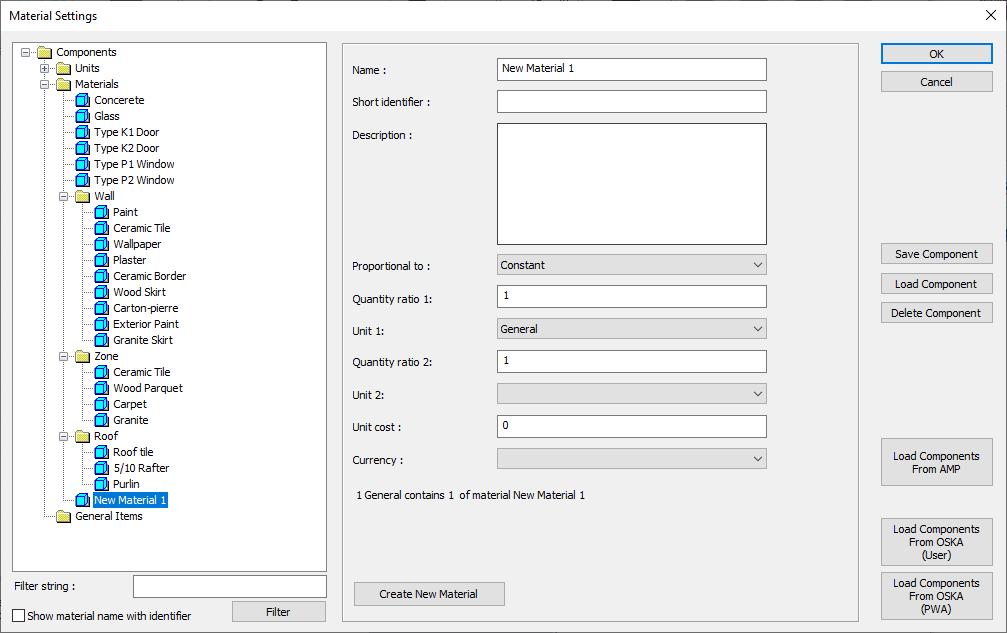
The program will switch to the Material Settings dialog.
-
A line with the name New Material 1 will appear under the materials folder .
-
On the right side of the dialog, there will be changeable lines containing information and properties of the new material.
-
Edit and determine the properties and information of the material as you wish.
-
Your new material will be created.
-
Close the dialog by clicking the OK button. Otherwise, the material you created will not be added to the list.
Category Settings
|
Specifications |
|---|
|
Components list 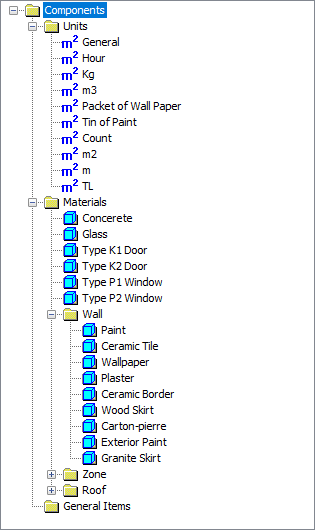
The components, units and materials that exist in the project are listed. |
|
Filter string Filters components based on the words entered. |
|
Show material name with identifier If the option is selected, the material name and description are listed together. |
|
Category name The name of the folder selected from the list is displayed. |
|
Create new category Creates a new category. |
|
Create new material Creates new material. |
|
Create new unit Creates a new unit. |
|
Create new general item It creates a general element. |
|
Save component Newly defined units or materials are saved in the archive. |
|
Load component Previously defined units or materials are loaded from the archive. |
|
Delete component The unit or item in the list is deleted. |
|
Load components from AMP The components are loaded from the program. |
|
Load components from OSKA (User/PWA) 
The components are loaded from the program. |
Unit Settings
|
Specifications |
|---|
|
Components list 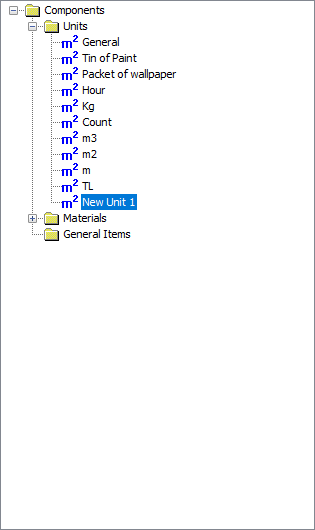
The components, units and categories that exist in the project are listed. |
|
Filter string Filters components based on the words entered. |
|
Show material name with identifier If the option is selected, the material name and description are listed together. |
|
Name The name of the unit is written. For example, if the unit is meter, it is meter, if it is square meter, it is m² etc. you can give names. |
|
Tip It determines which unit the component we define as unit represents. One of the options of height, area, volume, mass, time, energy, number is selected from the list. The default units of sizes in the type list are: Height -> Meter Area -> Square meter Volume -> Cubic Meter Mass -> Kilogram Time -> Minutes Energy -> Joules There are no default units of currency, count and general size. |
|
Conversion ratio The value to be taken as basis is entered while converting the defined new unit to the unit written next to the line. Each size listed on the type line has default values. For example, when the height size is selected in the type line, the default height value is 1 meter. If the unit is to be used as centimeter, for example, it is converted to centimeter by writing 100 to the conversion rate. |
|
Create new unit Creates a new unit. |
|
Save component Newly defined units or materials are recorded in the archive. |
|
Load component Previously defined units or materials are loaded from the archive. |
|
Delete component The unit or item in the list is deleted. |
|
Load components from AMP The pose numbers are loaded from the program. |
|
Load components from OSKA (User/PWA)
The pose numbers are loaded from the program. |
Material Settings
|
Specifications |
|---|
|
Components list 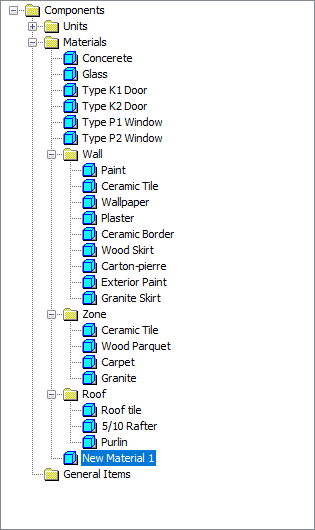
The components, units and categories that exist in the project are listed. |
|
Filter string Filters components based on the words entered. |
|
Show material name with identifier If the option is selected, the material name and description are listed together. |
|
Name The name of the material is entered. (Paint, plaster, concrete etc.) |
|
Short identifier The description of the material can be entered. |
|
Description 
Detailed information about the material can be entered in this line. |
|
Rate The size of the material is chosen. The explanations of the terms in the rate list are as follows: Constant: Material will be used on a unitless scale. Proportional to length: The material will be used in proportion to the length (eg wire, reinforcement, handrail, etc.). Proportional to area: The material will be used in proportion to the area size (eg tiles, parquet, interior plaster, etc.). Proportional to volume: The material will be used in proportion to the volume measure (eg concrete, water, etc.). Proportional to count: The material will be used in units. |
|
Quantity ratio 1 The amount of material in terms of Unit 1 unit defined on the bottom line of the dialog is entered. |
|
Unit 1 The quantity ratio of the material defined in the upper line of the dialog determines the unit of 1 quantity. One of the units previously defined with the Units button is selected from the list . |
|
Quantity ratio 2 The amount of the material as per Unit 2 unit defined at the bottom of the dialog is entered in the amount of Quantity ratio 1 . |
|
Unit 2 The quantity ratio of the material defined in the upper line of the dialog determines the unit of the 2 quantity. One of the units previously defined with the Units button is selected from the list . |
|
Unit cost The value of the unit cost of the material is entered. |
|
Currency The currency in which the material cost calculation will be made is determined. One of the currency units previously defined with the Units button is selected from the list. |
|
Information line The information of the elections is included in the amount ratio and unit sections. |
|
Create new material Creates new material. |
|
Save component Newly defined units or materials are recorded in the archive. |
|
Load component Previously defined units or materials are loaded from the archive. |
|
Delete component The unit or item in the list is deleted. |
|
Load components from AMP The pose numbers are loaded from the program. |
|
Load components from OSKA (User/PWA)
The pose numbers are loaded from the program. |
Next Topic