
With the axis command, the axes are created practically in the project. Other axes are created by clicking the left mouse button or using the copy or axis offset command after the first axis is created.
Location of Axis Command
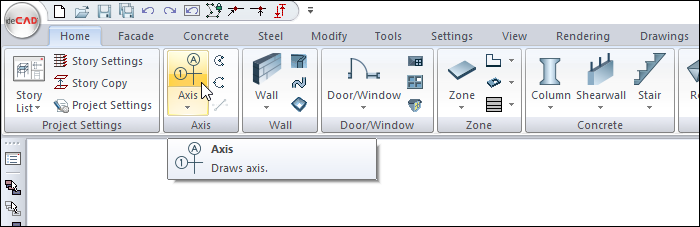
In the Architectural Program
You can access it under the ribbon menu, Home tab, Axis heading.
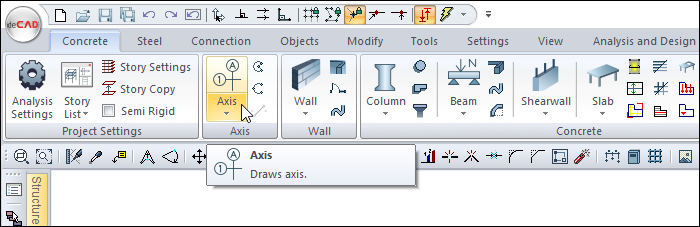
In the Structural Program
You can access it under the ribbon menu, Concrete tab, Axis heading.
Axis Toolbar

|
Icons |
|---|
|
Axis When clicked, the shape of the mouse cursor changes and becomes ready for axis drawing. |
|
Arc axis When clicked, the mouse cursor becomes ready for arc axis drawing. |
|
Arc axis through 3 poins When clicked, the mouse cursor becomes ready for the 3 Point Arc Axis drawing. |
|
Offset box A new axis is drawn at a distance equal to the written value (cm). |
|
Axis offset It is used to produce new axes and axes at a certain distance from an axis. When this icon is clicked, a new axis is drawn from the last drawn or selected axis to the distance (cm) written in the axis offset box. |
|
Change axis draw type Used to switch between horizontal, vertical and free axis drawing modes. Space key on the keyboard can be used instead of this icon |
|
Move axis label With the name axis moves its circle from one place to another. It can be used to arrange axis circles that are geometrically close to each other but intertwined. |
|
Settings If clicked, the Axis Settings dialog opens. In the dialog that opens, various properties of the axes to be drawn can be adjusted. |
Usage Steps
-
Click the axis icon in the ribbon menu.
-
The axis toolbar will open.
-
A preview of your horizontal axis will appear on the screen and move with your mouse.
-
When you click on the point you have determined with the left mouse button, your axis will be formed.
-
Use the keyboard to type 100 to create your second axis 100 cm from your first axis. At the same time, you can follow the value you wrote in the distance box in the toolbar. When you press enter after typing the distance value, your second axis will be 100 cm above your first axis.
-
You can repeat this process to create your horizontal axis.
-
To draw your vertical axis, press the spacebar while in the command or click the change axis drawing type icon from the axis toolbar. The spacebar allows you to switch between axis types.
-
A preview of your vertical axis will appear on the screen. It will move with your mouse.
-
When you click on the point you have determined with the left mouse button, your axis will be formed.
-
To create your second axis 100cm from your first axis, type 100 using the keyboard. At the same time, you can follow the value you wrote in the distance box in the toolbar. When you press Enter after typing the distance value, your second axis will be 100 cm ahead of your first axis.
-
Complete your vertical axis by repeating this process.
-
When you press the spacebar again, the command switches to oblique axis type. When you click on a point you have determined, a preview of your oblique axis will appear on the screen.
-
The direction and direction of your axis will change depending on the movement of your mouse.
-
When you click on the second point you have determined, your oblique axis will be formed.
|
Usage step |
|---|
|
Determining the location of the first axis 
|
|
Creating the first axis 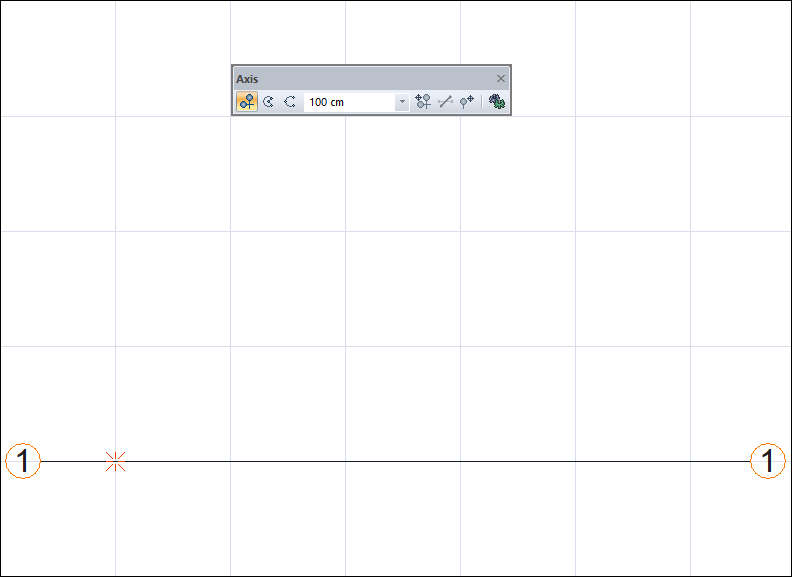
|
|
Creating the second axis away from the first axis 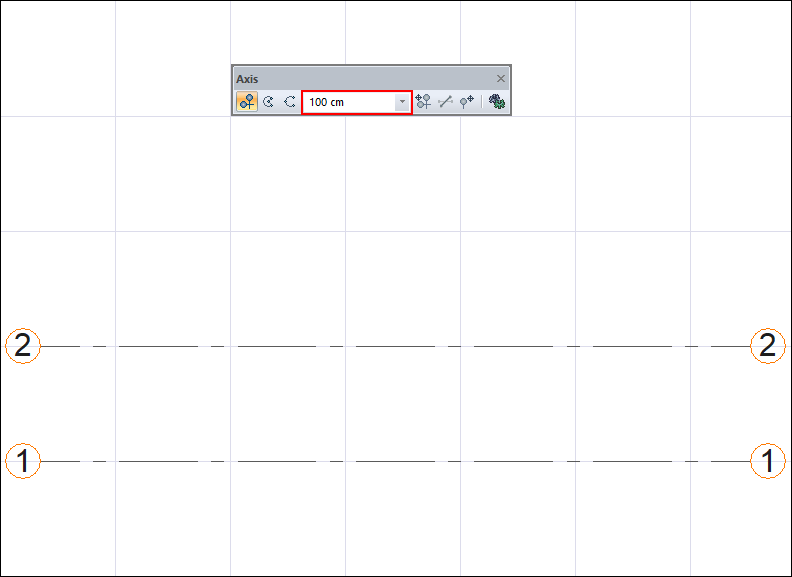
|
|
Creation of the third axis 150 cm away 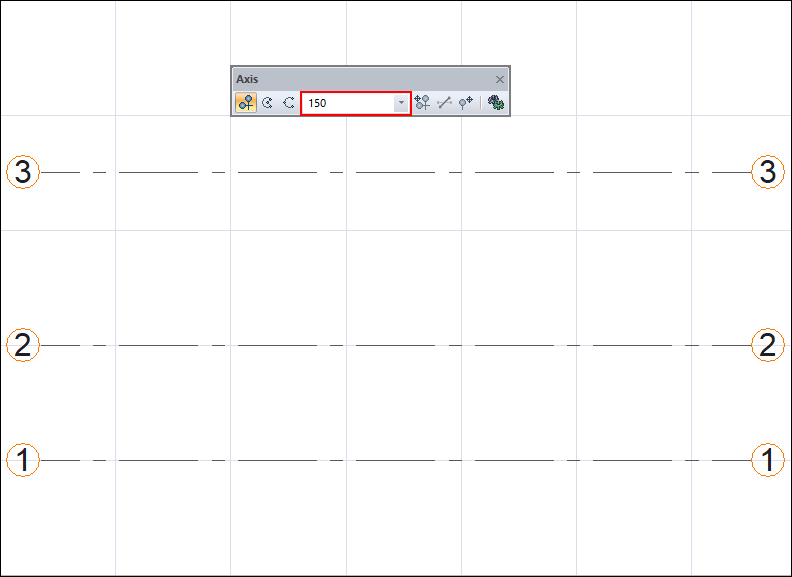
|
|
Determining the location of the first axis to be created vertically 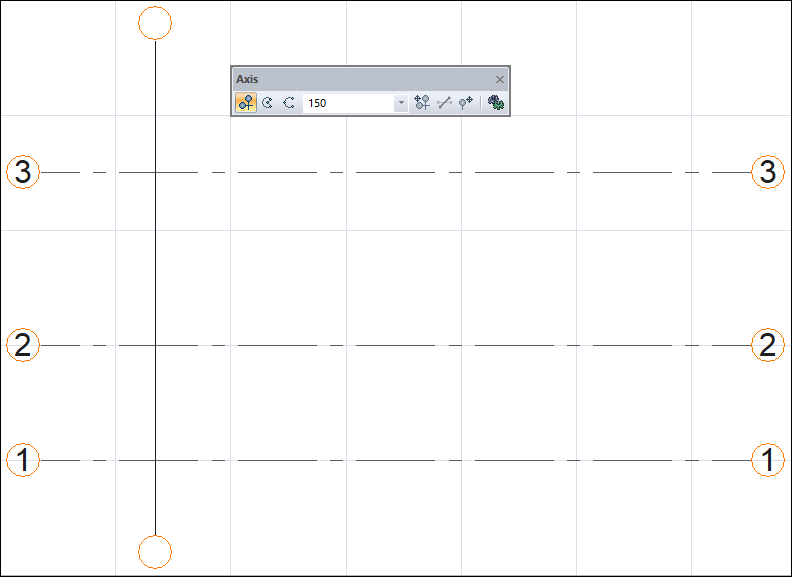
|
|
Creating the first vertical axis 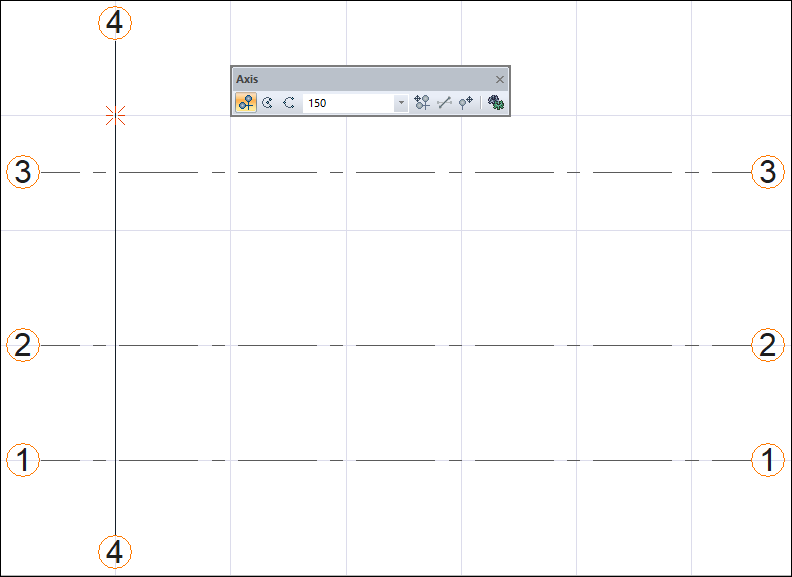
|
|
Creation of vertical axes with 100 cm intervals 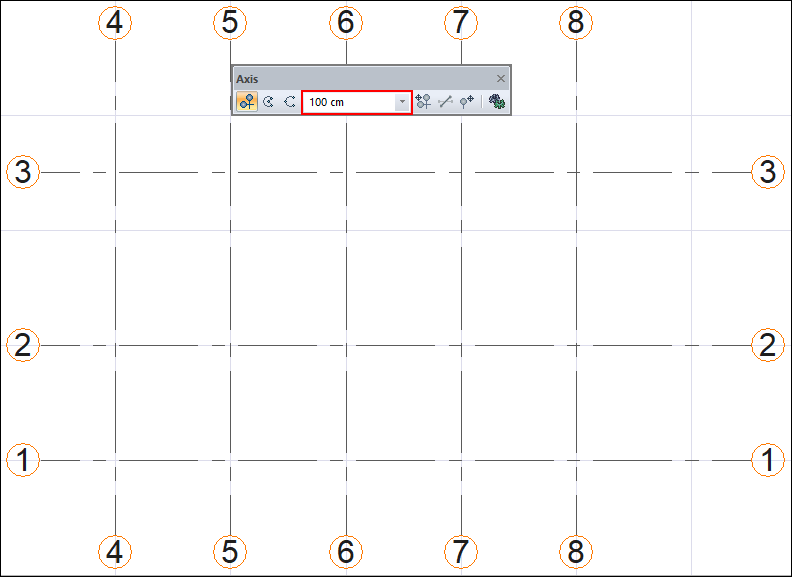
|
|
Determining the first point for an oblique axis 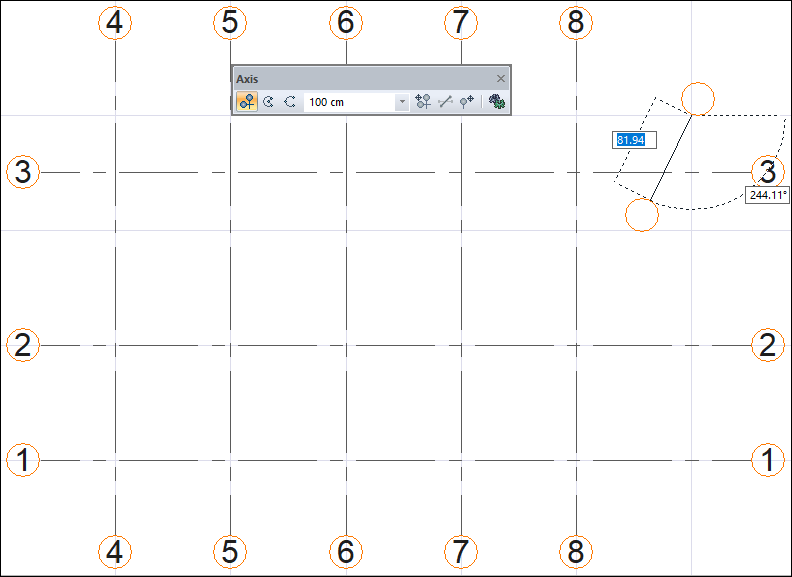
|
|
Determination of the second point for oblique axis 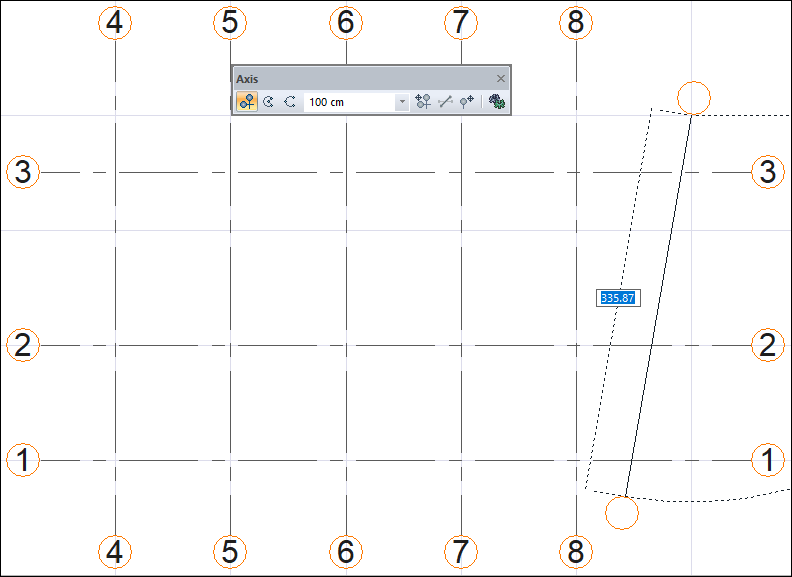
|
|
Creating the oblique axis 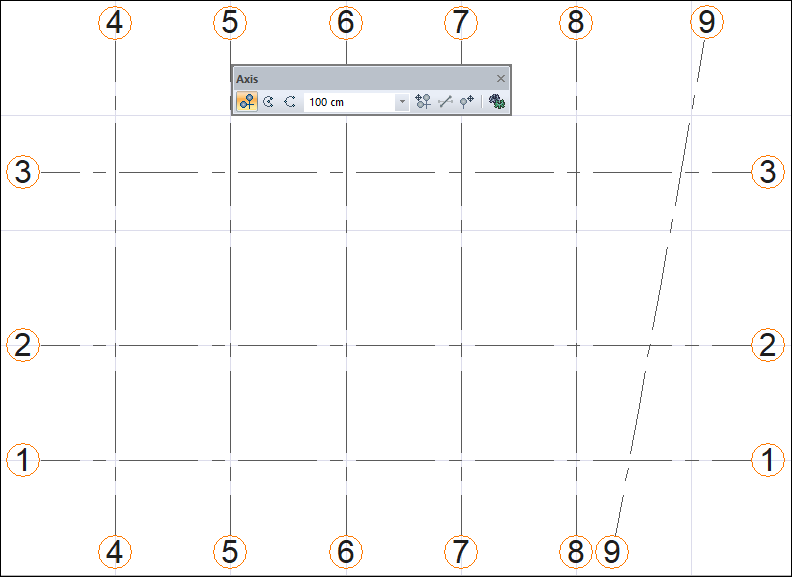
|
Next Topic