
The grid system consists of horizontal and vertical lines drawn at equal intervals, starting from the horizontal x and vertical y axes, parallel to these axes. These lines are virtual lines. In other words, these lines are not drawn on the printouts. When a new project is opened with default settings, a grid system drawn in gray lines appears on a white background.
The grid can be opened or closed at any stage of the project. The color of the grid lines, x and y intervals can be adjusted. Drawings can be performed by skipping the grid intersections.
Location of the Grid System Settings
You can access it under the ribbon menu View tab, View title in the architectural program.
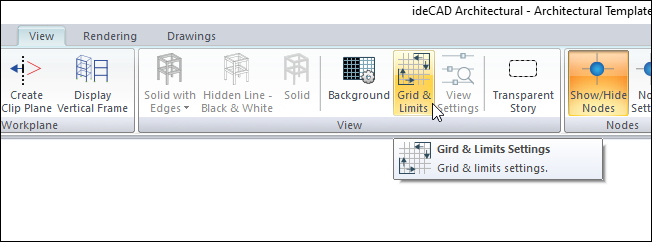
You can also access it from the Preferences tab in the Preferences.
Grid and Limits Settings

|
Specifications |
|---|
|
Show grid The grid lines are made visible by checking the option. |
|
X/Y/ Z spacing 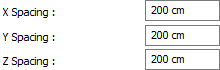
Spacing values are entered for grid lines in X, Y and Z planes. |
|
Color (2D) The color of the grid lines is selected for 2D windows. |
|
Color (3D) The color of the grid lines is selected for 3D windows. |
Show Grid
To turn the grid show and hide
-
Click on the grid and limits icon.
-
The Show grid option is unchecked by clicking with the left mouse button.
-
The dialog is exited by clicking the OK button. The grid will be closed, it will not appear in the drawing area.
-
Likewise, if Show grid option is selected by clicking with the left mouse button, grid lines will appear in the drawing area.
-
If the entered grid system settings are to be applied to all windows in the project, the Apply settings to all drawing windows line in the Preferences dialog is highlighted.
|
Show grid when checked 
|
|
Show grid when unchecked 
|
Changing Grid Spacing
To change the grid spacing;
-
Click on the grid and limits icon.
-
From the Show Grid section, the desired values are written on the X spacing, Y spacing and Z spacing lines. These values may be the same or different from each other.
-
When the OK button is clicked and the dialog is exited, the grid system will be created according to the new values entered.
-
If the entered grid system settings are to be applied to all windows in the project, the Apply settings to all drawing windows line in the Preferences dialog is highlighted.
|
When X, Y and Z spacing values are 200 cm
|
|
When X, Y and Z spacing values are 500 cm 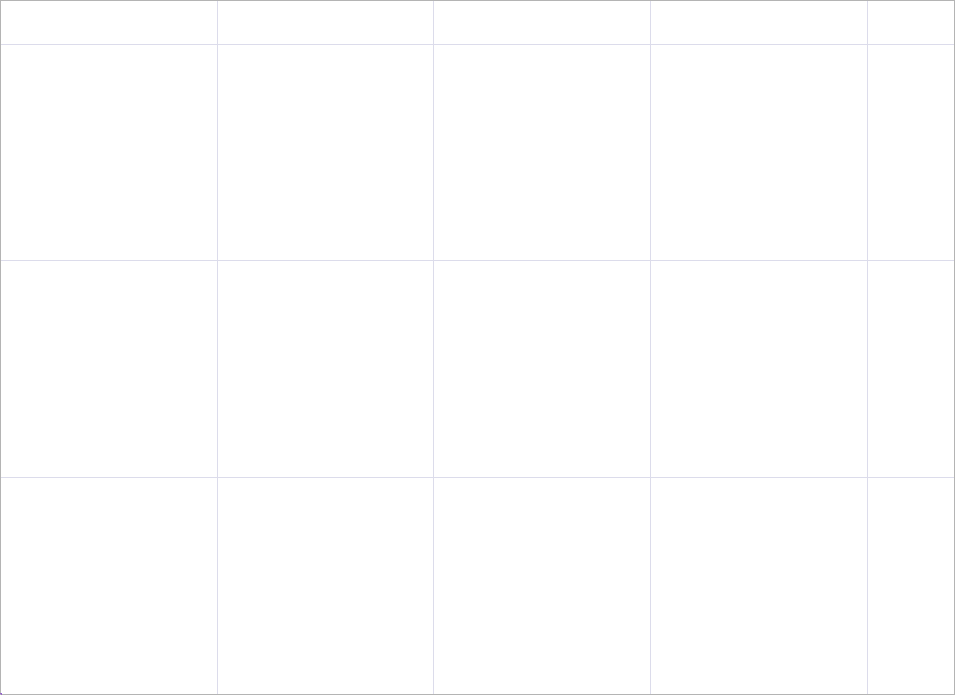
|
Changing the Grid Color
To change the color of grid lines;
-
Click on the grid and limits icon.
-
From the Show Grid section, click the Color (2D) color box with the left mouse button.
-
Keeping the key pressed, the cursor is dragged over the color palette that opens. When the desired color is reached, the button is released. It appears that the color box takes the selected color.
-
When the OK button is clicked and the dialog is exited, the color of the grid will change.
-
If the entered grid system settings are to be applied to all windows in the project, the Apply settings to all drawing windows line in the Preferences dialog is highlighted.
|
Grid in blue 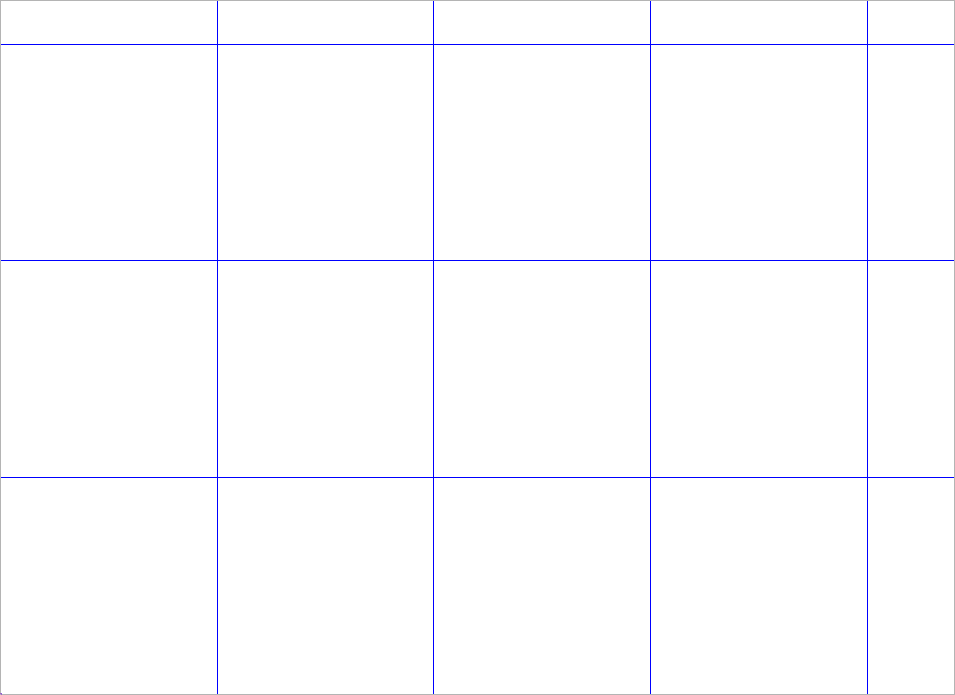
|
|
Grid in black 
|
Next Topic
Related Topics