
After the pool is created, with the Set Pool Surface Properties command; the thickness, depth, slope, water elevation etc. of the slab of the pool, properties can be adjusted.
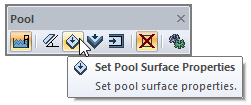
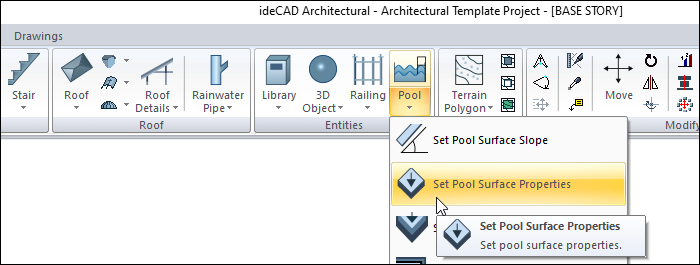
Location of Set Pool Surface Properties Command
After entering the pool command, you can access it from the Pool toolbar opened.
You can also access it in the architectural program under the ribbon menu Home tab, Entities title.
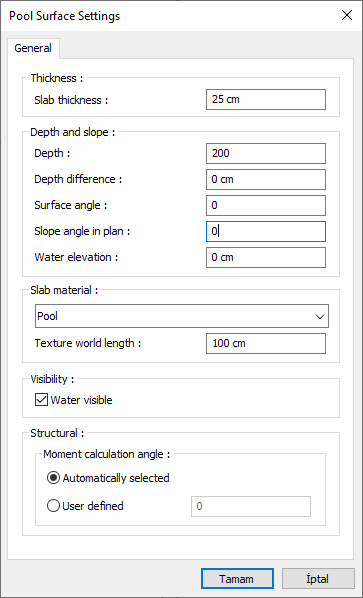
Pool Surface Settings
|
Specifications |
|---|
|
Slab thickness Give the thickness of the pool slab. |
|
Depth Give the measured height of the water surface from the slab of the pool. |
|
Depth difference Give the difference in height between right and left of the pool slab. The surface angle will change automatically according to the height difference. |
|
Surface angle Enter the slope of the pool slab. |
|
Slope angle in plan Determine the slope to be created based on the axis indicated by the cursor by entering the angle. |
|
Water elevation Indicate the level of water that will fill in the pool. |
|
Slab material Select the view of the pool slab to be displayed in the solid model from the list. |
|
Texture world length Texture length is entered. For example; If 1 is entered, the width of the selected material texture is taken as 1 unit and covered on the selected object. Considering that the texture is in the form of a square, the object surfaces are covered with 1x1 textures arranged side by side. |
|
Water visible Check if you want water to be visible on the solid model. Otherwise, do not mark it. |
|
Moment calculation angle 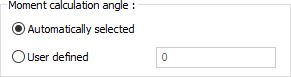
In automatic selection, it is the preferred option in most cases. However, in special systems, give the account angle at the desired value. |
Usage Steps
-
Click the Pool icon from the ribbon menu .
-
The pool toolbar will open. From the toolbar Set Pool Surface Properties, click the icon.
-
Move the mouse pointer over the pool and click the pool deck.
-
The Pool Surface Settings dialog will open. The properties of your current pool are included in the dialog.
-
Edit the parameters in this dialog to match the values of your project.
-
When you close the dialog by clicking the OK button, your pool will be shaped according to the values you entered.
|
Usage step |
|---|
|
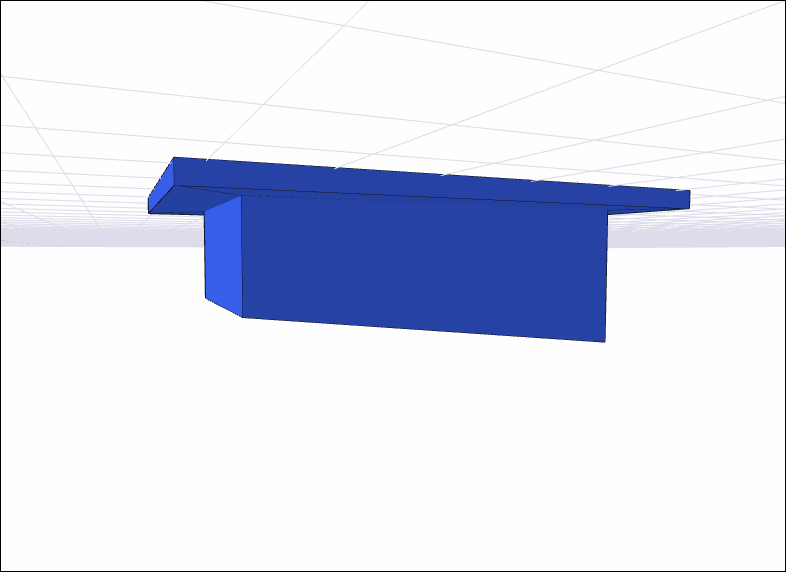
Before the pool surface properties are arranged
|
|
Choosing the pool surface to be arranged 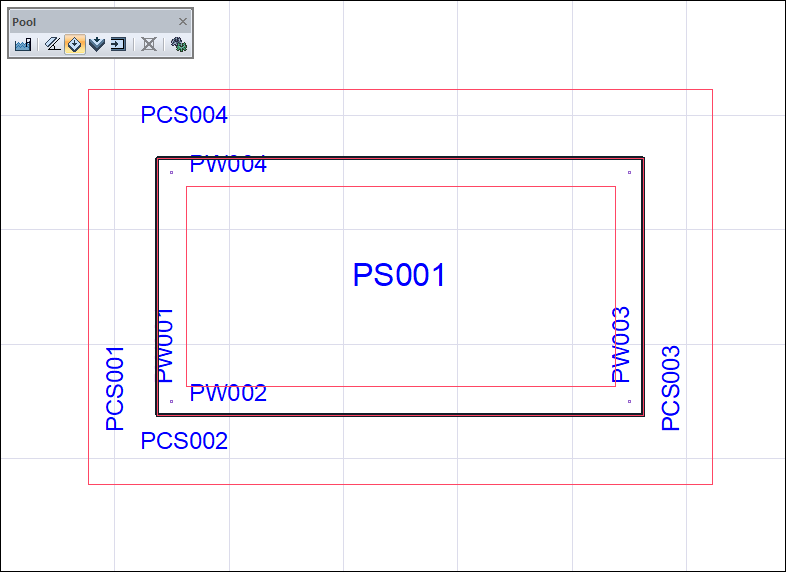
|
|
Adjusting surface settings
|
|
After the pool surface properties are arranged 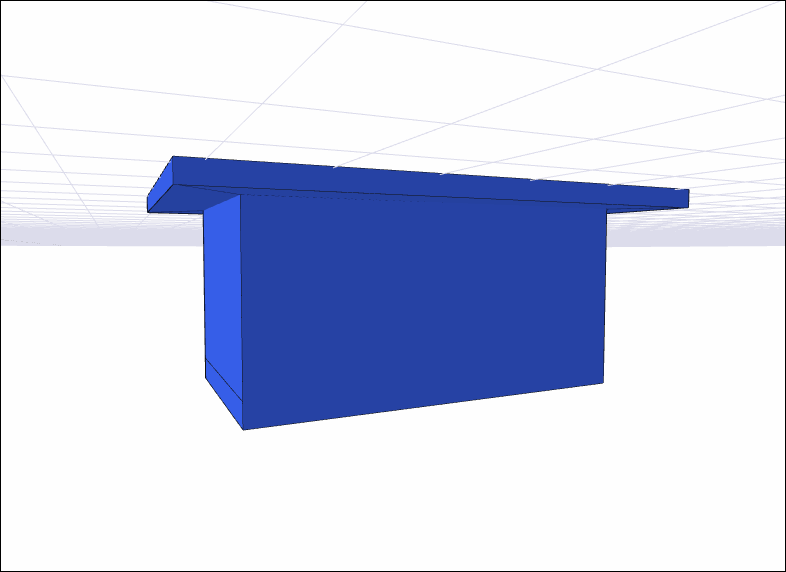
|
Next Topic