
With the Truss Settings, the profile is selected for the header, footer, vertical and diagonal of the truss.
Location of Profile Settings
You can access the Truss Settings dialog by clicking the Settings icon from the Trusses toolbar that opens when the Truss command is clicked. Truss pattern type and count settings are available on the Section tab.

Usage Steps
-
Click the Truss icon in the ribbon menu .
-
The trusses toolbar will open. Here Settings , click the icon.
-
The Truss Settings dialog will be displayed. Here click the Section tab.
-
You can choose the sections of your truss for the header, footer, vertical and diagonal. Select the section you want to use from the Sections.
-
Click the button of the element to which you want to assign the section you selected in the Assign to. For example, when you click the header button, the section you select will be assigned to that heading.
-
If you want, you can click All to assign sections to all the elements of yourtruss at once. You can see the preview of the section on the right side of the element you have assigned.
-
You can change the direction of the section you have selected by selecting one of the 0 °, 90 °, 180 ° and 270 ° options from the rotation section.
-
You can choose from top, center of gravity and bottom options for the placement of the truss elements. You can give delta X and Y values by selecting the Defined option.
|
Usage step |
|---|
|
Selecting the section from the section list 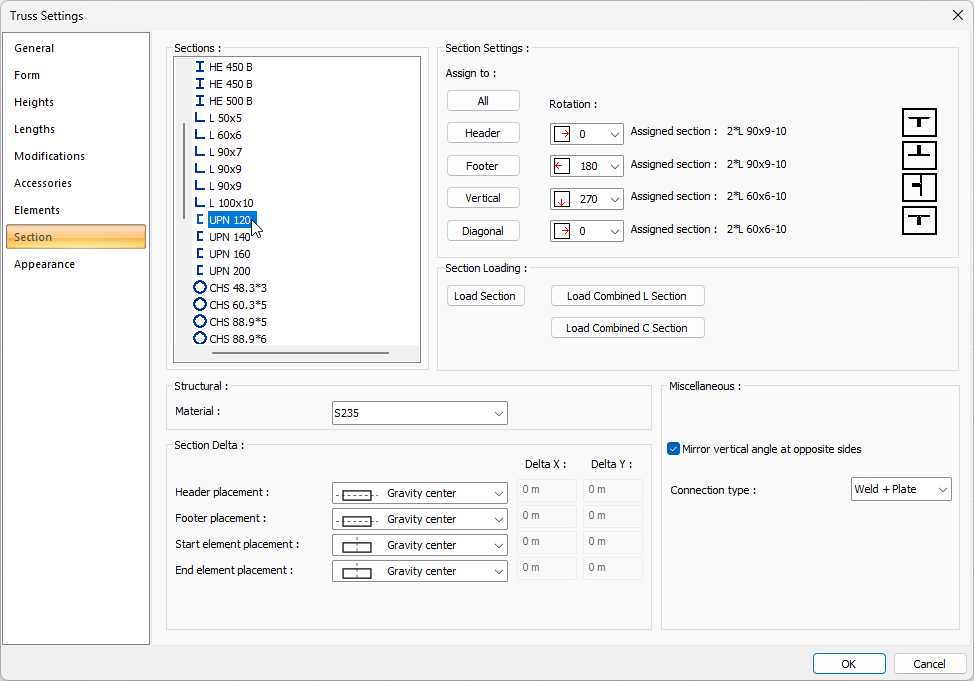
|
|
Clicking in the assignment section of the element (footer) to which the section will be assigned 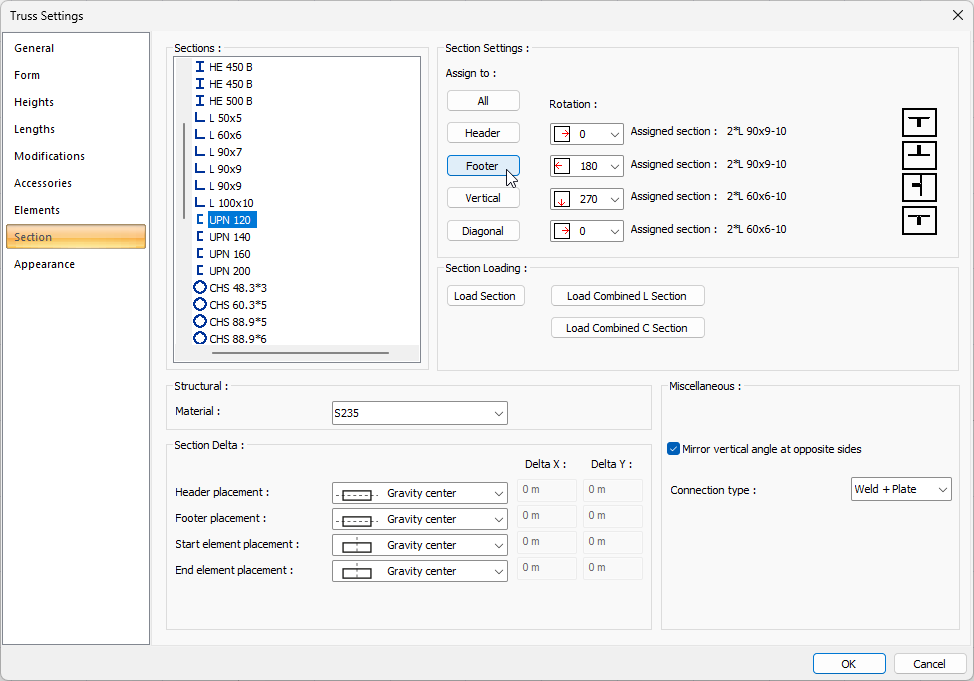
|
|
Changing the direction of the section from the rotation section 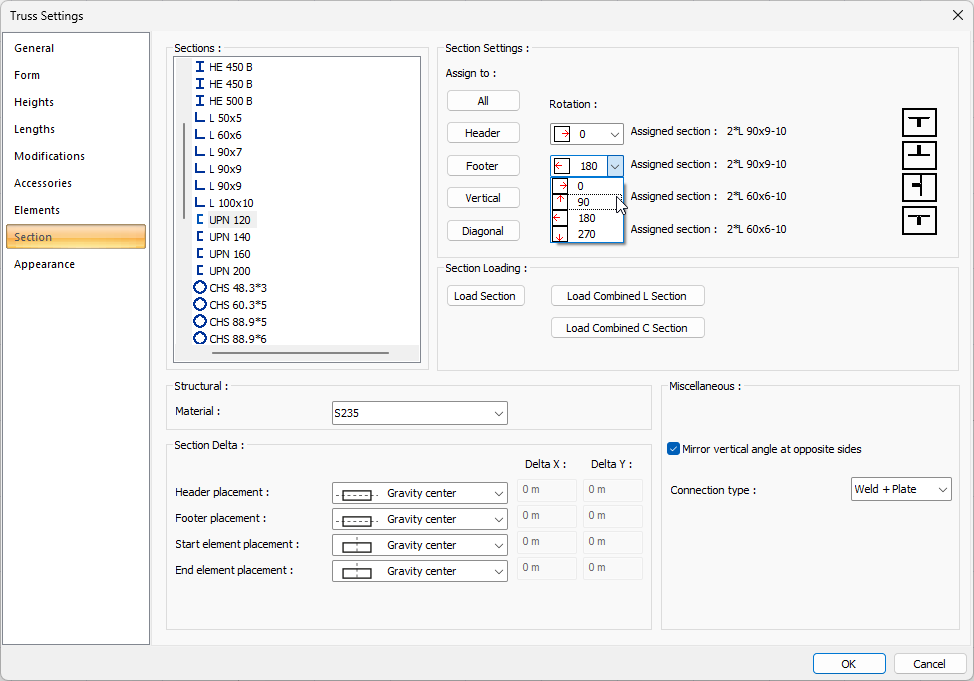
|
|
Determination of the truss center of gravity 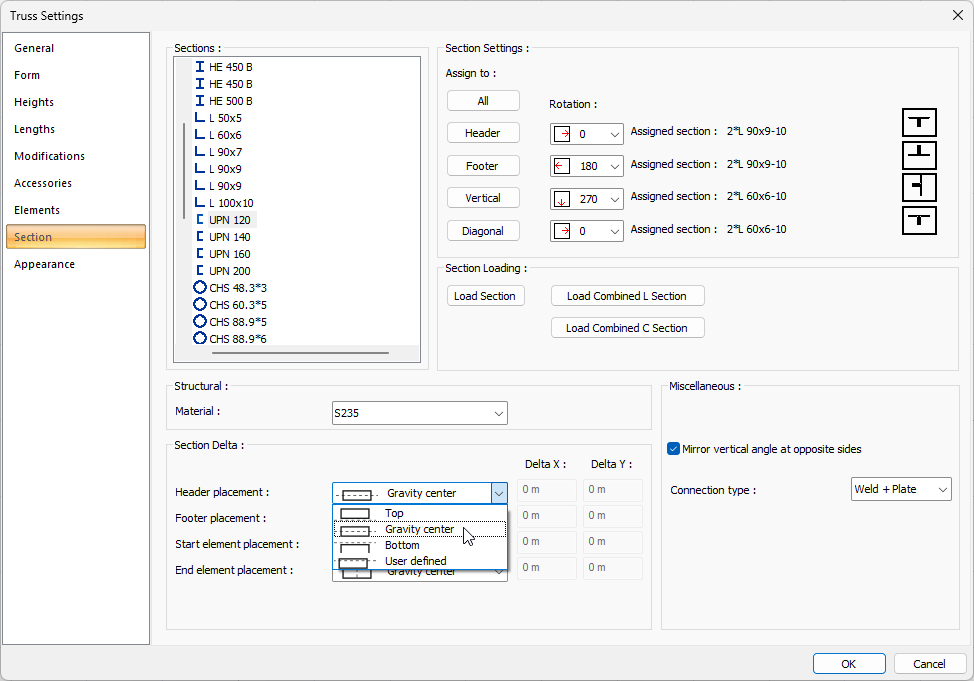
|
Sections Tab

|
Specifications |
|---|
|
Sections 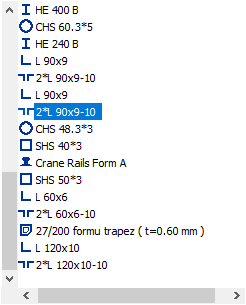
All sections with the project added are listed. The wanted truss section is selected from the list and assigned to the truss elements. A section not included in the list is added to the list by using the load section button. |
|
Section settings 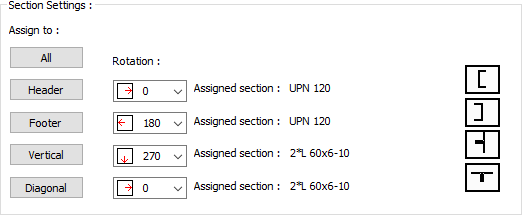
The truss elements of the section selected from the list from the profile section are assigned from this section. The selected section can be assigned to all truss elements by clicking the All button, and only the section can be assigned to that element by clicking one of the header, footer, vertical and diagonal buttons.
|
|
Section loading 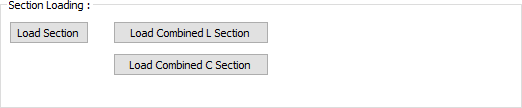
The Load Section button is used to add new sections to the sections in the section list .
|
|
Material 
The material for the truss is selected. |
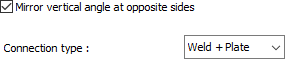

In case of using non-symmetrical profiles, this option is marked if the strut at the start and end of the scissors is desired to have different directions. 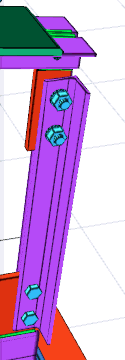
|
Next Topic