
With the define property polygon command, the property is automatically created by entering the X/Y coordinate and setback distance values in the boundary survey into the table.
Location of Define Property Polygon Command
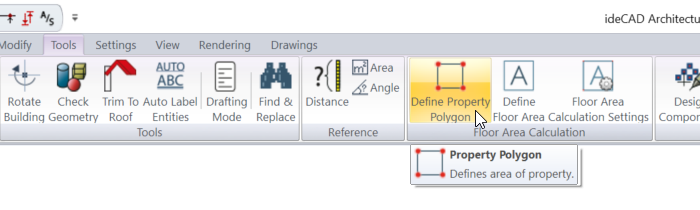
You can access it under the Ribbon menu Tools tab Floor Area Calculation heading.
Usage Steps
-
Click the Define Property Polygon icon.
-
Click the Yes button for the question "Would you like to define property polygon by manually entering coordinates to table?"
-
The property polygon dialog will open.
-
Click the Add New Point button.
-
Let's enter our points using the coordinate values in the attached table.
|
No |
Y |
X |
|---|---|---|
|
1 |
-10 |
-10 |
|
2 |
24 |
-10 |
|
3 |
24 |
20 |
|
4 |
-10 |
20 |
-
The first line will be created. Enter the x values in the boundary survey into the y line and the y values into the x line.
-
Create your second line by clicking the add new point button.
-
By following the schematic drawing in the boundary survey, enter the x values of your second point into the y line and the y values into the x line.
-
A preview of your boundary of property will begin to appear in the property polygon dialog.
-
Complete your points by following the schematic drawing in the boundary survey.
-
Follow the property polygon dialog preview section and enter the relevant setback distance in the offset distance column.
-
When you click the OK button, a preview of your property border and north arrow will be created.
-
Place it by clicking on the desired point. Your property borders are created.
|
Usage step |
|---|
|
Entering coordinate values for the first point 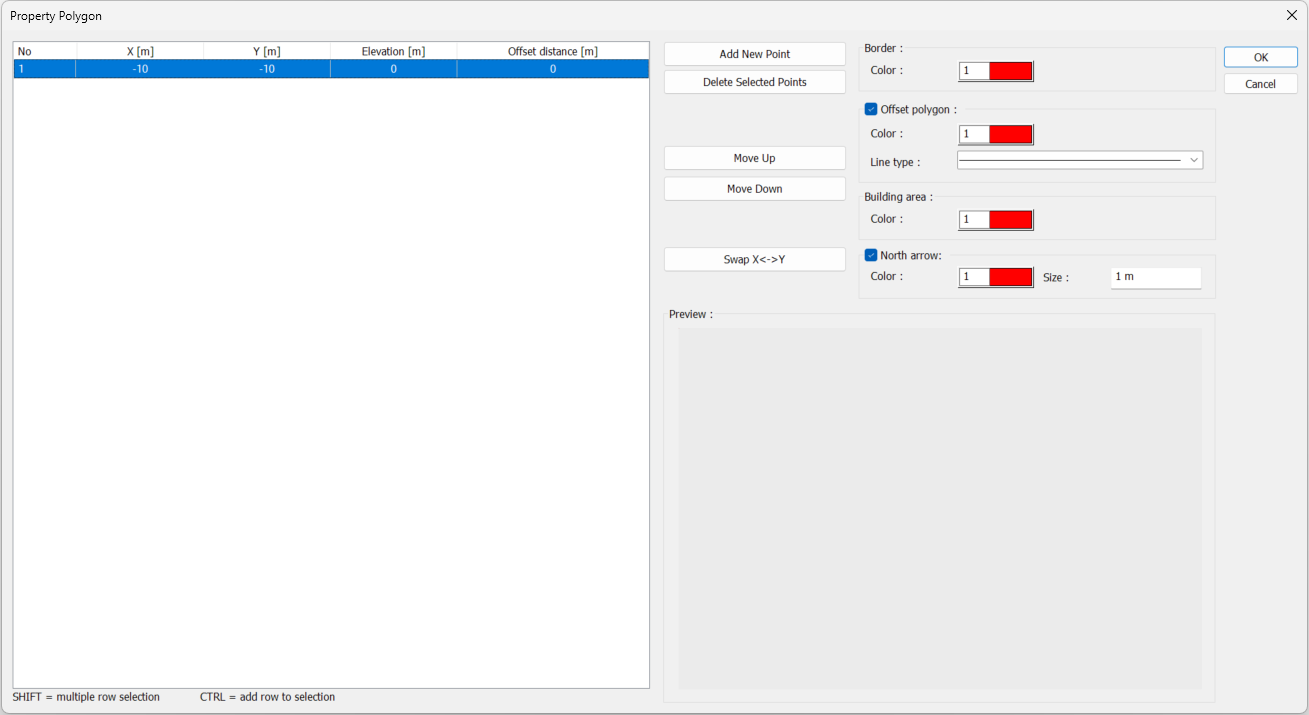
|
|
Entering coordinate values for the second point 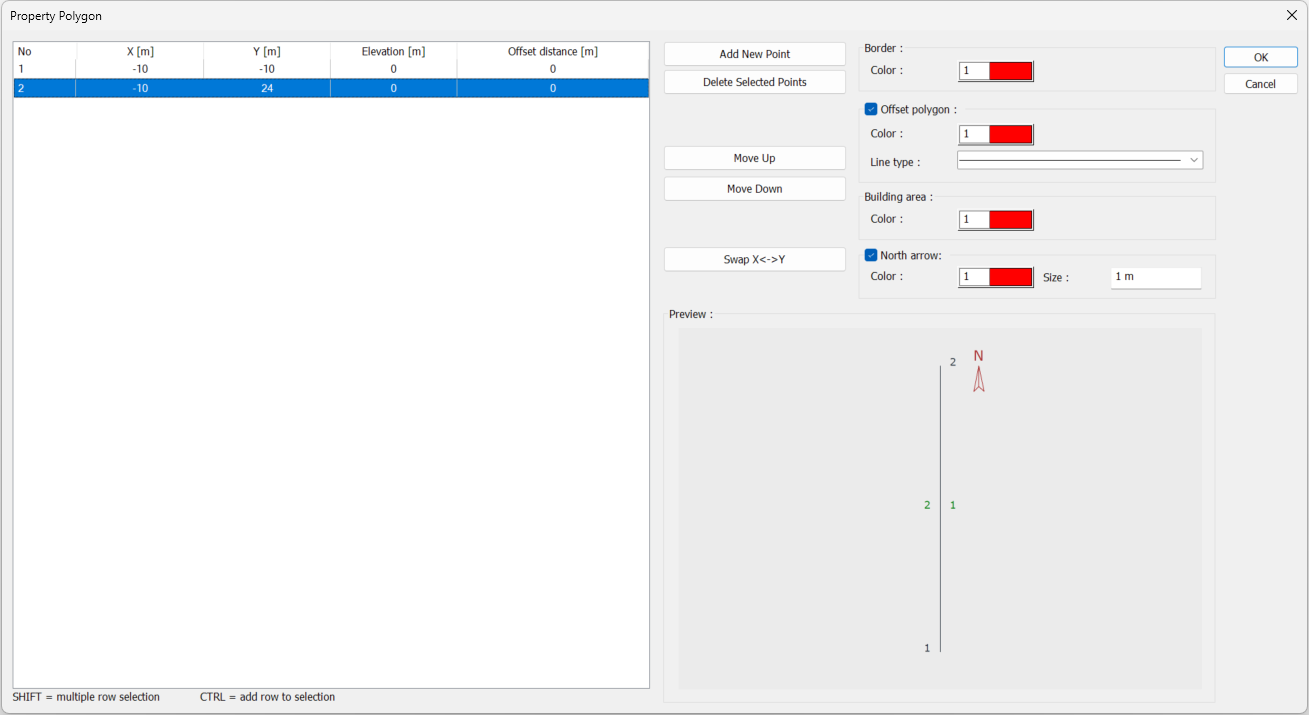
|
|
Entering coordinate values for the third point 
|
|
Entering coordinate values for the fourth point 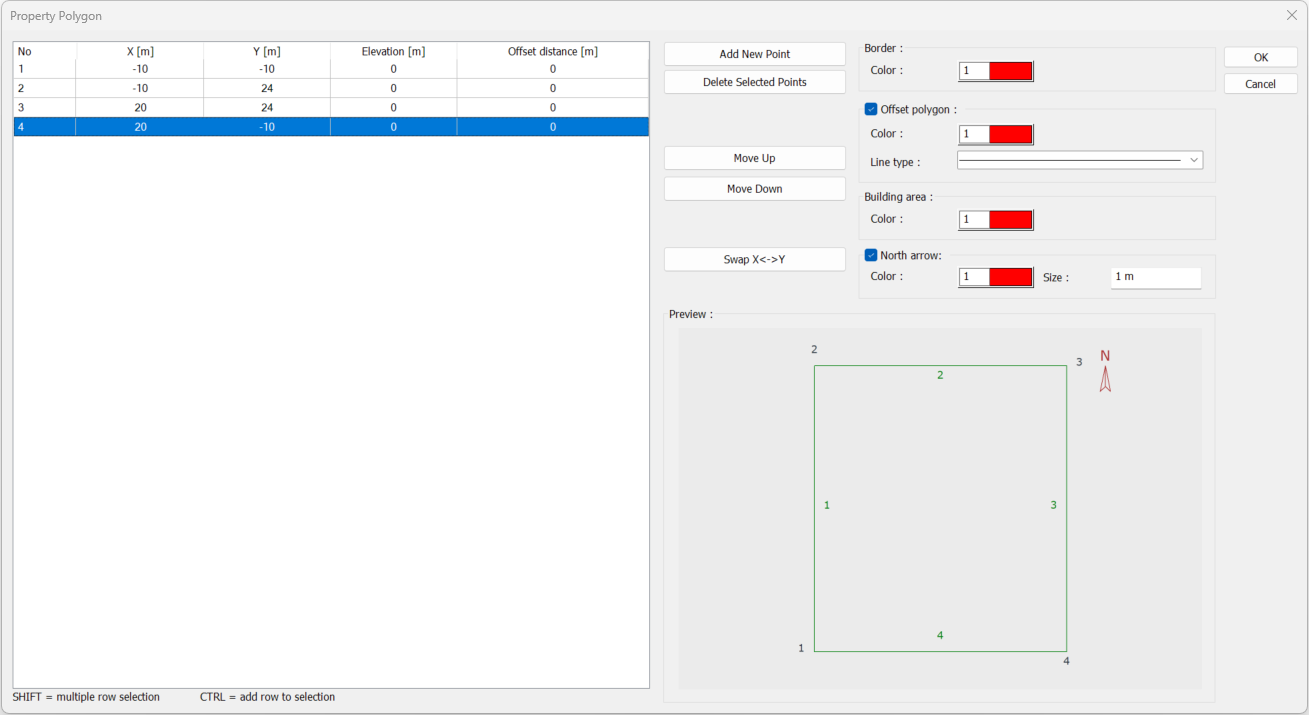
|
|
Entering 3m as the setback distance in the offset distance column 
|
|
Creating a preview of the property boundary 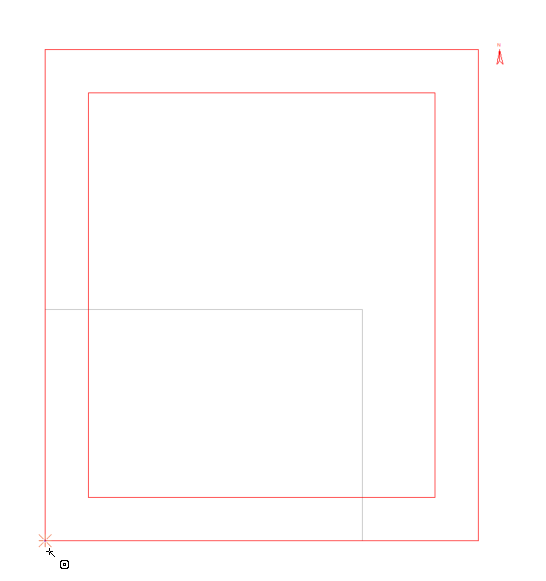
|
|
Formation of property border 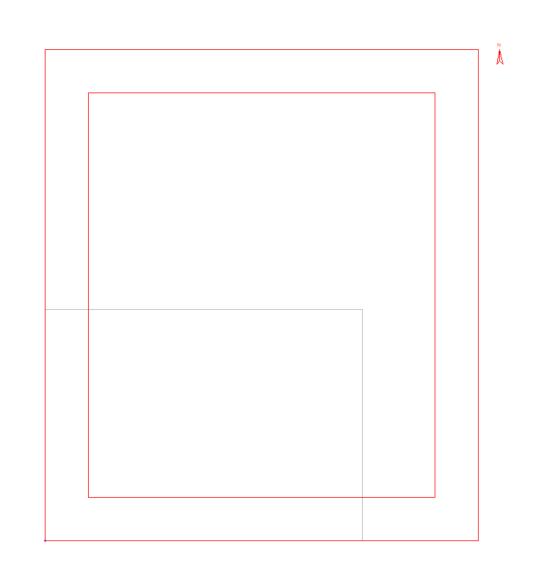
|
Next Topic