
With the column command, concrete columns belonging to the concrete design are created.
Location of Column Command
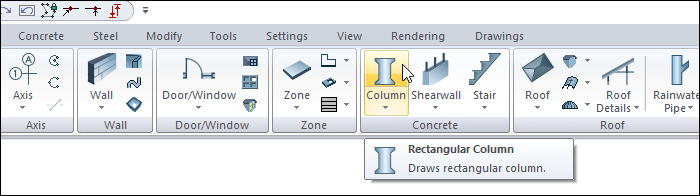
In Architectural Program
You can access it under the ribbon menu Home tab, Concrete title.
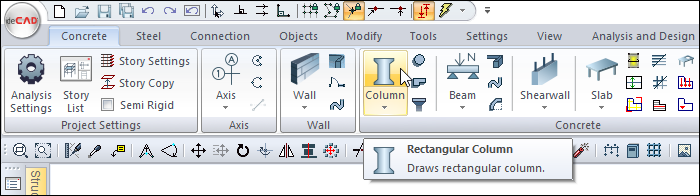
In Structural Program
You can reach it under the ribbon menu Concrete tab, Concrete title
Column Toolbar
|
Icons |
|---|
|
Rectangular column Runs the rectangular column command. Column dimensions can be entered in the Column Size boxes. |
|
Circular column Runs the circular column command. |
|
Polygon column Runs the polygon column command. Draws the polygon column selected in the polygon column settings. In order to draw the desired polygon column, first enter the polygon column settings and select the relevant column here, or if there is no such column in the polygon column library, it should be drawn in the polygon column settings and added to the polygon column library. |
|
Column support Draws the column support. Column support is an element used in non-beam slab systems. |
|
Default aligned column Draws columns according to the current aligned values in the column settings dialog. It can also be operated by pressing the 1 key on the keyboard while in column mode. |
|
Left middle aligned column It is used to define a rectangular column just aside without entering the column settings. The column node is located at the midpoint of the left side of the column. For a column that is adjacent to the other side, it is necessary to enter the dimensions of the column in reverse. (e.g. 25/50 instead of 50/25). It can also be operated by pressing the 2 key on the keyboard while in column mode. |
|
Corner aligned column It is used to define a rectangular column defined from the corner without entering the column settings. By default, the column node is located in the upper left corner of the column. It can also be operated by pressing the 3 key on the keyboard while in column mode. |
|
Centered column Convenience for centered column. The node is located in the middle of the column. It can also be operated by pressing the 4 key on the keyboard while in column mode. |
|
Mirror X When clicked, it takes the mirror of the column with respect to the local X axis. The same can be done by pressing the space-bar key on the keyboard. |
|
Change jacket edge In concrete projects, it makes a jacket to the column element or changes the thickness of a jacket made. |
|
Reset jacket edge In reinforcement projects, it removes the jacket of the sheathed column element. |
|
Column size boxes Dimension values for the rectangular column are entered in these boxes. The dimensions of the column to be drawn can be adjusted here without entering the column settings. While drawing the column, dimensions can also be changed after the first click on the plan where the column virtual image is created. The change made is immediately reflected on the drawing. |
|
Settings Opens the column settings dialog. This dialog contains parameters related to the columns. There is also a transition from within the dialog to the Polygon Column Settings dialog, which contains additional parameters for polygon columns. |
Usage Steps
-
Click the column icon from the ribbon menu.
-
The column toolbar will open.
-
There are rectangular, circle and polygon column options in the column toolbar. You can choose the column type you want.
-
You can define the column by holding different points by using the aligned buttons on the column toolbar. From bottom to top; corner-aligned, left middle aligned, centered or default aligned options are available.
Depending on the aligned you choose, your nodes will be formed. The following picture shows the column layouts according to different aligned types, with the nodes in the same direction.
-
Choose the type of alignment that is right for you.
-
Click on any point of the drawing area or object intersection with the left mouse button. The image of the column will be fixed on the screen. After fixing your column, you can zoom in and out with the mouse wheel without exiting the command, by holding down the mouse wheel, you can switch to the pan command and move.
-
Enter the column dimensions in the column dimensions boxes in the column toolbar. As you enter the value, the preview of your column will change.
-
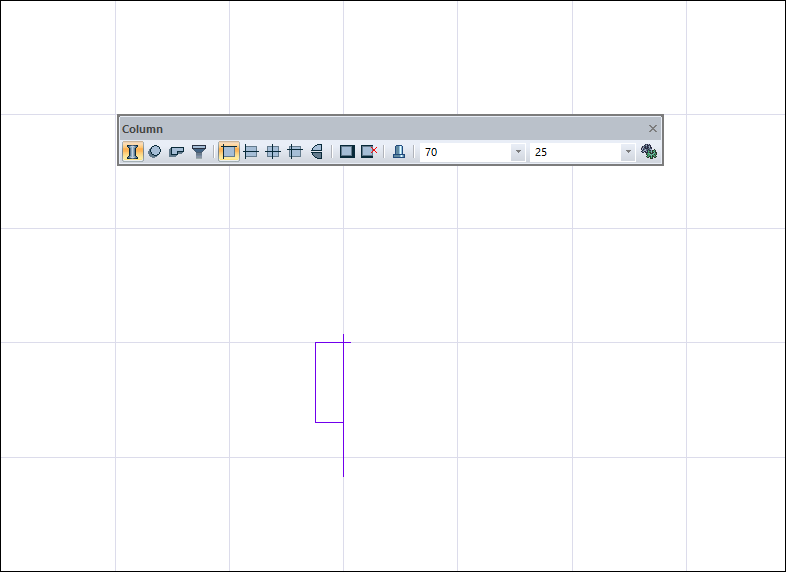
You can rotate the column around itself by moving the mouse.
-
You can get the mirror of the column by pressing the spacebar or clicking the mirror X icon from the column toolbar.
-
You can draw your column only at 0 or 90 degrees by pressing the Shift key.
-
When the column preview is placed where you want it, click the left mouse button to finish the column drawing. Your colon will be formed.
|
İşlem adımı |
|---|
|
Selecting the column type from the column toolbar 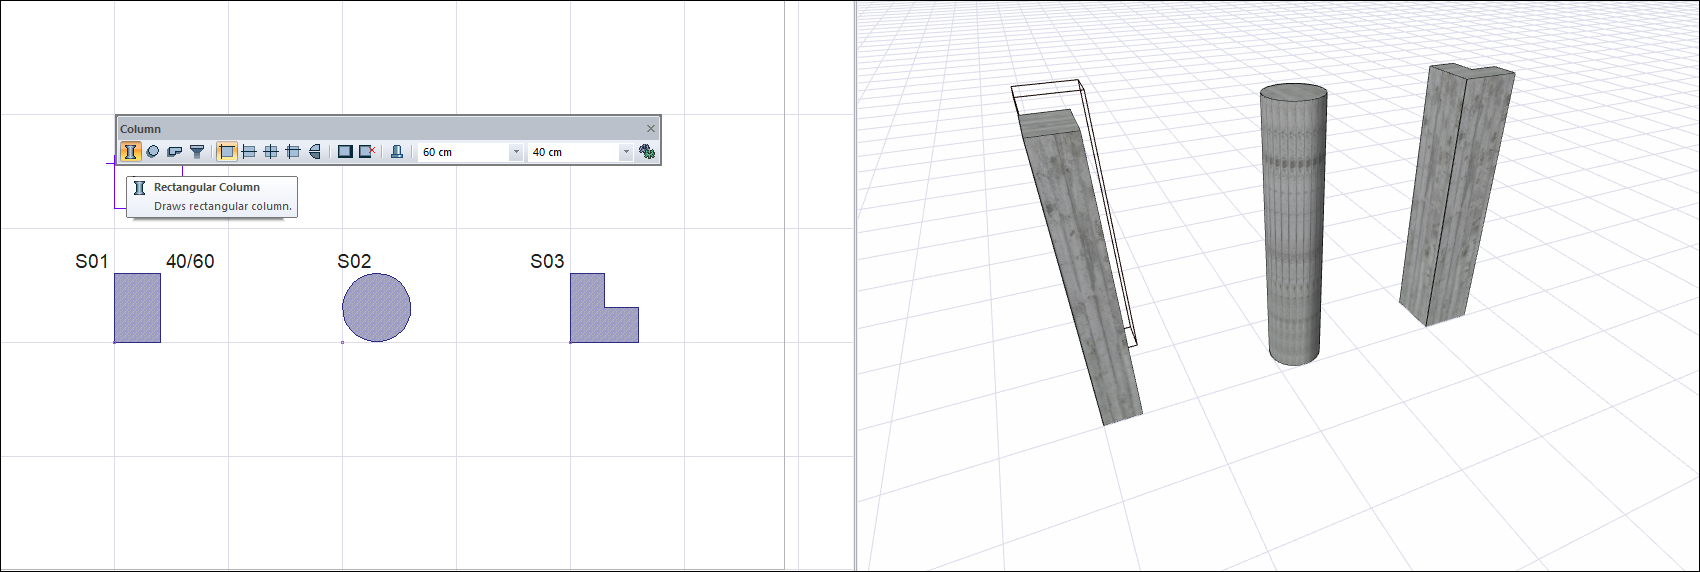
|
|
Selection of aligned type from column toolbar - bottom to top; corner-aligned, left middle aligned, centered, default aligned 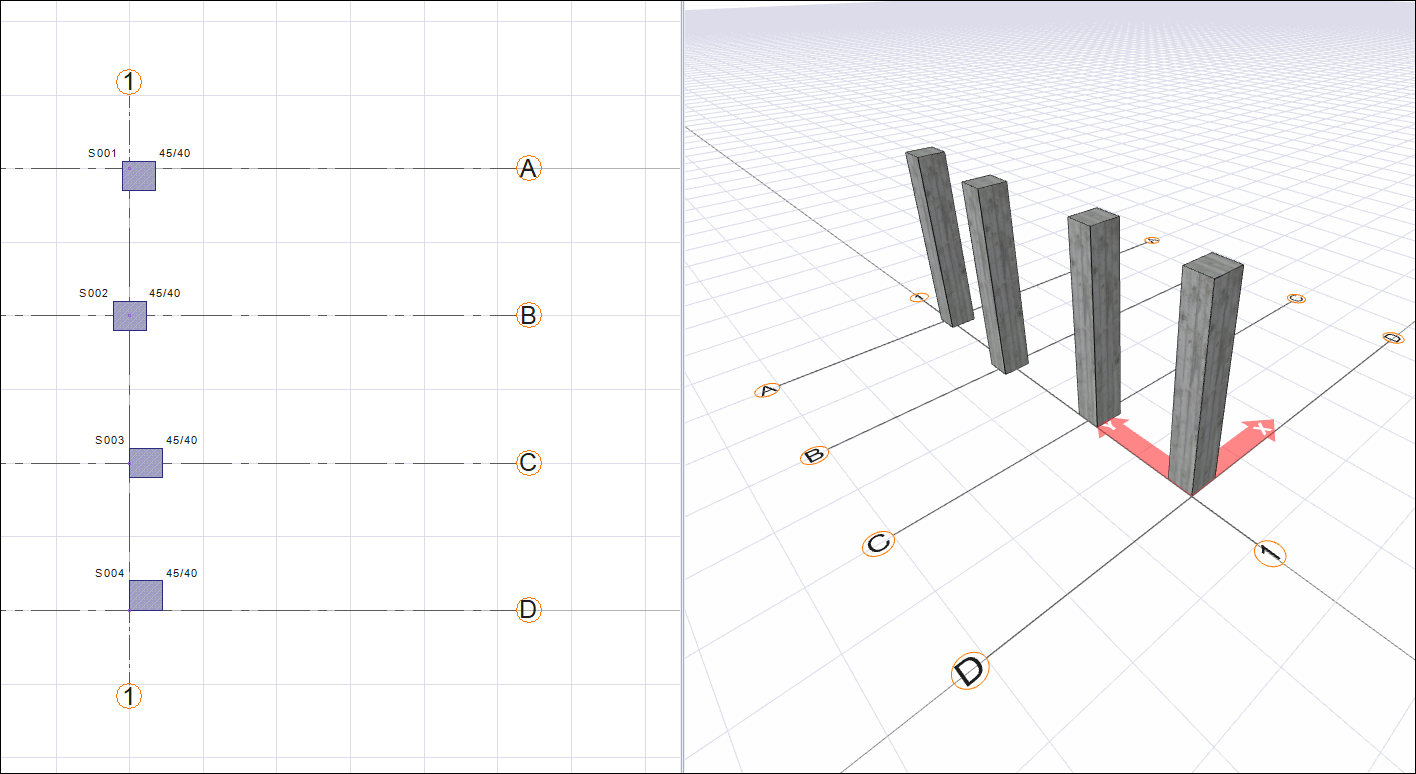
|
|
Fixing the column preview by clicking the left mouse button 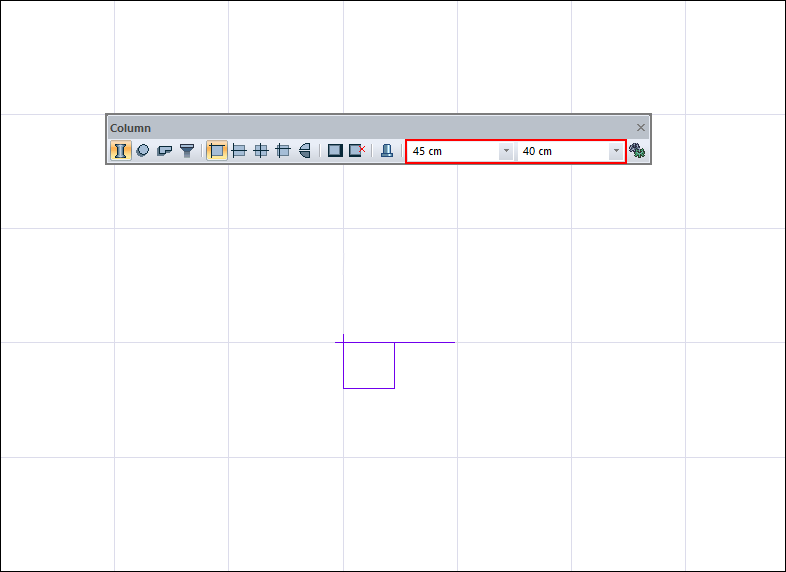
|
|
Changing column dimensions 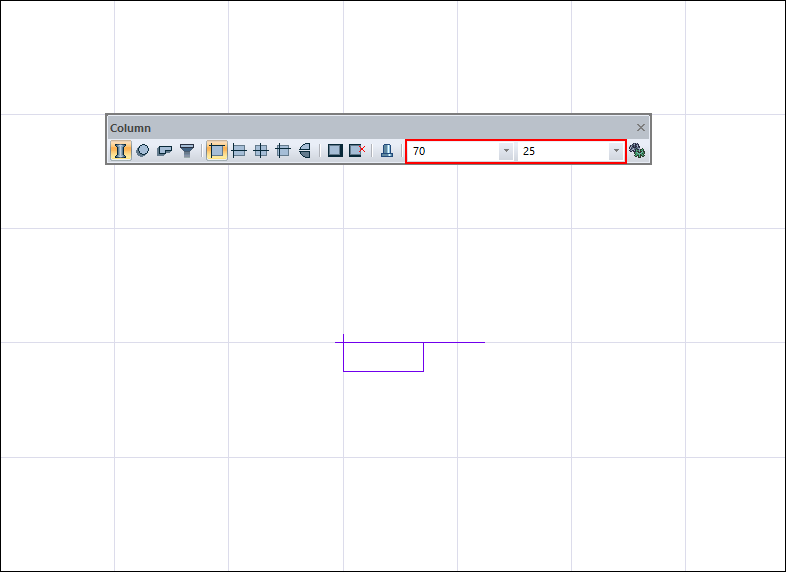
|
|
Rotating the column by moving the mouse 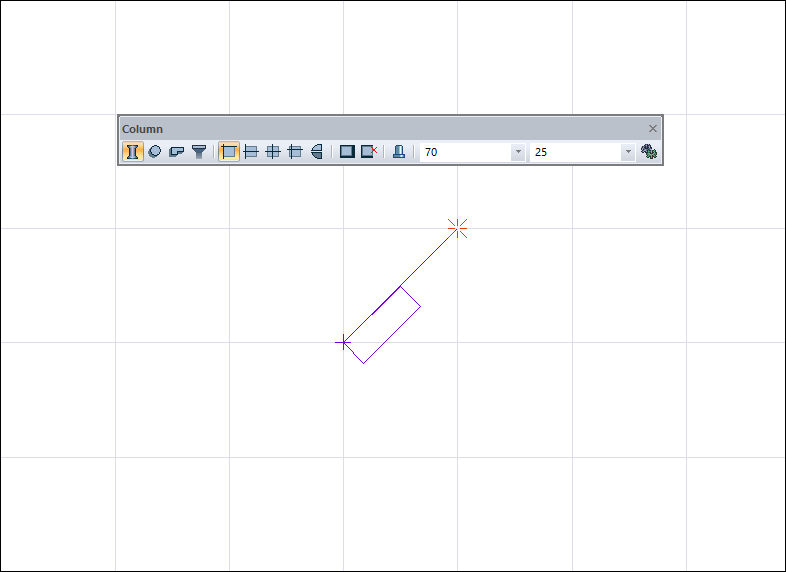
|
|
Column mirror by pressing the spacebar 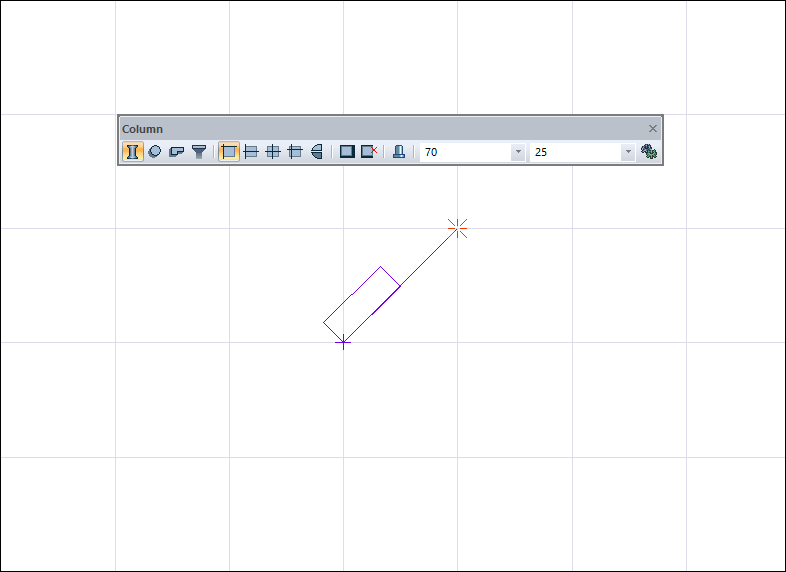
|
|
Drawing column only at 0 or 90 degree angles by pressing the Shift key 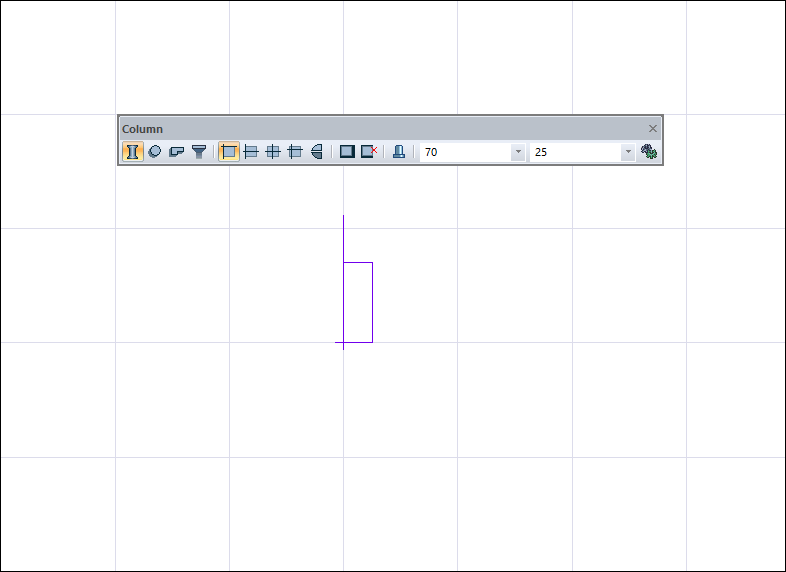
|
|
Creating the column by clicking the left mouse button 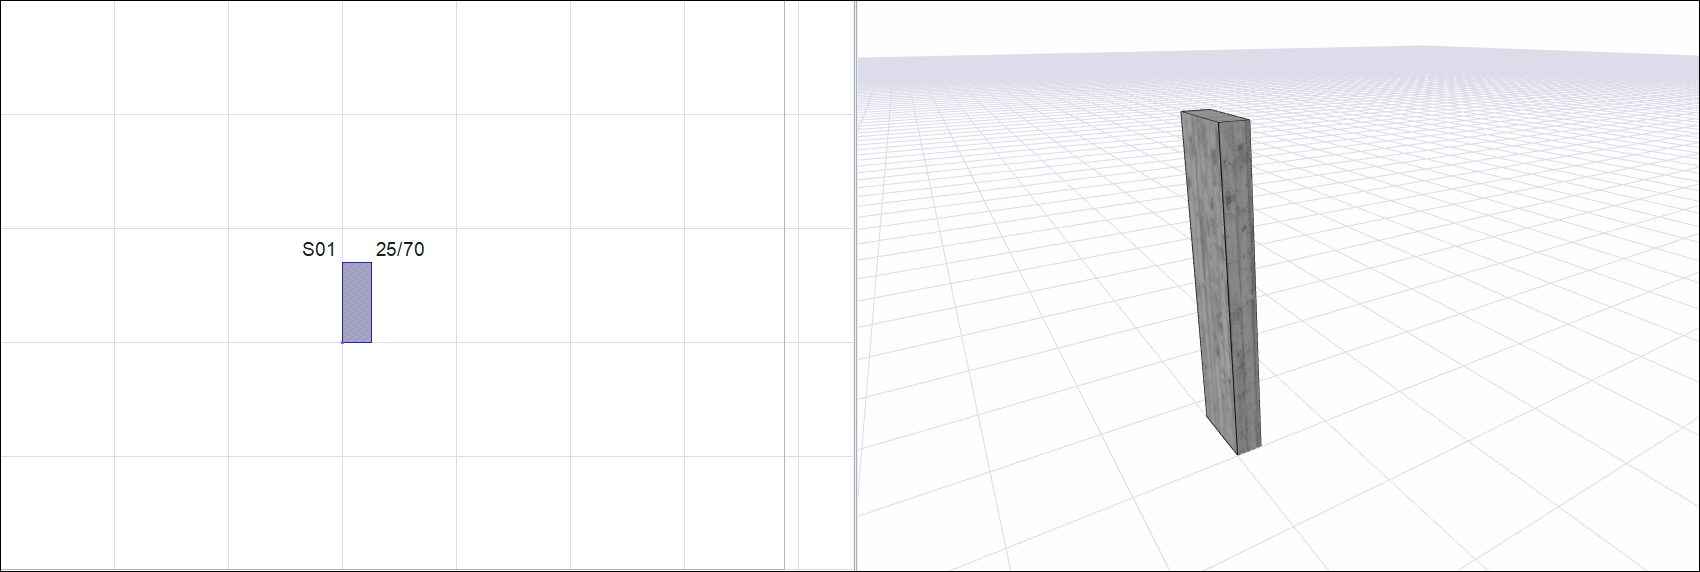
|
Next Topic