
With the roof plane command, a unidirectional roof surface is created.
Location of Roof Plane Command
In the Architectural Program
You can access it under the ribbon menu Home tab Roof title.
In Structural Program
You can access it under the ribbon menu Objects tab Roof title.

Usage Steps
To draw a roof plane:
-
Click the Roof Plane icon in the ribbon menu .
-
Draw the roof plane reference line by clicking two points in the drawing area. The reference line determines the line where the canopy will be found.
-
After the reference line is determined, create the roof plane polygon so that one edge passes over the reference line.
-
When you close the polygon, the roof plane will be formed.
|
Usage steps |
|---|
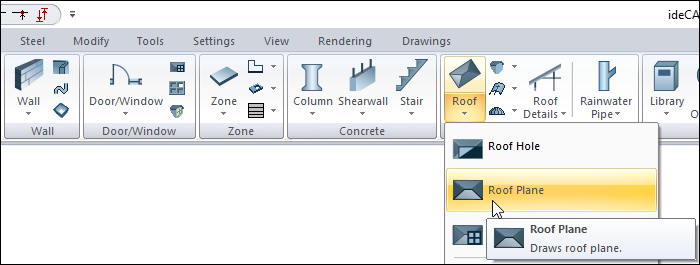
|
Determining the first point of the reference line for the roof slope while on the roof plane command 
|
|
Determining the second point of the reference line 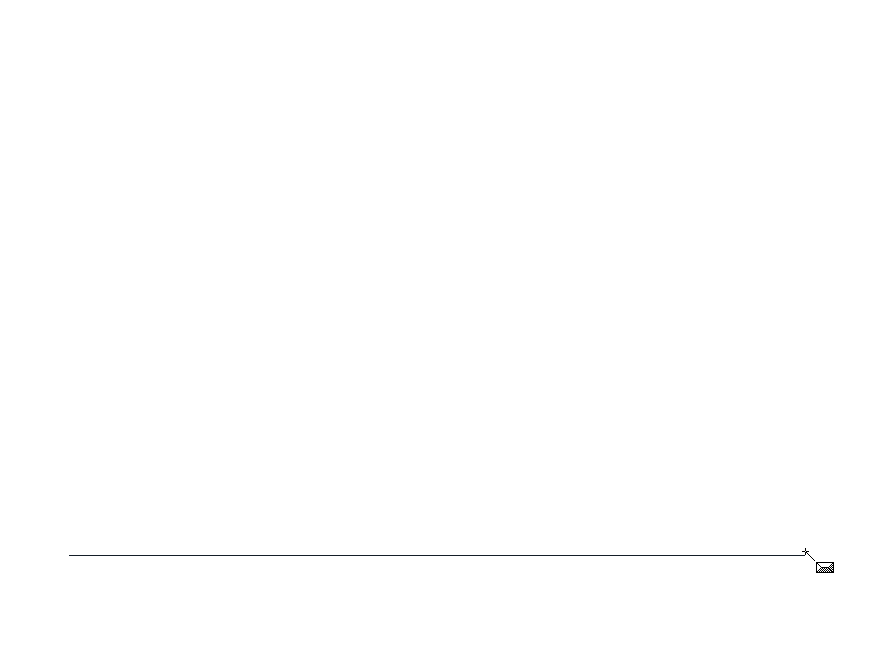
|
|
Determining the roof plane polygon and the first point of the roof boundary so that one edge passes over the reference line 
|
|
Determining the second point of the roof border 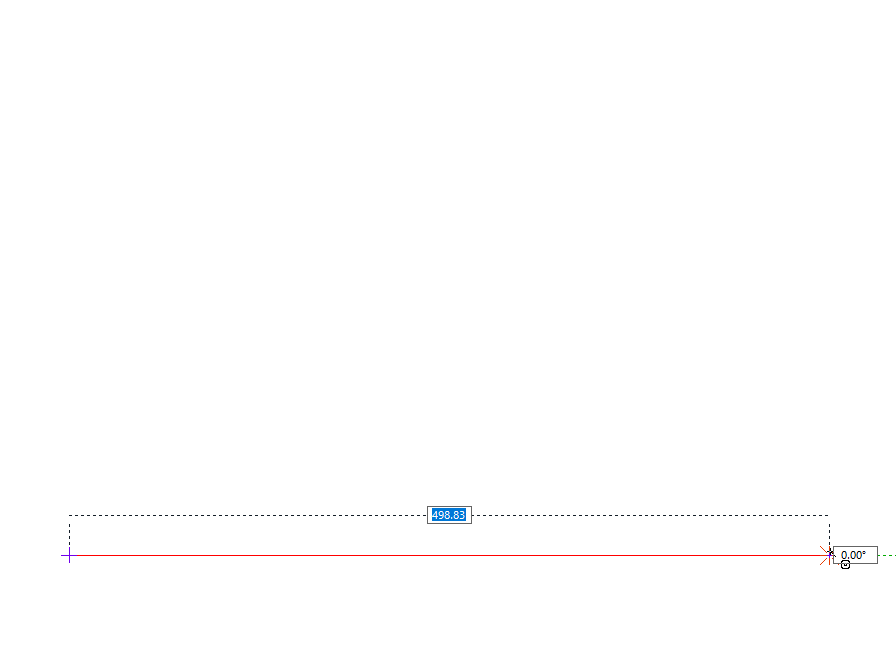
|
|
Determining the third point of the roof border 
|
|
Determining the fourth point of the roof border 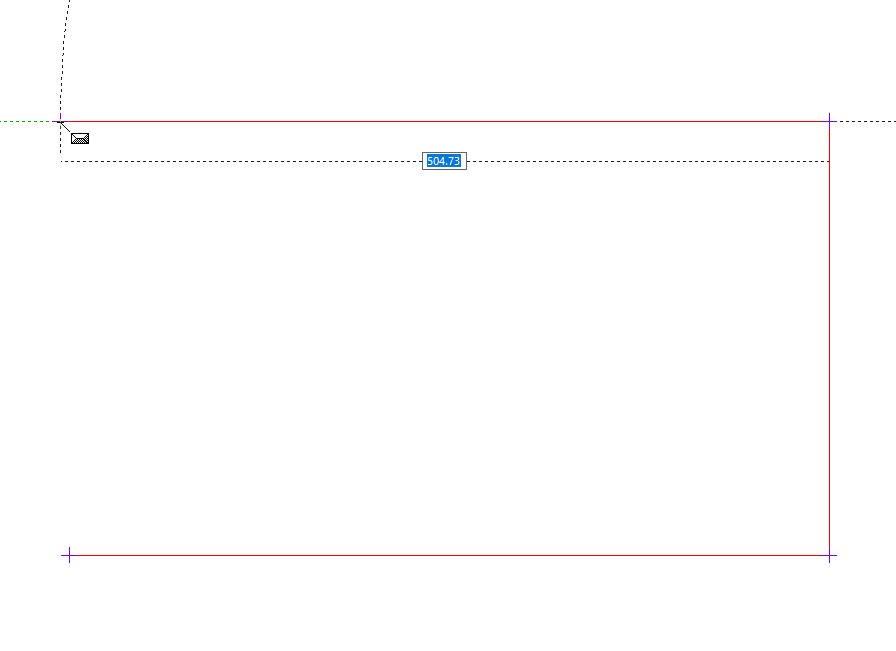
|
|
Determining the end point of the roof border 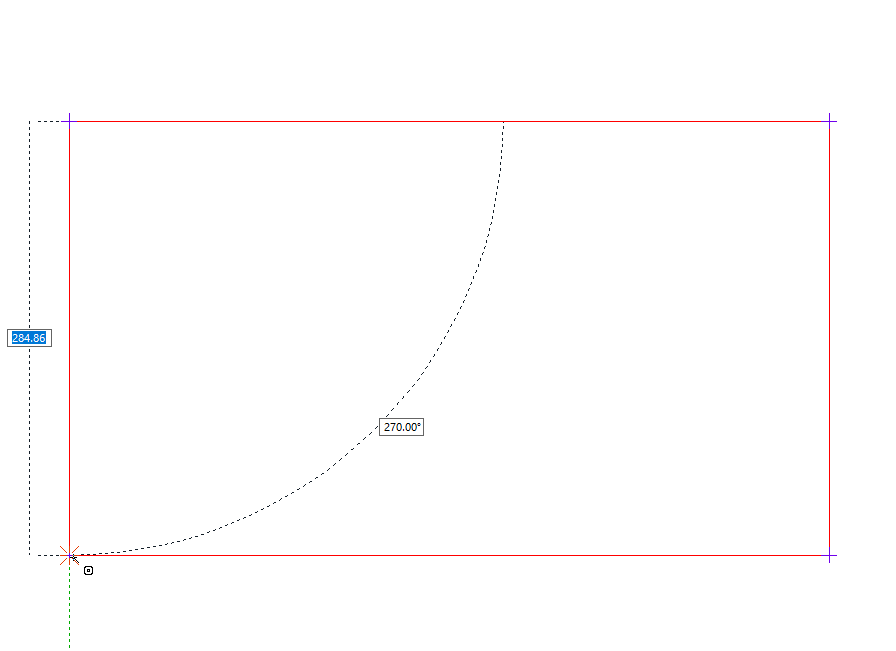
|
|
The roof plane 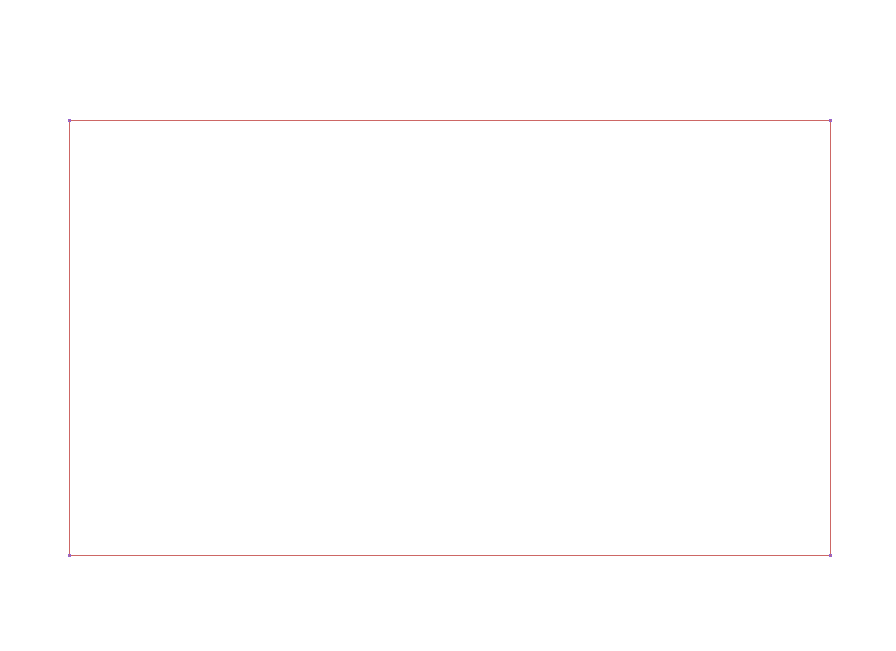
|
Next Topic