
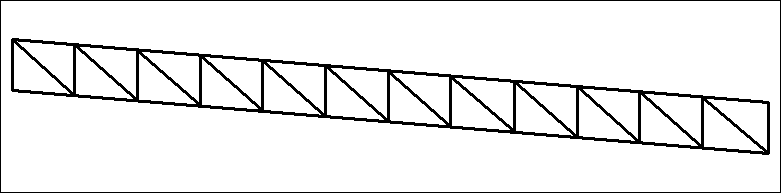
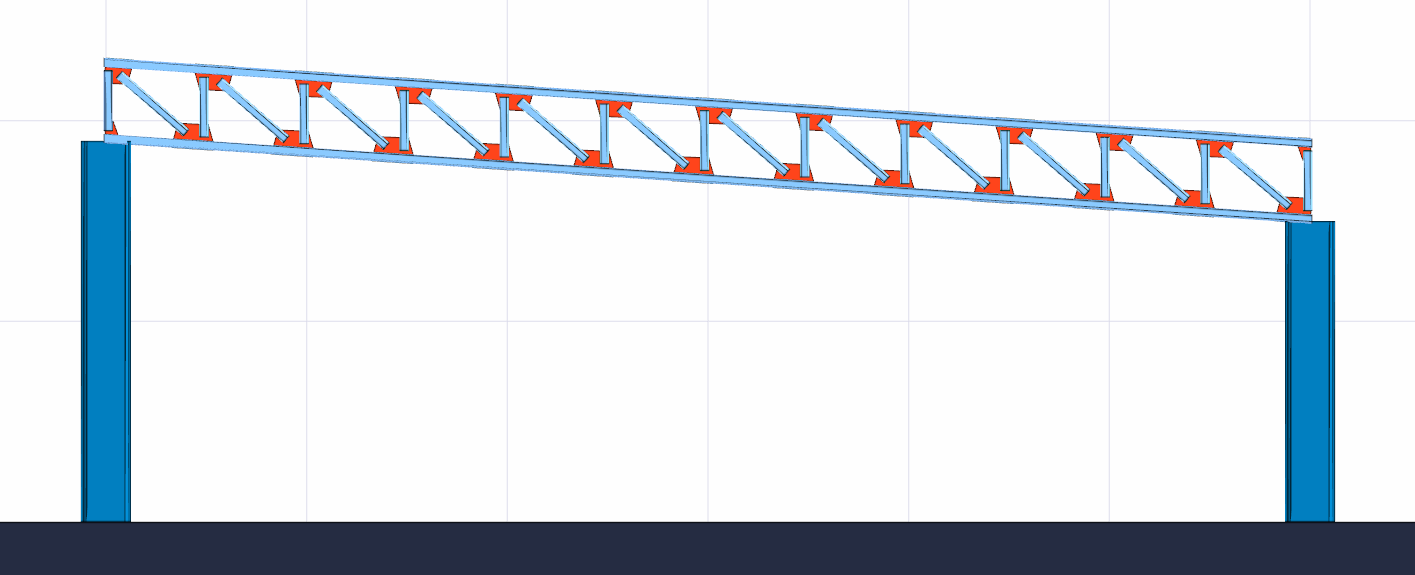
With the Sloping Flat command, the sloping flat truss type which is one of the prepared truss types, dis drawn quickly. Truss heights are adjusted from the truss settings.
Sloping Flat Truss Schematic Drawing:
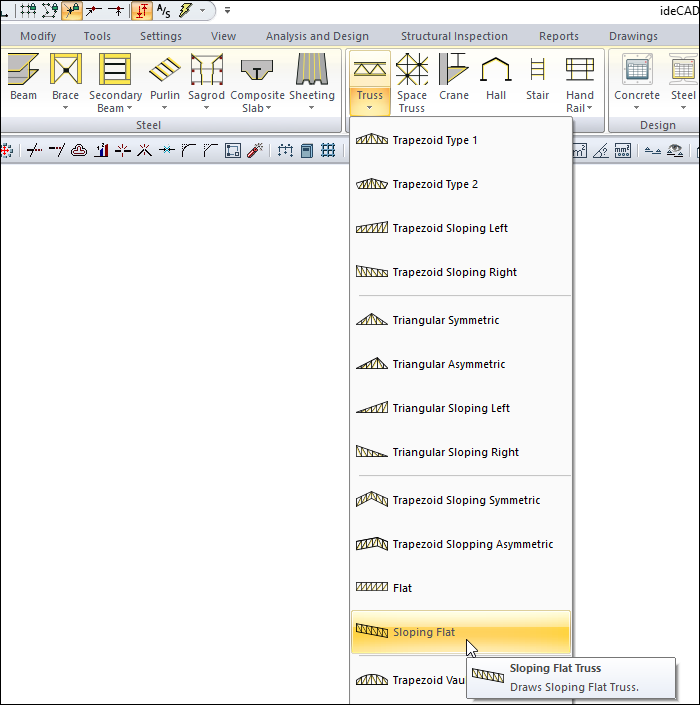
Location of the Sloping Flat Command
You can access it from the ribbon menu Steel tab Macro heading.
Usage Steps
-
Click on the sloping flat command.
-
Open the Truss Settings dialog by clicking the Settings icon from the Trusses toolbar .
-
In the Heights tab , enter the heights h2, h3 and h4 for sloping flat.
-
Click the OK button to close the dialog.
-
Move the mouse cursor over the column. When the cursor changes shape, click the left mouse button. When the cursor changes shape, click the left mouse button.
-
After you have determined the first point of the truss, put the cursor on the second column and create your second point. The program will create trusses.
You can find detailed information about the truss settings from the truss settings heading.
|
Usage step |
|---|
|
Entering 80 cm for h2, h3 and h4 in the height tab of the truss settings 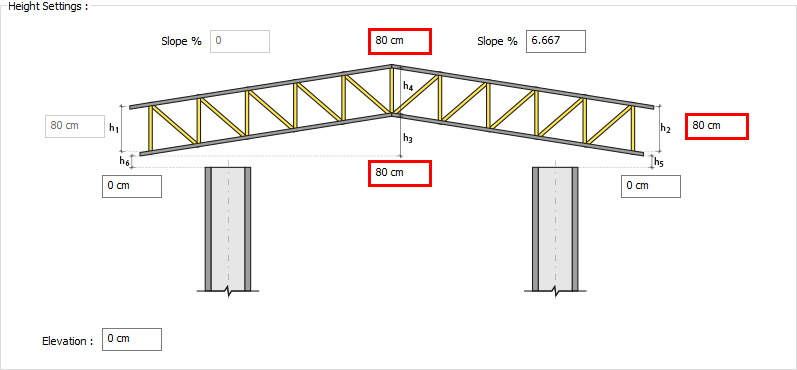
|
|
Creating the first point of the truss 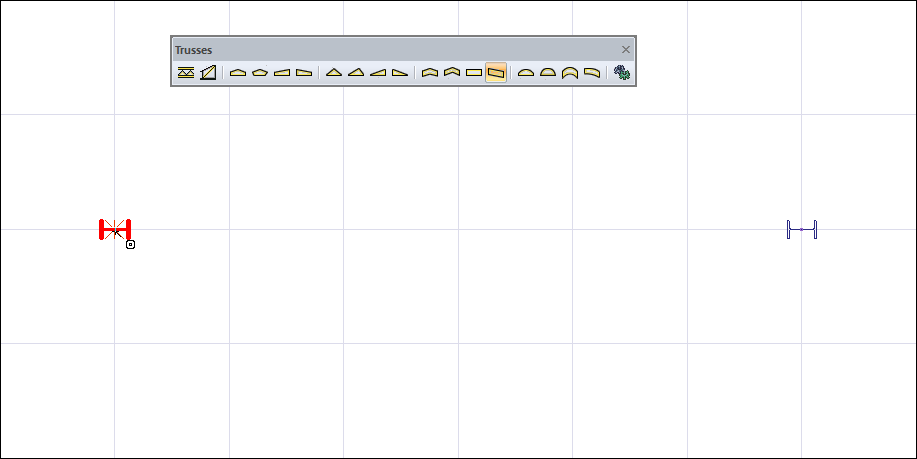
|
|
Determination of the second point of the truss and the formation of the truss 
|
Next Topic