
With the Extruded Object command, objects created on the plan are converted into 3D.
The extruded object command converts a plane created with 2-dimensional objects such as routes, curves and lines into a 3-dimensional object by stretching it with the given extension value. Sizing of the object is done by stretching in the direction of the z-axis. Then the extension direction and amount can be changed from object properties.
Location of Extruded Object
You can access it under the ribbon menu Home tab Entities title.
Usage Steps
The steps you should follow are as follows;
-
Create the view (plan or section according to the object you want to obtain) of the object you want on the plan plane with multiple lines.
-
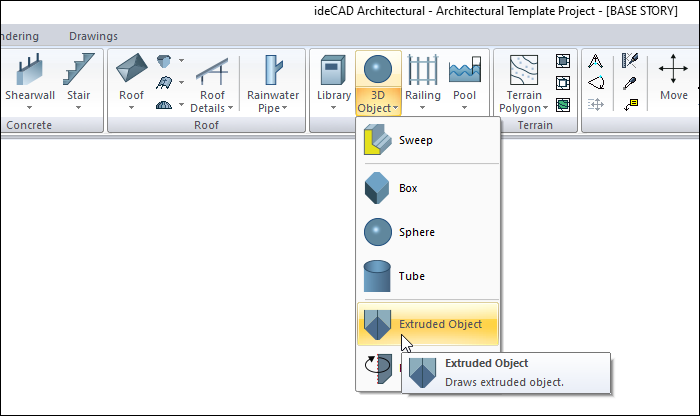
Click the Extruded Object icon in the ribbon menu .
-
The 3D Geometric Objects toolbar will open.
-
Select the drawing you created and click the right mouse button.
-
A preview of the object will be created. Enter the height of your object in the value box in the toolbar.
-
In the last step, drag the mouse cursor to determine where the shape will be created. When you click the left mouse button, your object will be created.
|
Usage step |
|---|
|
Creating the object view with the multiple lines command 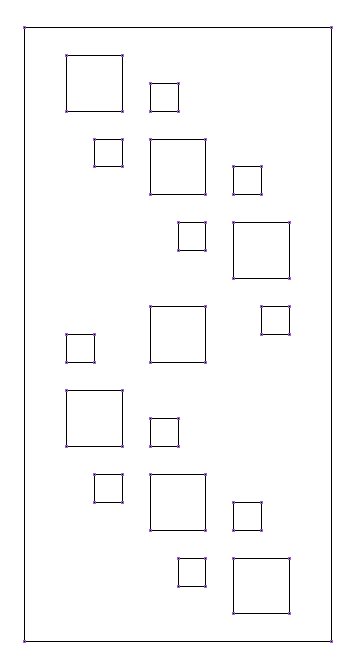
|
|
Selection of the created drawing 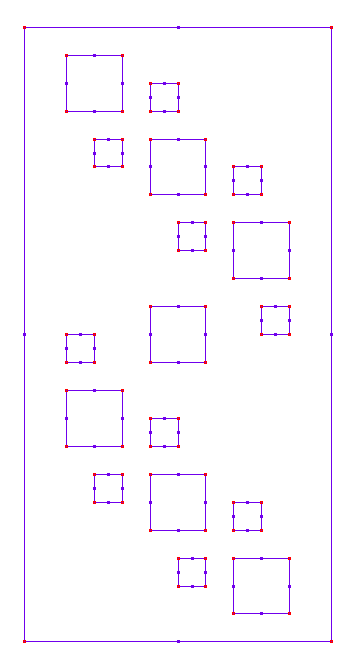
|
|
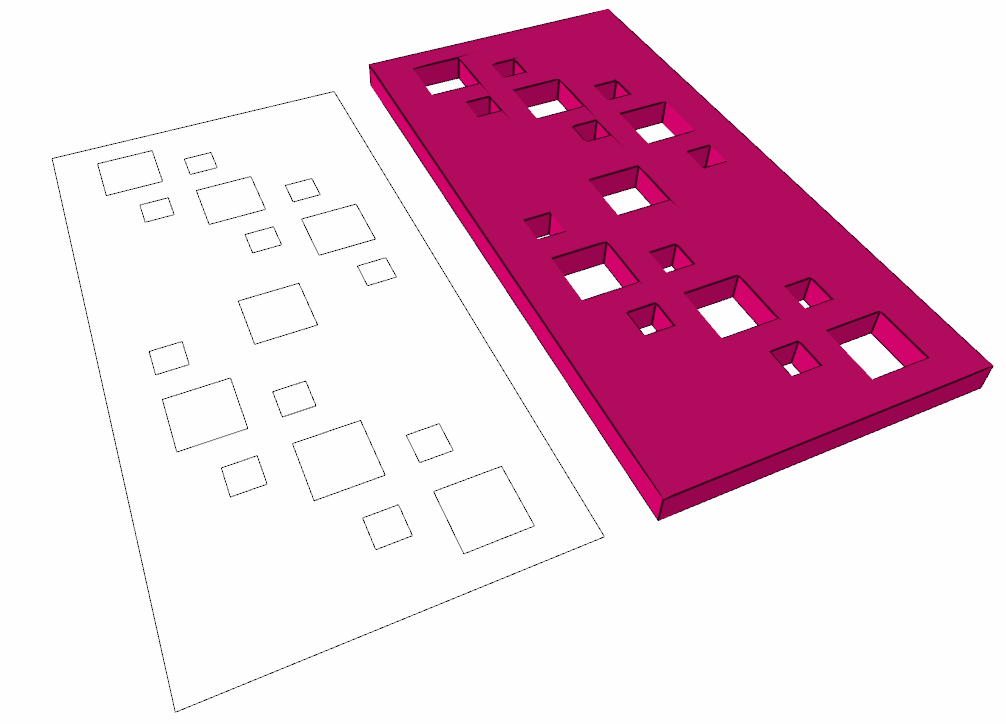
Pre-image creation of the object 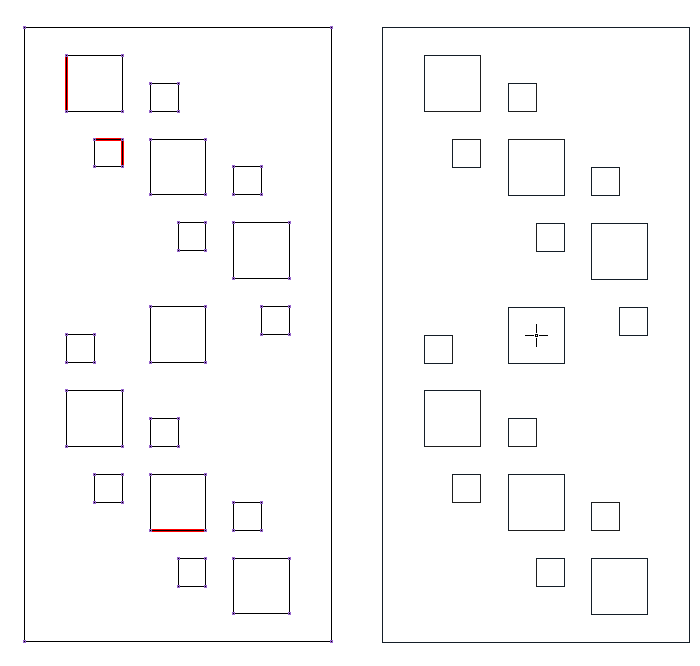
|
|
Entering the height of the object in the value box on the 3D geometric objects toolbar |
|
Created extruded object 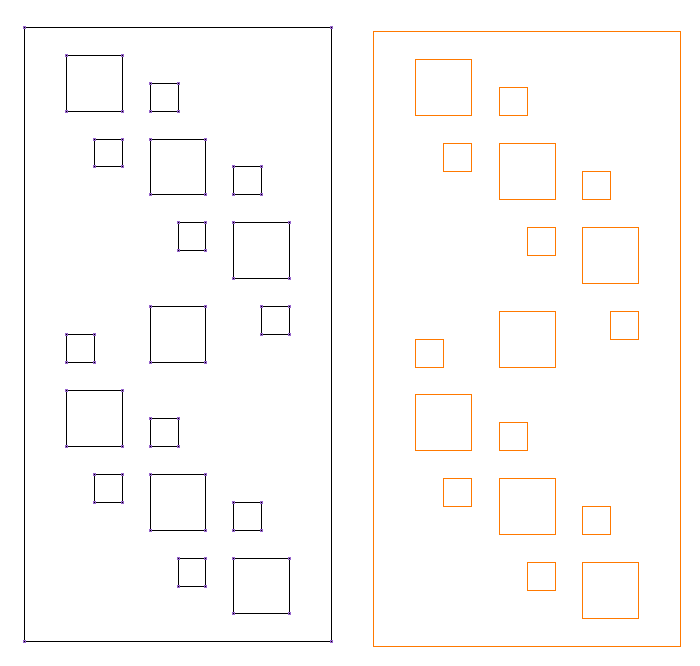
|
Next Topic