
Animation of the designs modeled with the Camera Animation command is prepared using the created camera path.
Location of the Camera Animation
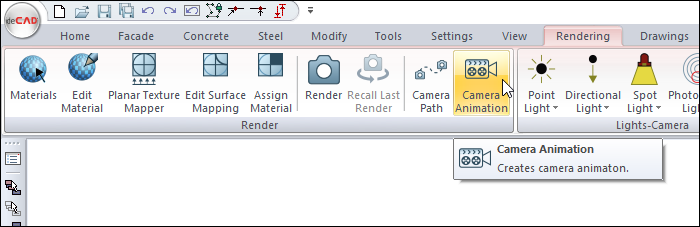
You can access it under the Render title of the Ribbon menu Rendering tab .
Usage Steps
-
Click the Camera Animation icon.
-
Select the path you created and click the right mouse button. You will see the Camera Animation dialog.
-
After making the desired settings in the Camera Animation dialog, the render button is clicked.
-
The desired settings are made in the Render Settings dialog that opens after the button is pressed .
-
When you click the render button, a save as dialog will open.
-
Give it a name and click the save button.
-
Animation will start to be created.
|
Usage step |
|---|
|
Choosing the camera path 
|
|
Camera animation settings 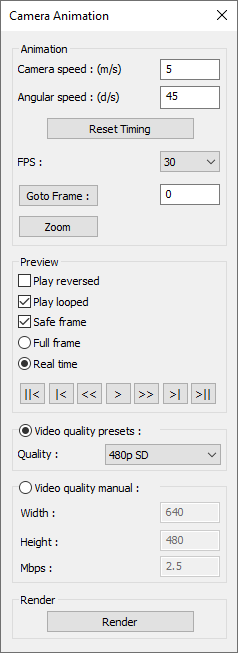
|
|
Adjusting the rendering settings 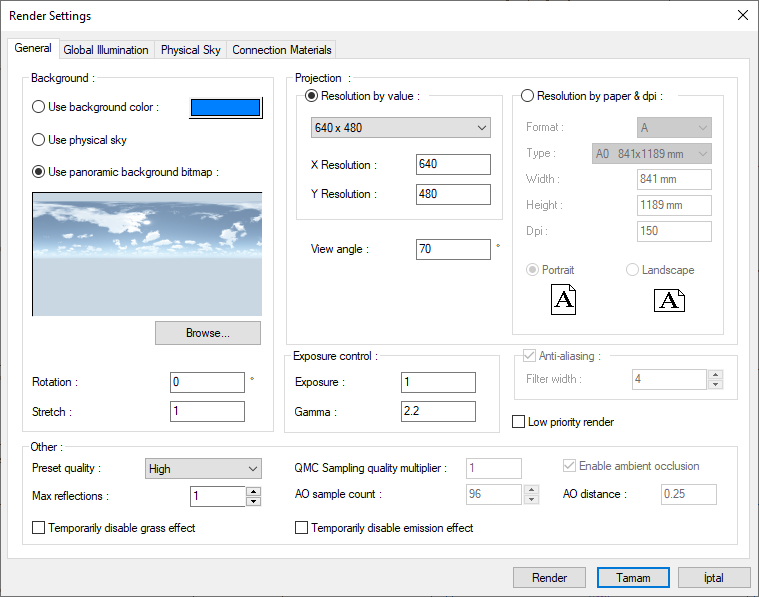
|
|
Starting to create animation 
|
|
Creation of animation |
Camera Animation Settings
|
Specifications |
|---|
|
Camera speed The speed of the camera on the selected road. |
|
Angular speed It specifies, in degrees/second, at what speed the camera will complete the specified rotation. (Indicates the amount of rotations to be performed per second.) |
|
Reset timing Applies the change in camera and angular speed values. |
|
FPS The number of frames to be displayed in a second. As the number of frames increases, smoother transitions are seen, and as the number of frames decreases, skips are seen. As the number of frames is increased, the animation rendering time will increase. |
|
Go to frame It leads to the desired square on the defined path. |
|
Zoom Zooms in on the plan plane to the point where you say Go To Frame. |
|
Play reversed Plays the front image of the defined path from the last frame to the first frame. |
|
Play looped Plays continuously until you stop the preview of the defined path. |
|
Safe frame Shows the boundaries of the image the camera will take according to the quality settings you specified. |
|
Full frame Previews to show all frames. Depending on the computer performance, a longer preview can be made than the animation time. |
|
Real time Previews by setting the number of frames according to the animation time. It determines the number of frames depending on the computer performance. |
|
Front view It gives you the option to preview the path you defined without creating the animation, and to make forward and backward movements on the path.
|
|
Video quality presets There are options with defined width and height values. |
|
Video quality manual 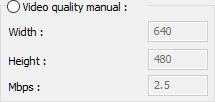
Width and height values can be adjusted arbitrarily. |
Next Topic