
Domes of concrete design are created with the dome command.
Location of Dome Command
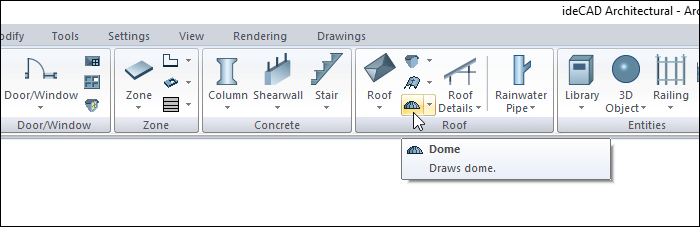
In the Architectural Program
You can access under the ribbon menu Home tab, Roof title.
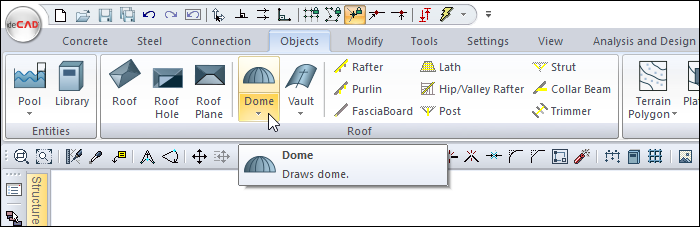
In Structural Program
You can access ribbon menu, Objects tab, Roof title.
Usage Steps
-
Click the Dome icon in the ribbon menu .
-
The dome toolbar will open.
-
Click on the drawing area with the left mouse button to determine the center of the dome.
-
Drag the mouse from the center outwards. The preview of the dome will move with the mouse cursor.
-
Press the L key on the keyboard to enter the radius of the dome. The cursor will enter the L box in the coordinate box.
-
Enter the dome radius here and press enter on the keyboard. The box will turn red and lock to the entered length value. The dome view in the drawing area will also be locked to this radius.
-
Click on the drawing area with the left mouse button. The dome will be drawn.
-
Press the esc key on the keyboard to exit the command.
|
Usage step |
|---|
|
Determining the center of the dome by clicking the left mouse button and creating the dome preview 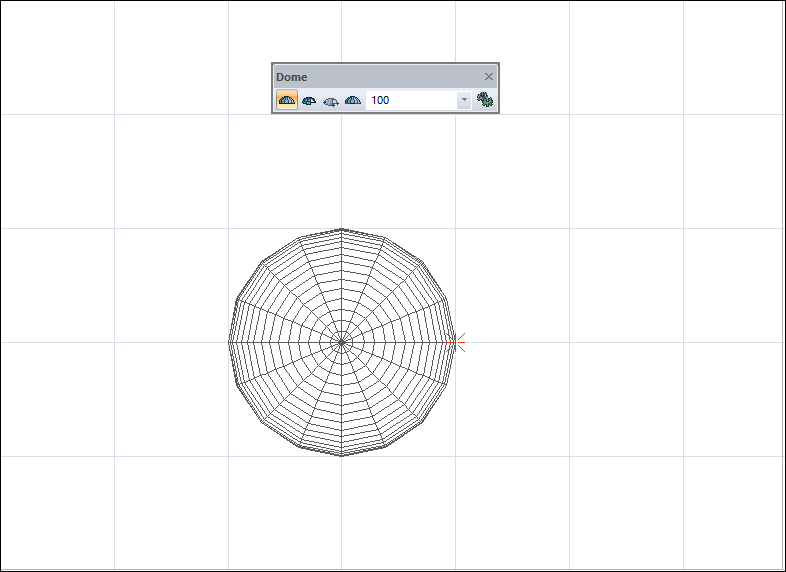
|
|
Entering a value of 150 cm in the coordinate box L section and locking it by pressing the Enter key. 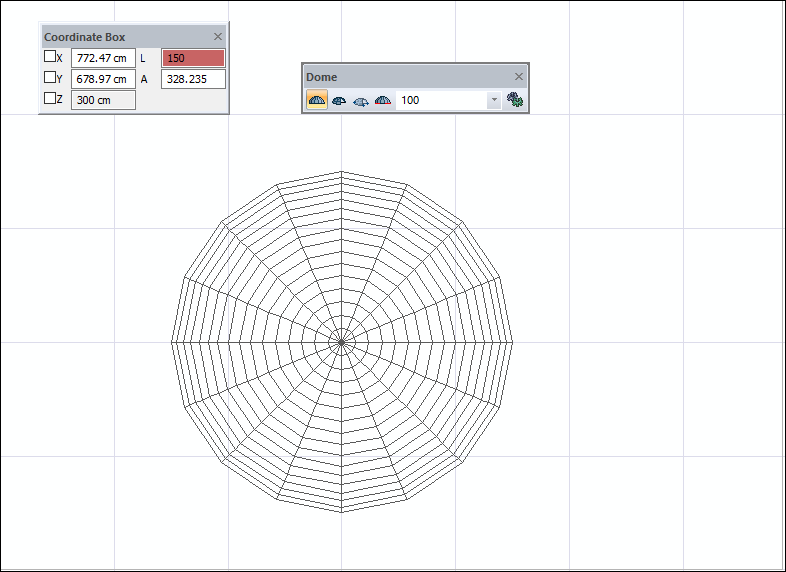
|
|
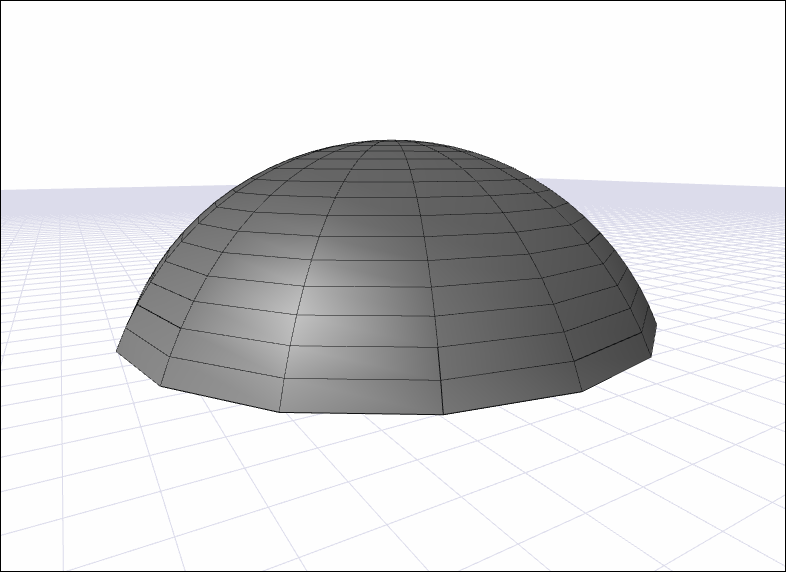
Formation of the dome 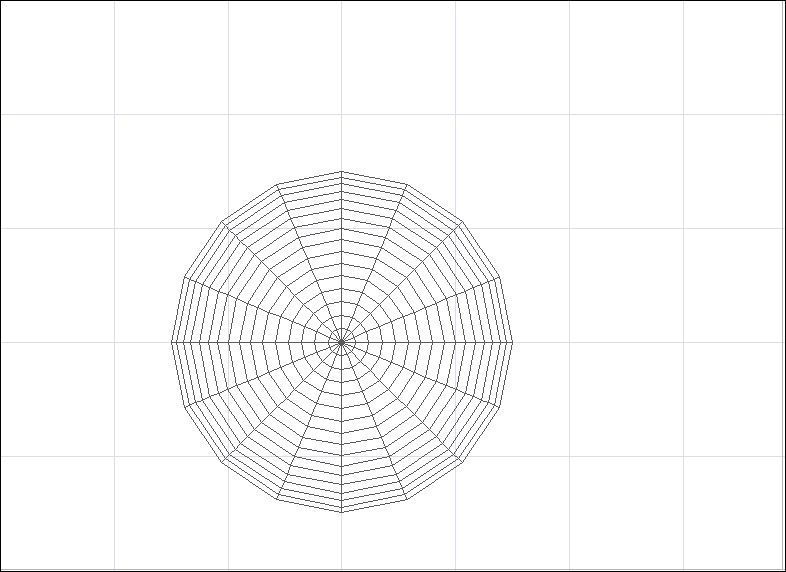
|
Next Topic