
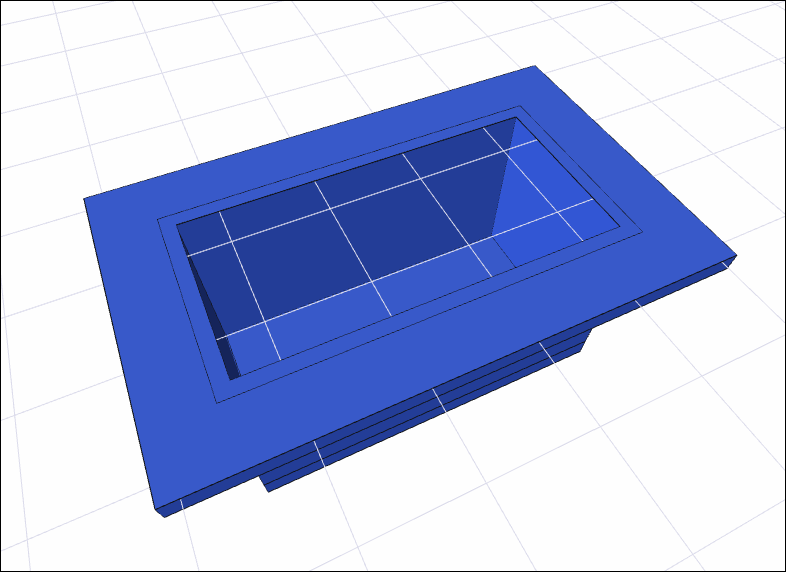
After the pool is created, with the Set Pool Wall Properties command the thickness of the pool walls that limit the edges of the pool, elevation, offset etc. properties can be adjusted.
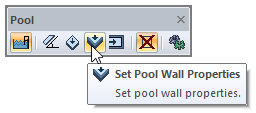
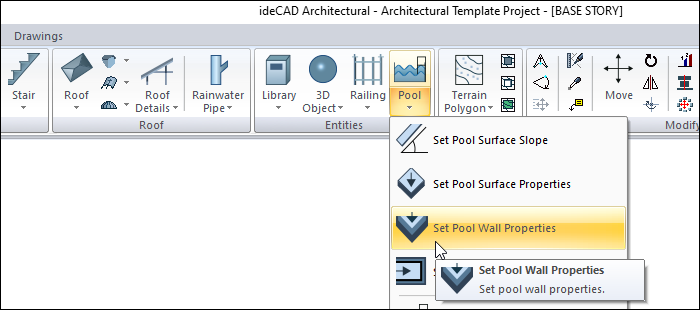
Location of Set Pool Wall Properties Command
After entering the pool command, you can access it from the Pool toolbar opened.
You can also access it in the architectural program under the ribbon menu Home tab, Entities title.
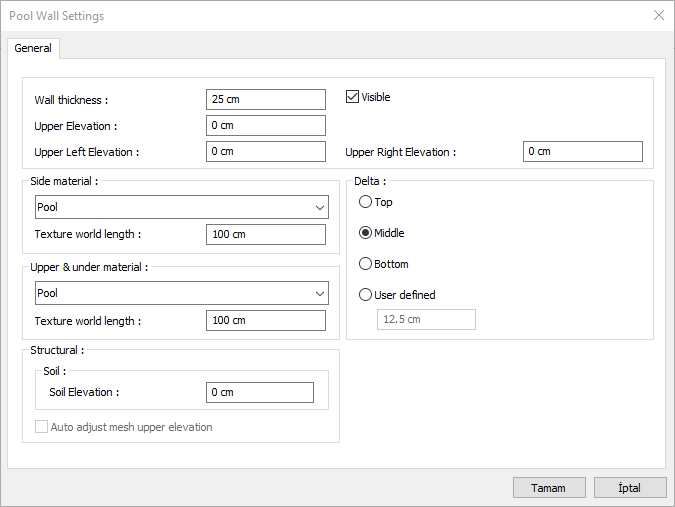
Pool Wall Settings
|
Specifications |
|---|
|
Wall thickness Give the thickness of the pool wall whose properties have been changed. |
|
Upper elevation Give the upper elevation of the pool wall. The height of the pool walls is equal to the pool height. The height of the pool wall will change according to the value entered in the upper elevation value. + or - can be given a value. |
|
Upper left elevation It changes the height of the upper left corner of the pool wall with the value entered here. Give a suitable value according to your system. For example, if you give the upper left elevation of a 200 cm high wall 25, you would define a wall with a constant slope with a base going from 200 to 225. To change the bottom slope of the pool, you can use the "set pool surface slope" command. |
|
Upper right elevation Changes the height of the upper right corner of the pool wall with the value entered here. Give a suitable value according to your system. For example, if you give the upper right elevation of a 200 cm high wall 25, you would define a wall with a constant slope with a base going from 200 to 225. To change the bottom slope of the pool, you can use the "set pool surface slope" command. |
|
Side material For the solid model, select the material (texture) of the side surfaces of the pool wall from the drop-down list. |
|
Upper - under material For the solid model, select the materials (textures) of the top and bottom surfaces of the pool wall from the drop-down list. |
|
Texture world length Texture length is entered. For example; If 1 is entered, the width of the selected material texture is taken as 1 unit and covered on the selected object. Considering that the texture is in the form of a square, the object surfaces are covered with 1x1 textures arranged side by side. |
|
Soil elevation It is the elevation that determines the height of the soil on the side where the pool wall touches the ground. |
|
Delta 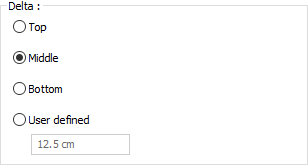
Give the pool wall off the plan. The position of the wall in the plan will change according to the value entered in the top, middle bottom and udefinition. |
Usage Steps
-
Click the Pool icon from the ribbon menu.
-
The pool toolbar will open. From the toolbar Set Pool Wall Properties , click the icon.
-
Move the mouse cursor over one of the walls at the edge of the pool and click.
-
The Pool Wall Settings dialog will open. The properties of your existing pool wall are included in the dialog.
-
Set the parameters in this dialog to match the values of your project.
-
When you close the dialog by clicking the OK button, your pool will be shaped according to the values you entered.
-
You can set your other pool walls by repeating the same steps.
|
Usage step |
|---|
|
Before the pool wall features are arranged 
|
|
Choosing one of the pool walls to be arranged 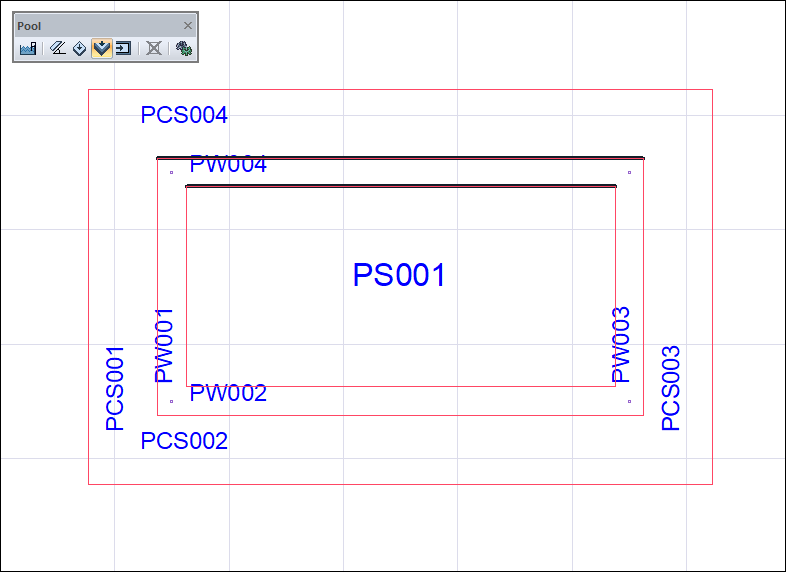
|
|
Adjusting wall settings 
|
|
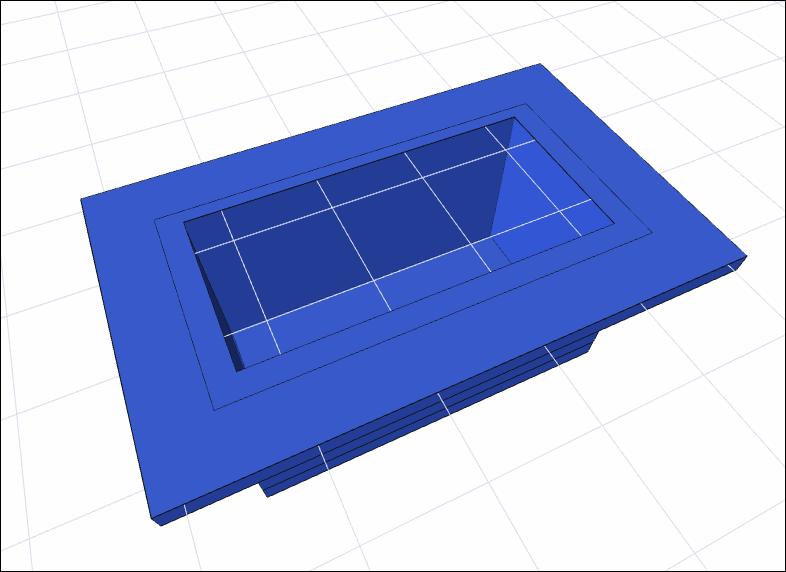
After adjusting the settings of the selected wall 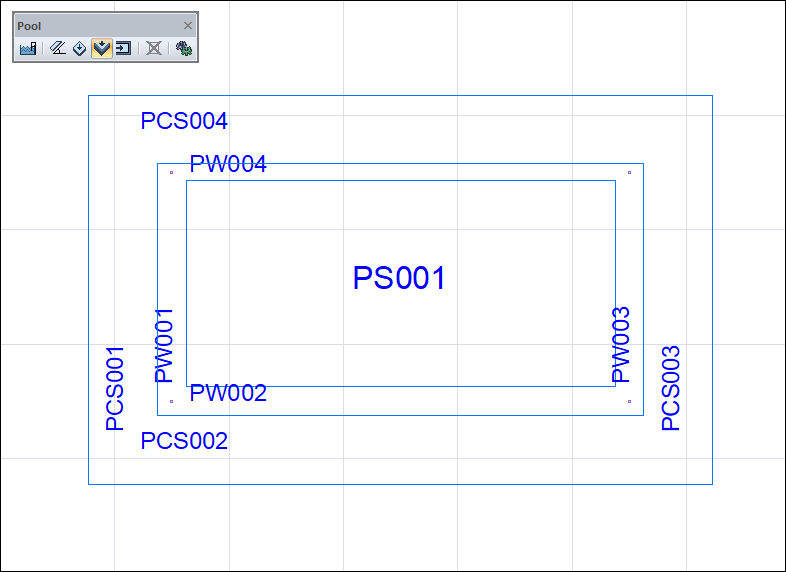
|
|
After all pool wall settings have been adjusted 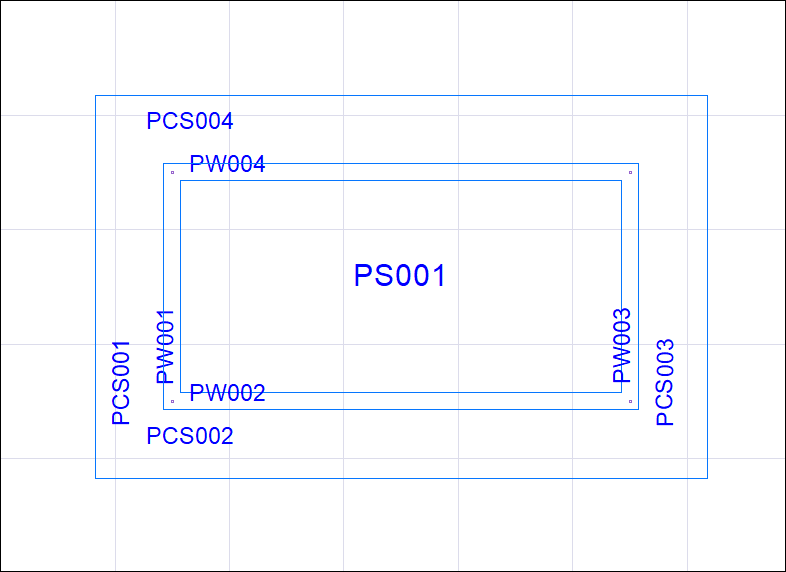
|