
Place the upper story doors in this section.
|
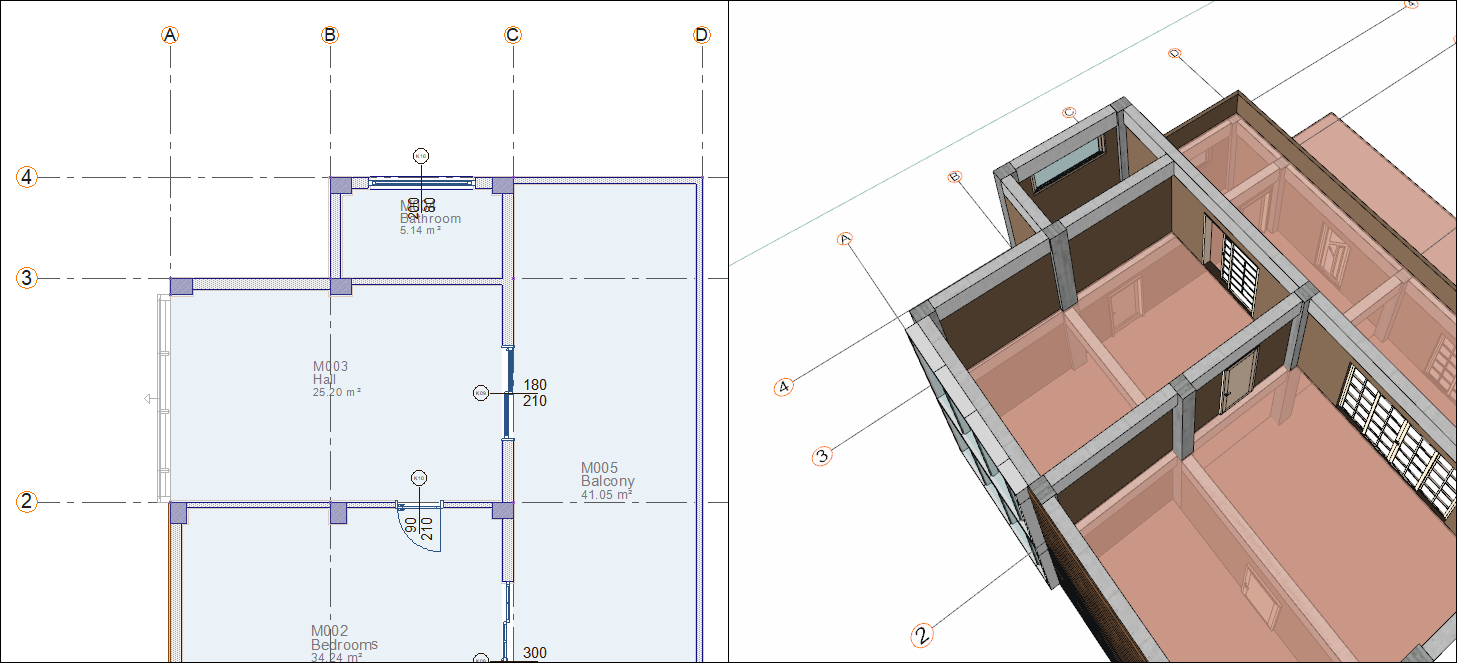
Previous steps have been followed in the project file named Place the Upper Story Doors. You can download the file and follow the steps given in this title on the project. |
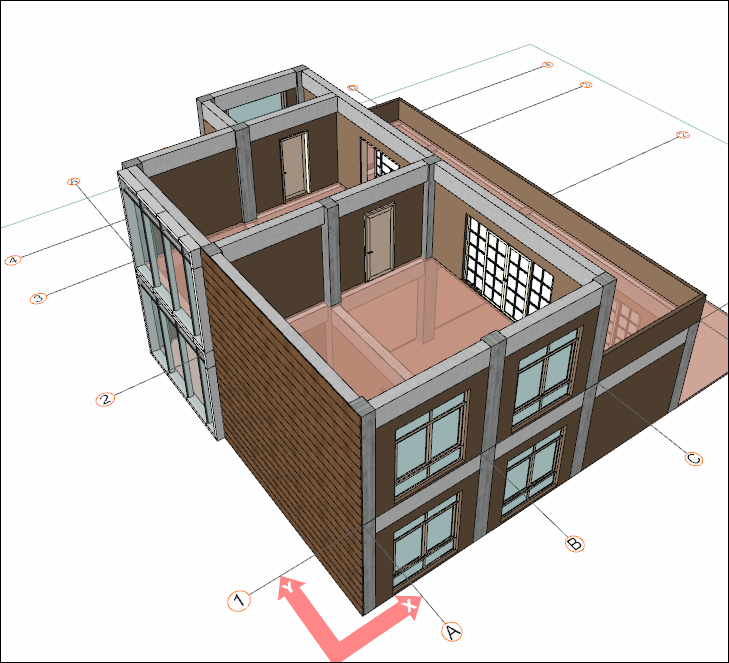
To follow the doors in perspective screen, uncheck the slab layer from the layer list.
-
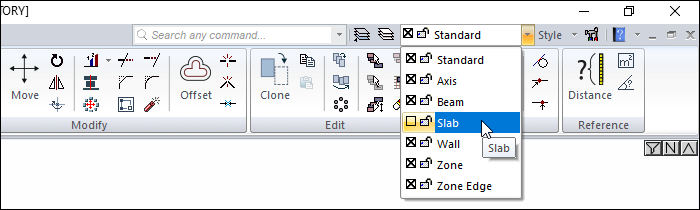
Click on the door/window command.
-
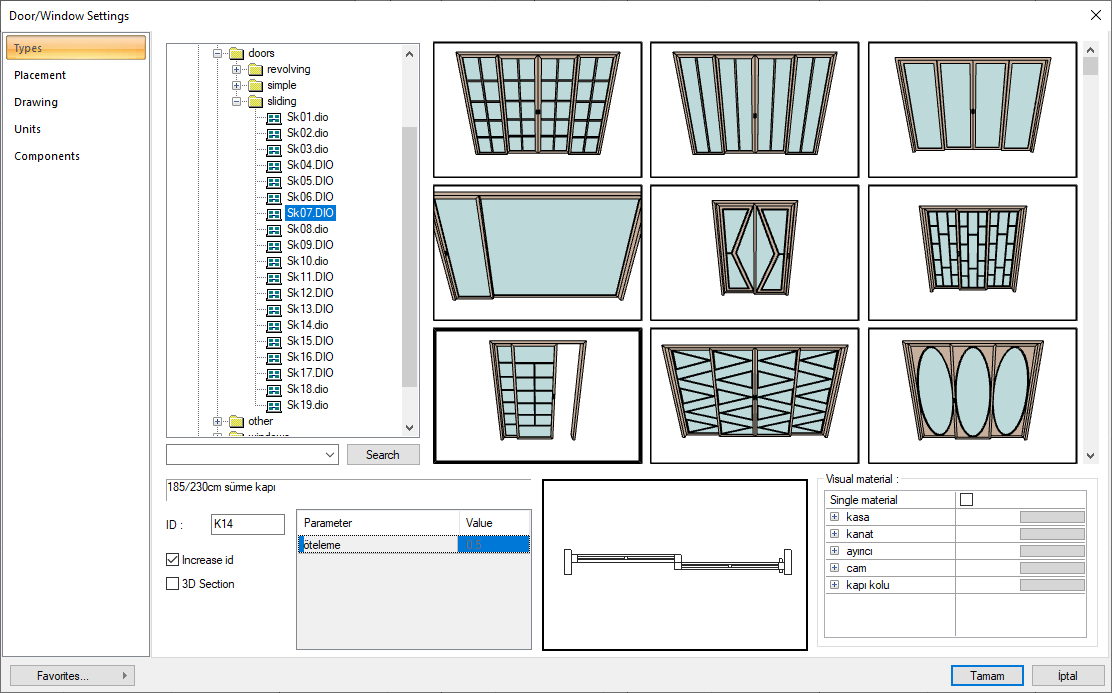
Click the settings icon from the door/window toolbar.
-
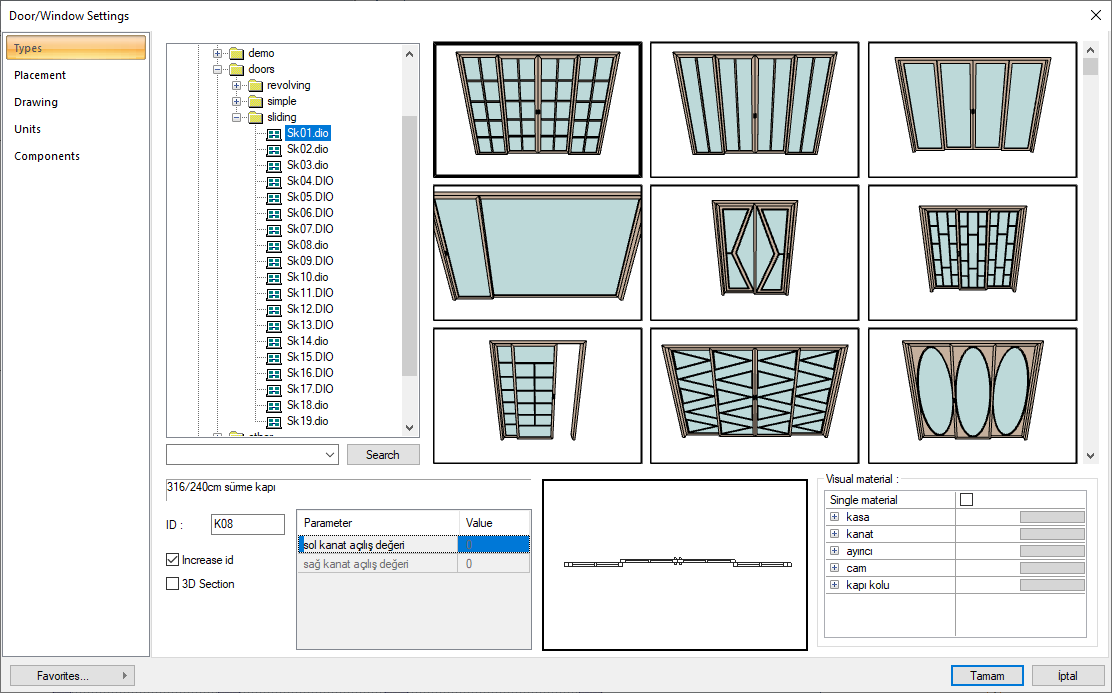
In the types tab select the line 1.50/doors/sliding/Sk01.dio from the list.
-
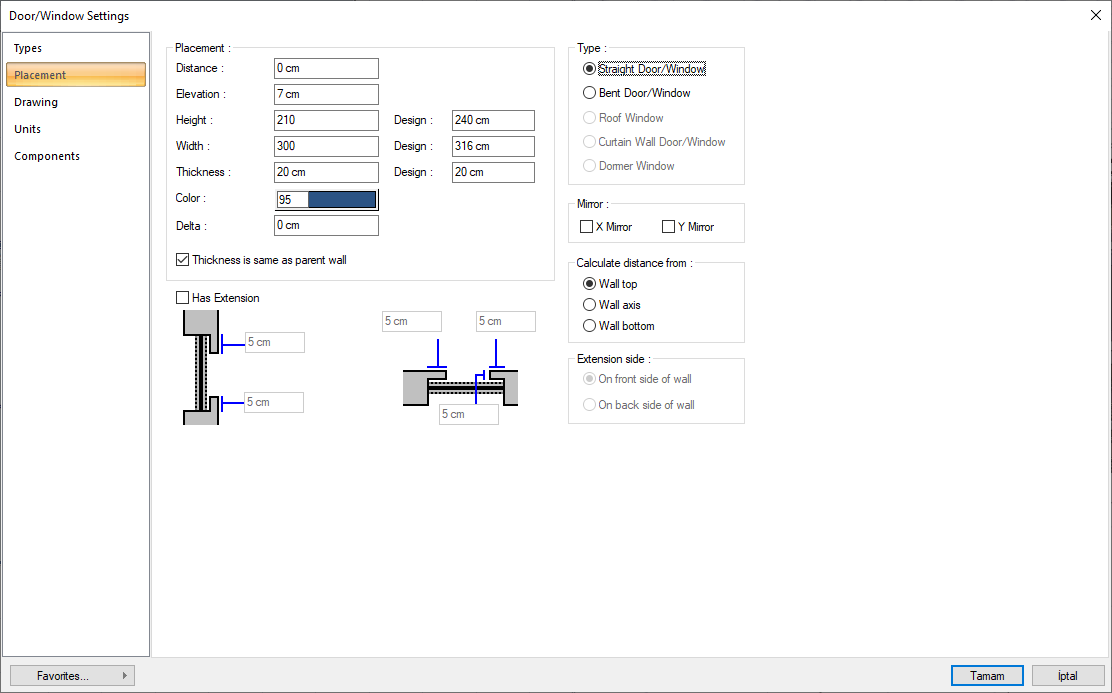
In the placement tab, set the height value to 210 cm and the width to 300 cm. Click the OK button to close the dialog.
-
Check the se distuance option in the window/door toolbar and enter 0 in the value box.
-
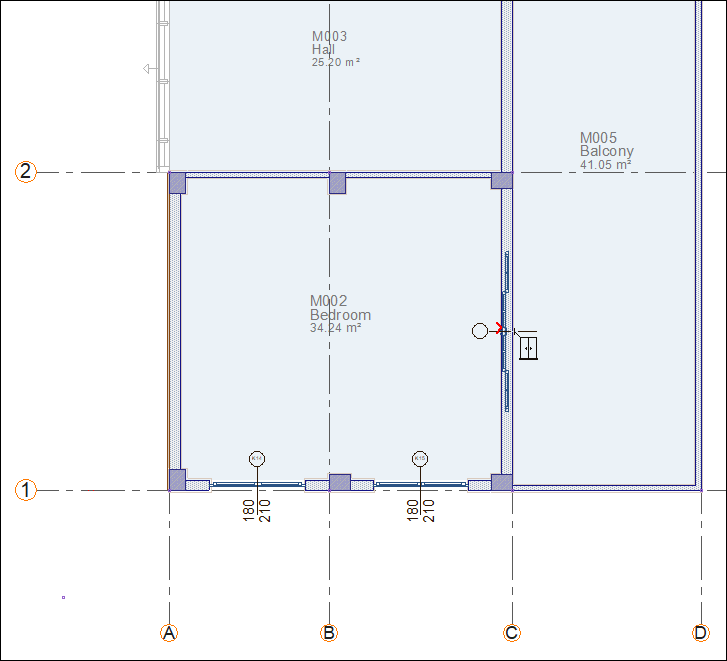
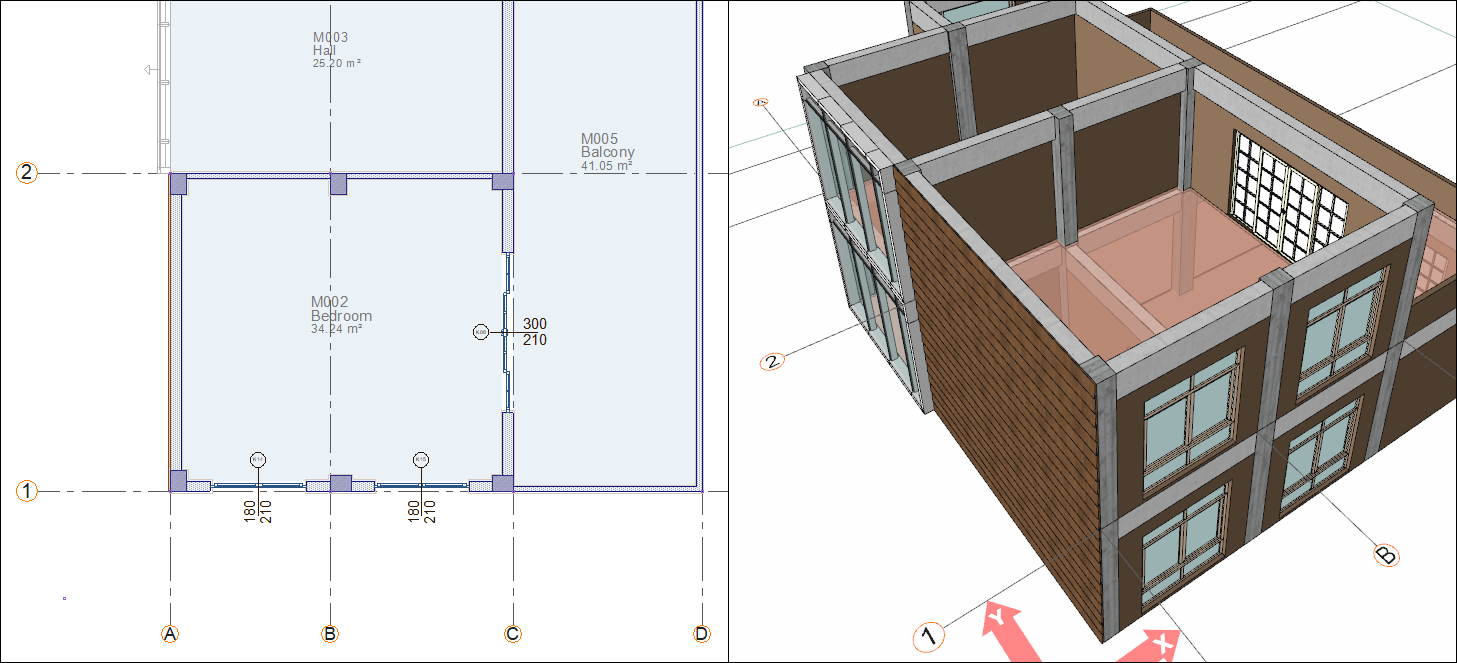
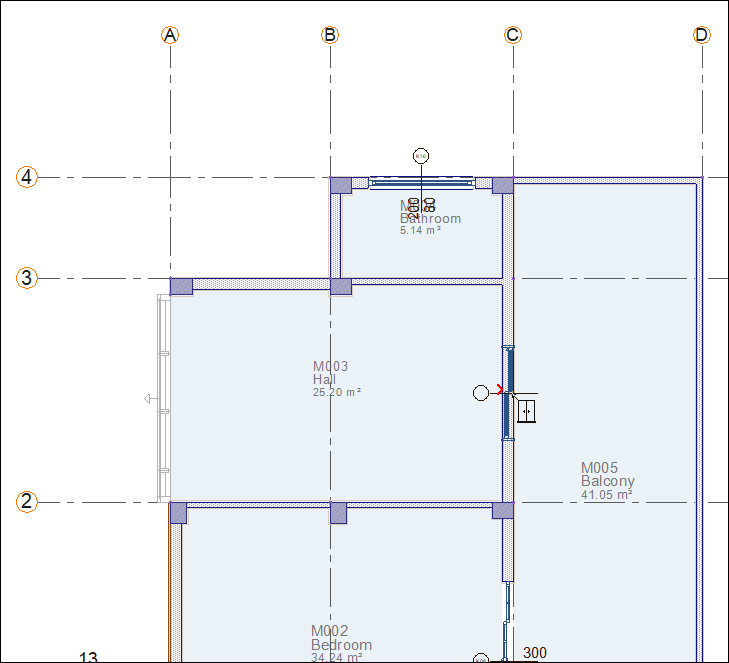
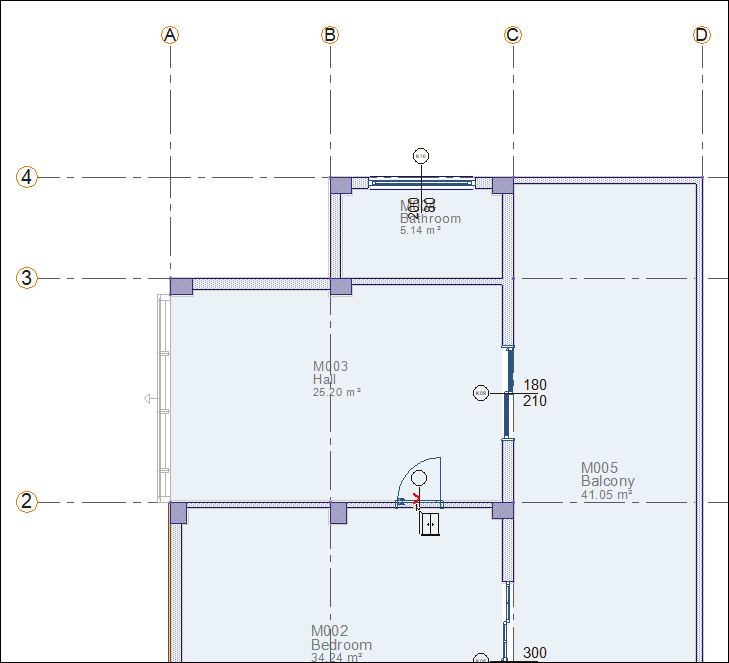
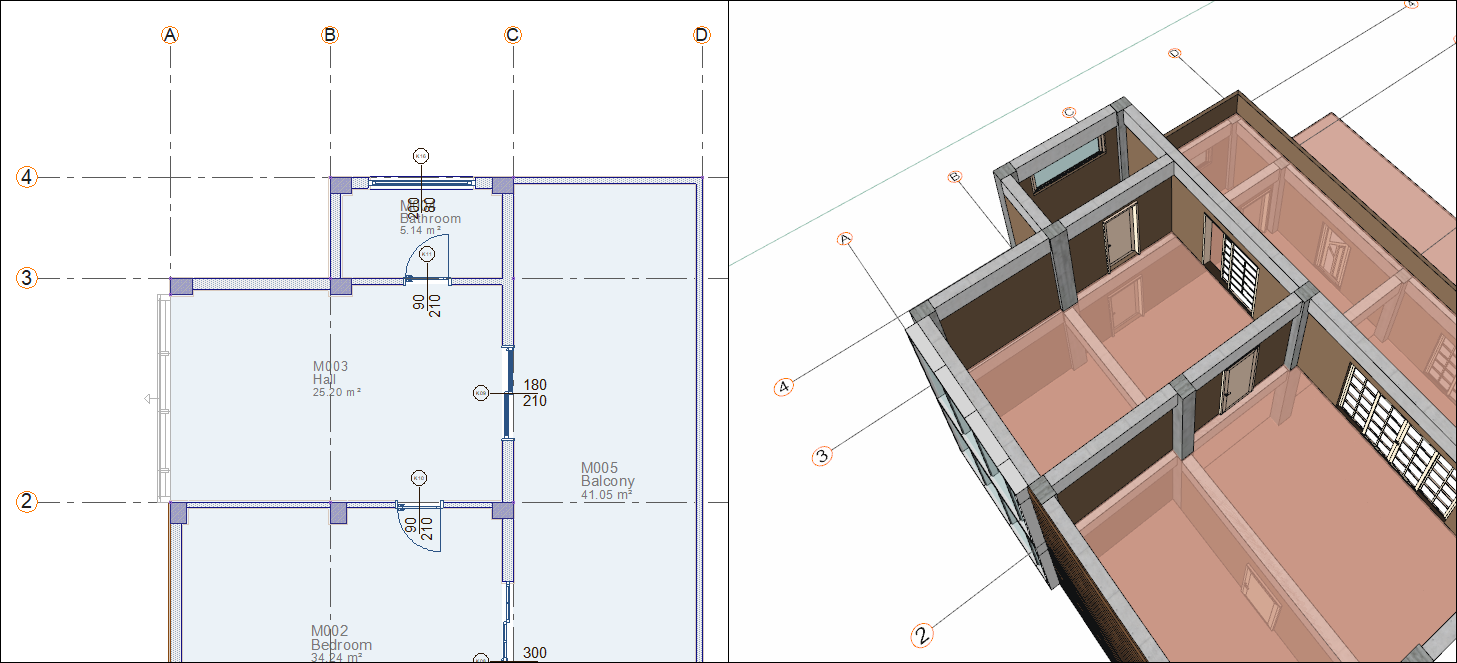
Move your mouse on the axis C to the middle of the wall delimited by axes 1 and 2.
-
A red arrow will pop out and the door will be placed in the middle of the wall.
-
Click the left mouse button. The door will be formed.
-
Click the settings icon from the door/window toolbar.
-
In the types tab select the line 1.50/doors/sliding/Sk07.dio from the list.
-
In the placement tab, set the height value to 210 cm and the width to 180 cm. Click the OK button to close the dialog.
-
Move your mouse on the axis C to the middle of the wall delimited by the axes 2 and 3.
-
A red arrow will pop out and the door will be placed in the middle of the wall.
-
Click the left mouse button. The door will be formed.

-
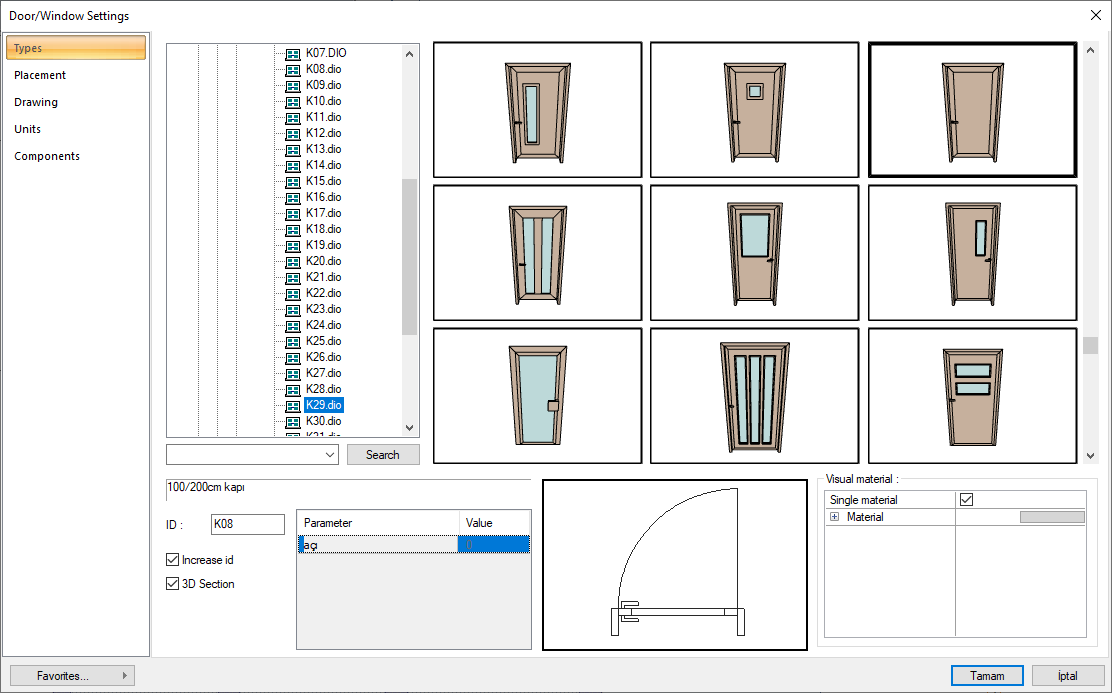
Click the settings icon from the door/window toolbar.
-
Select 1.50/doors/simple/single leaf/K29.dio from the list in the types tab.
-
In the placement tab, set the height value to 210 cm and the width to 90 cm. Click the OK button to close the dialog.
-
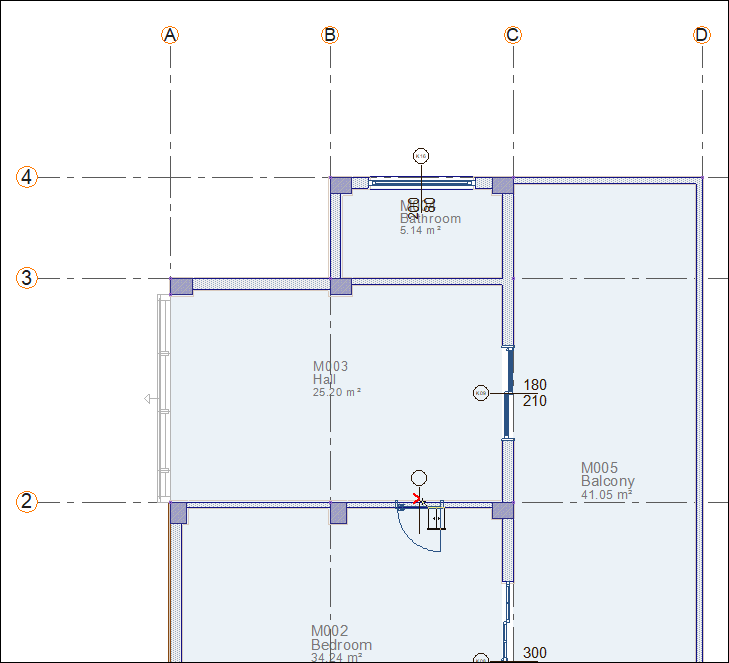
Move your mouse on the axis 2 to the middle of the wall delimited by the axes B and C.
-
A red arrow will pop out and the door will be placed in the middle of the wall.
-
Press the 2 key on the keyboard. The symmetry of the door will be taken and opened to the bedroom.
-
Click the left mouse button. The door will be formed.
-
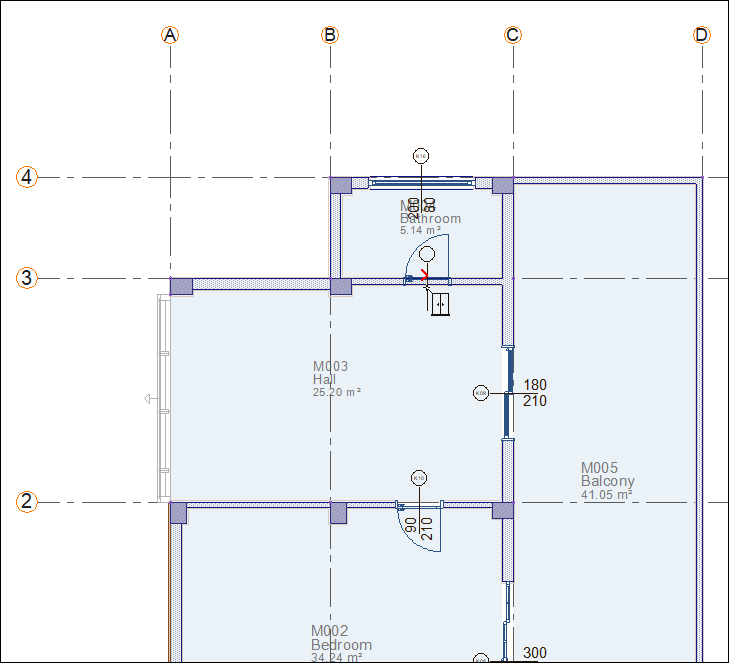
Move your mouse on the axis 3 to the middle of the wall delimited by the axes B and C.
-
A red arrow will pop out and the door will be placed in the middle of the wall.
-
Click the left mouse button. The door will be formed.
-
Press the Esc key on the keyboard to exit the command. Upper story doors are completed.
Follow the steps of the video below.
Next Tutorial