
The roof and roof plane commands are used to create a gable roof. Three different methods are used to create a gable roof.
Method 1 - With Change Roof Edge Properties
Usage Steps
-
Pitched roof is created automatically with the roof command.
-
Click the Change Roof Edge Properties icon in the ribbon menu .
-
Click the eaves of the roof with the left mouse button.
-
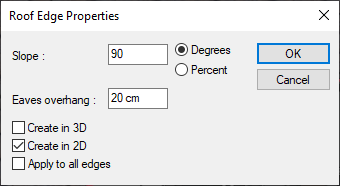
The Roof Edge Properties dialog will open. Enter 90 in the Slope box here and check the Degree option.
-
Uncheck the option Create in 3D. Say OK to exit the dialogue.
-
The slope of the respective roof surface will be 90 ° and will not be visible on the 3D screen. Your roof will be re-formed according to this change.
-
When the same process is done for the eaves on the other side, your ridge roof will be formed.
|
Usage step |
|---|
|
Selecting the eaves that will come from the wall when the roof is in the change roof edge properties command 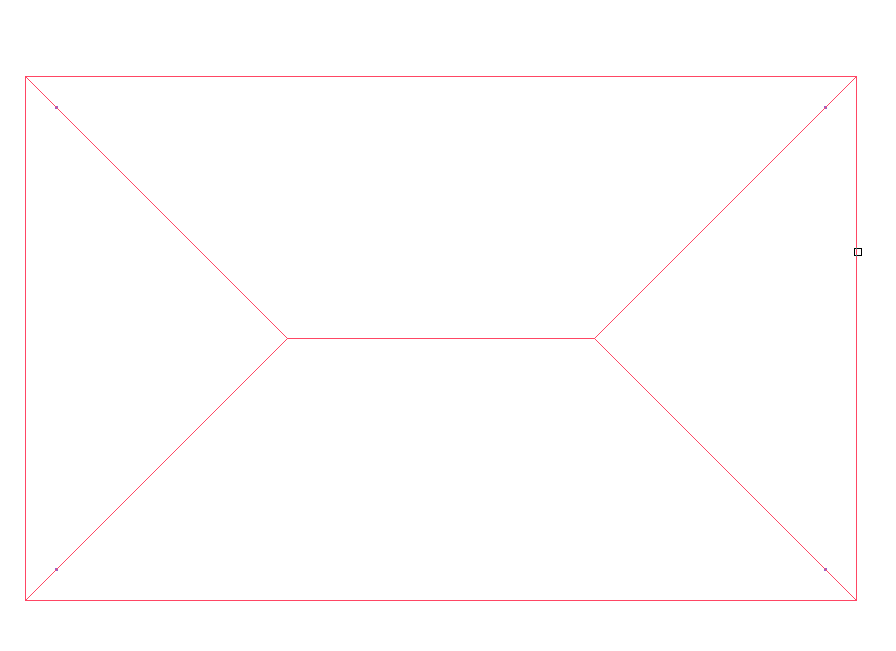
|
|
Changing roof edge properties
|
|
Roof after the eaves feature changes 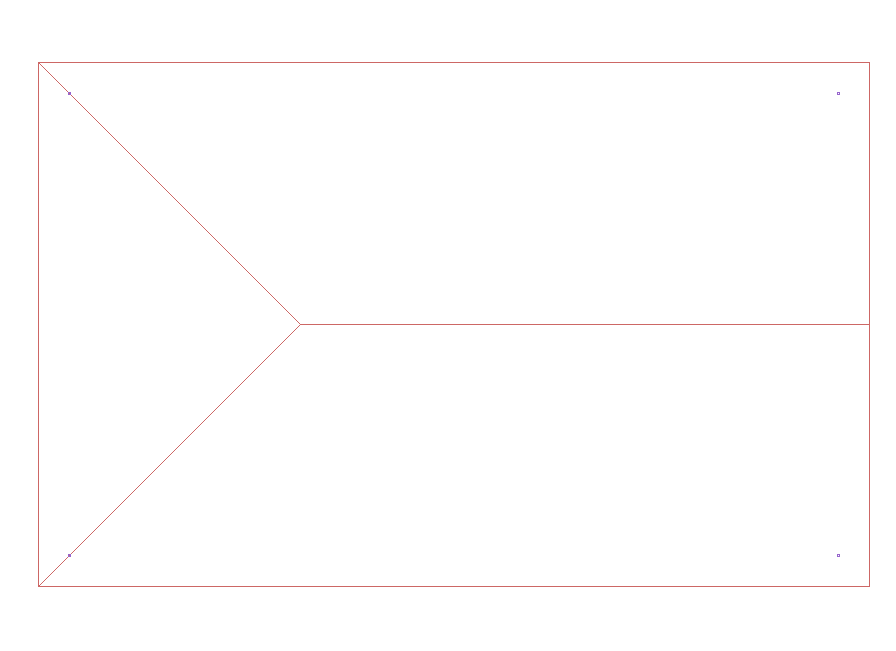
|
|
Selection of the other eaves for the gable wall 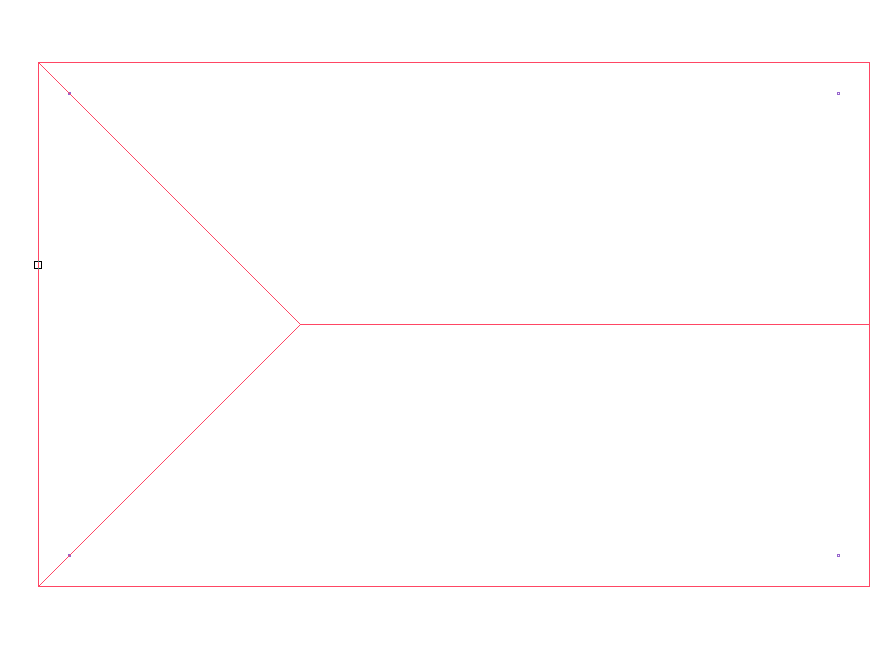
|
|
Changing roof edge properties
|
|
Gable roof 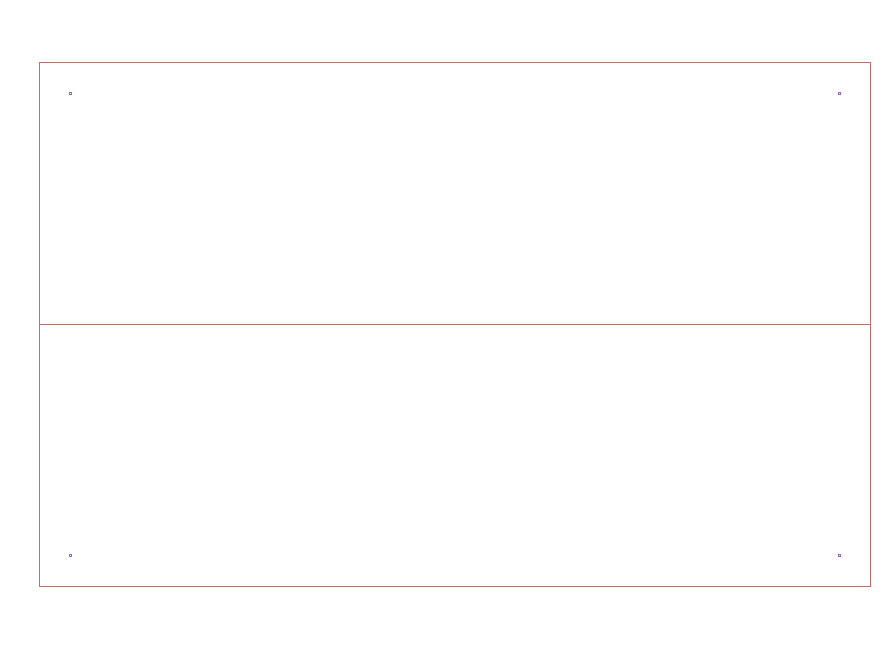
|
Method 2 - Split Roof Into Surfaces
Usage Steps
-
With the roof command, a hipped roof is created automatically.
-
The roof created is selected and the right mouse button is clicked.
-
Explode Roof line is clicked on the right click menu .
-
Unwanted roof surfaces are erased.
-
Gable roof is created by moving the joints of the remaining roof surfaces with the Stretch Node command.
|
Usage step |
|
Select the roof and right click the mouse to click the explode roof 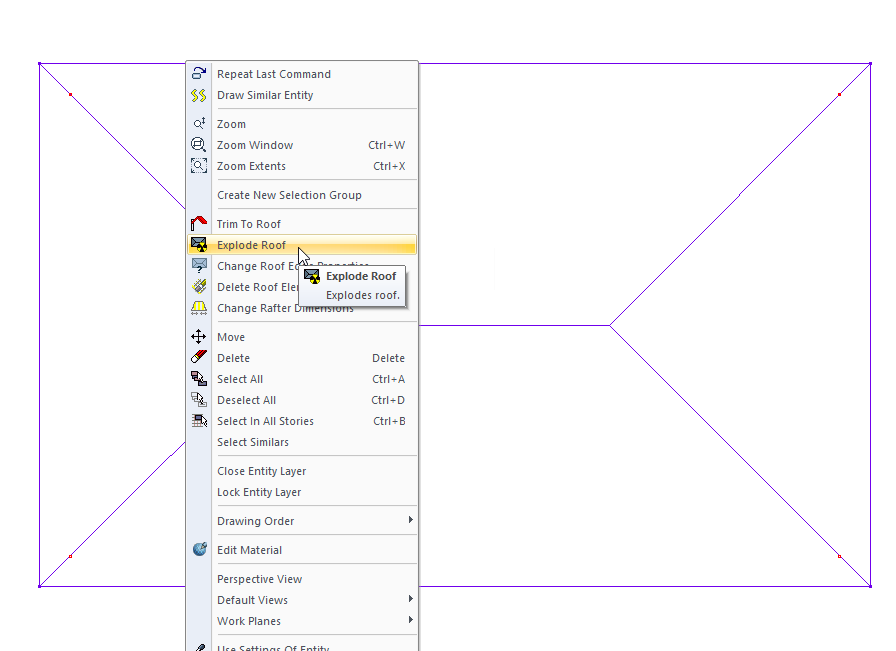
|
|
Deleting unwanted roof surfaces 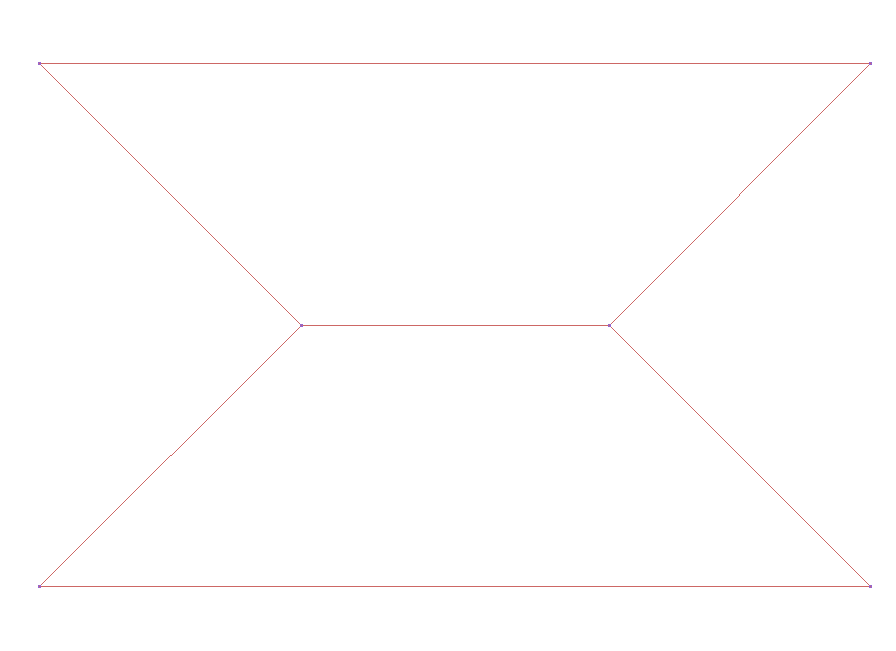
|
|
Selection of the overlapping joint of the remaining roof surfaces 
|
|
Move the selected node 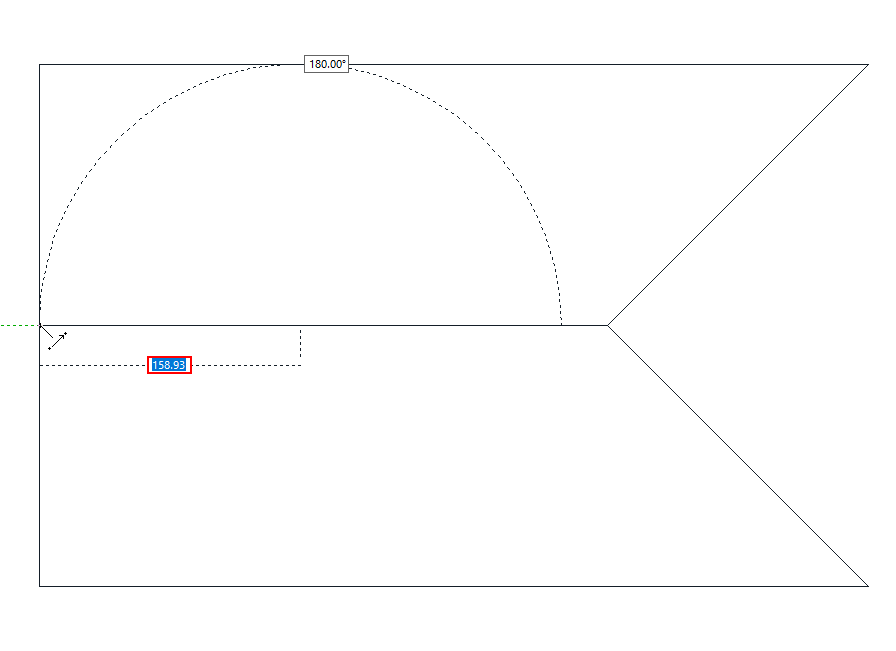
|
|
Move the other node 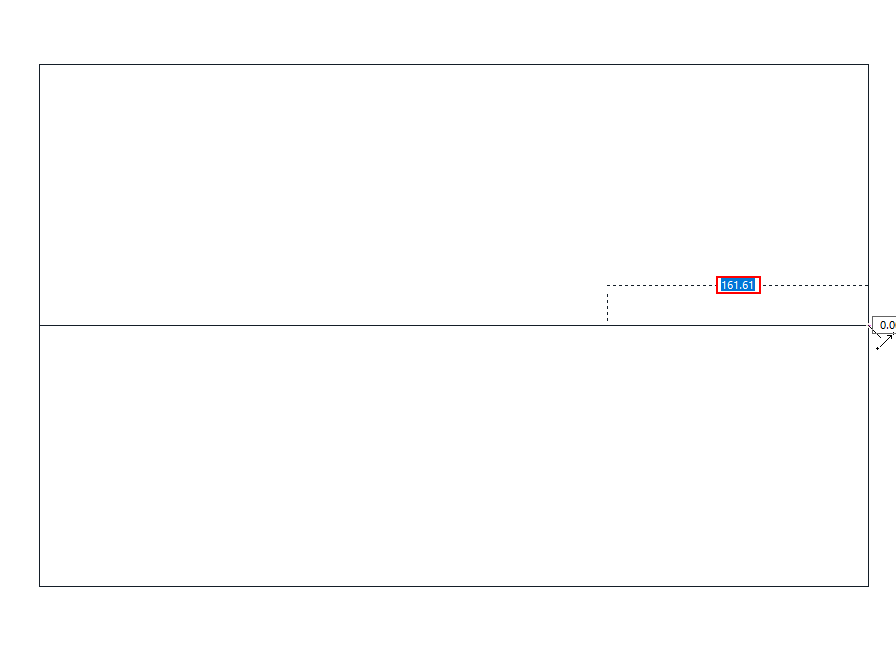
|
|
Gable roof 
|
Method 3 - With Roof Plane
Roof plane is used to describe a roof segment with a unidirectional slope. You can create the gable roof in two parts with the roof plane tool.
Usage Steps
-
Click the Roof Plane icon in the ribbon menu .
-
Draw the roof plane reference line by clicking two points in the drawing area. The reference line determines the line where the eaves will be found.
-
Once the reference line has been determined, create your roof border with the roof plane polygon so that one edge crosses the reference line.
-
When you close the polygon, the roof plane (the first part of your gable roof) will be formed.
-
Repeat the same steps for the second piece of your gable roof.
|
Usage steps |
|---|
|
Determining the first point of the reference line for the roof slope while on the roof plane command 
|
|
Determining the second point of the reference line 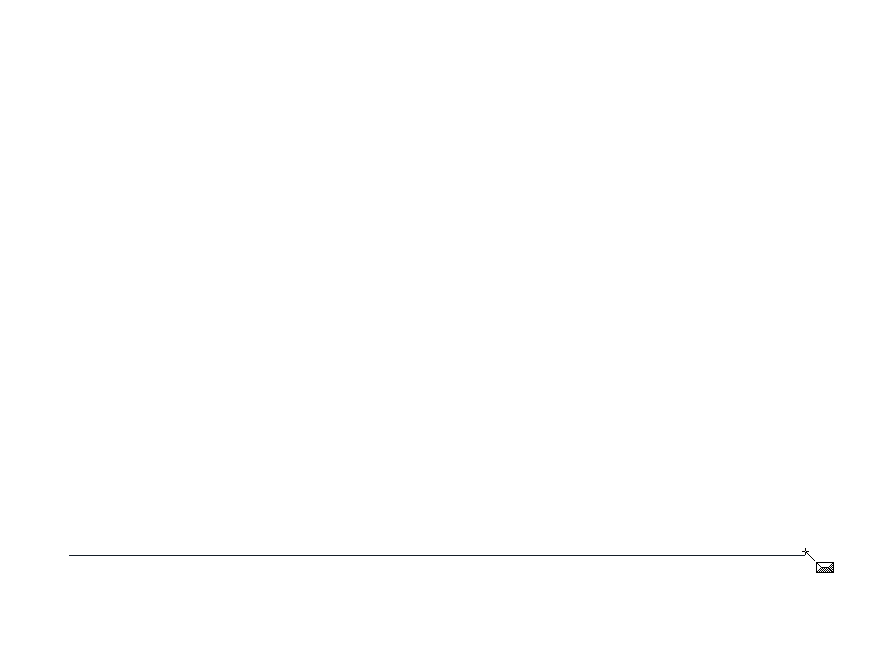
|
|
Determining the roof plane polygon and the first point of the roof boundary so that one edge passes over the reference line 
|
|
Determining the second point of the roof border 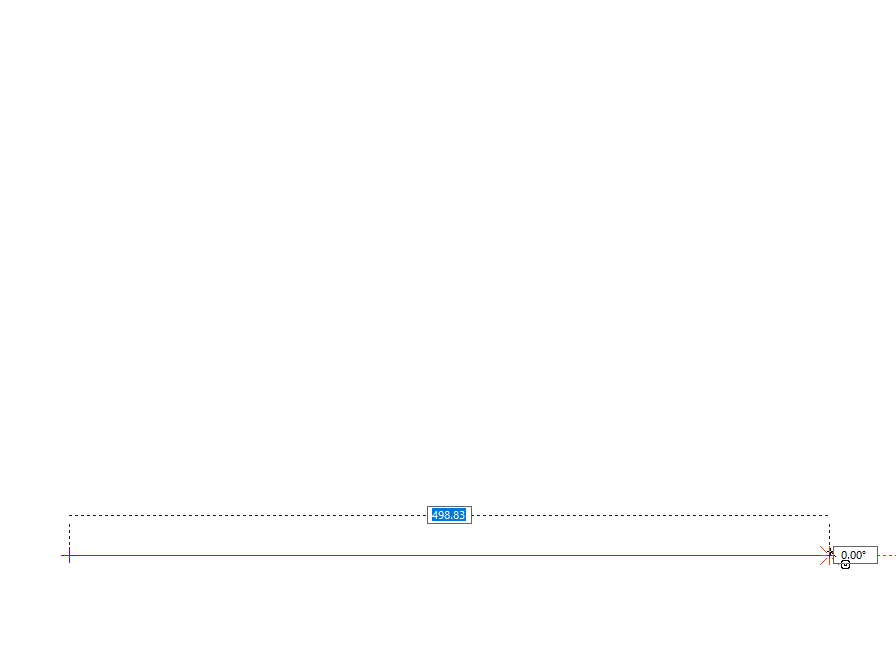
|
|
Determining the third point of the roof border 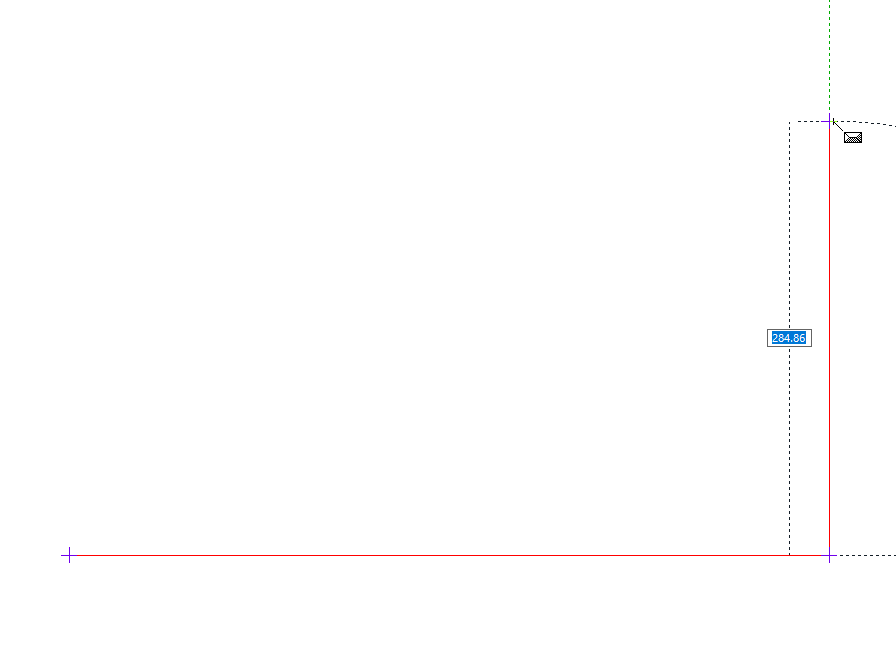
|
|
Determining the fourth point of the roof border 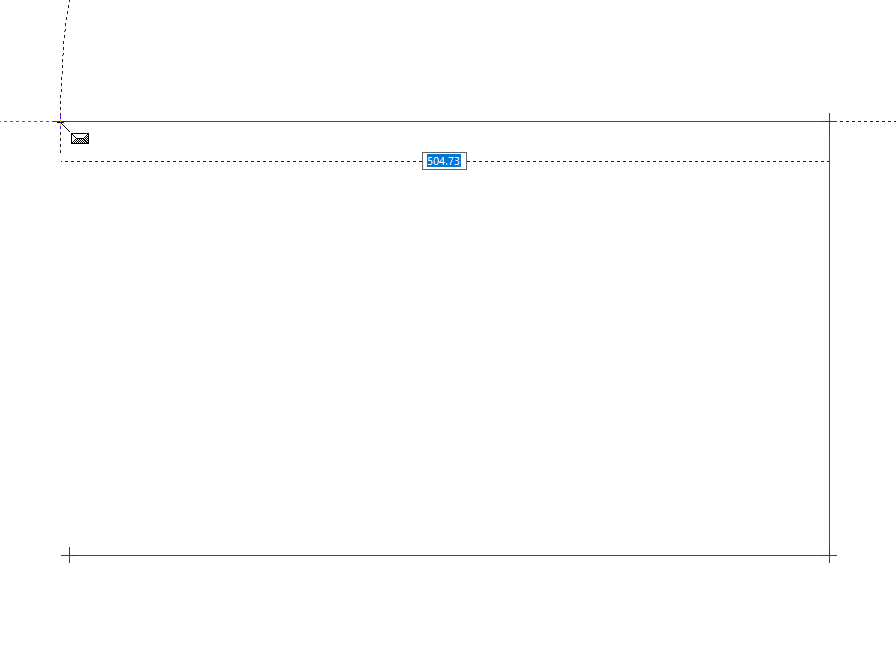
|
|
Determining the end point of the roof border 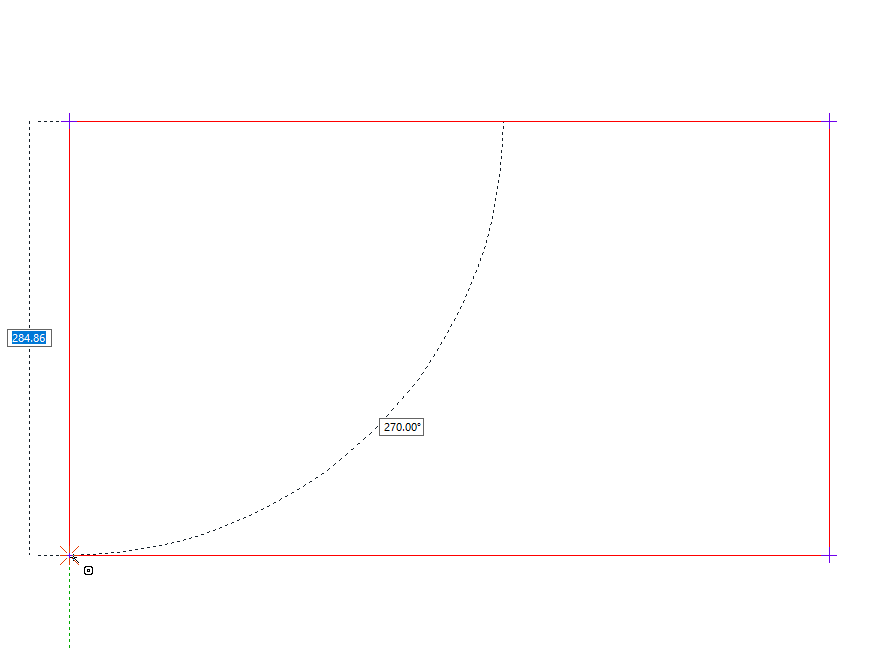
|
|
Creating the other roof plane with the mirror command 
|
Next Topic