
With the New Layout Block-Polygon command, in the drawing window the objects inside a drawn polygon (the area determined by more than 4 corners) are cut and saved in the memory or archive.
Location of New Layout Block-Polygon Command
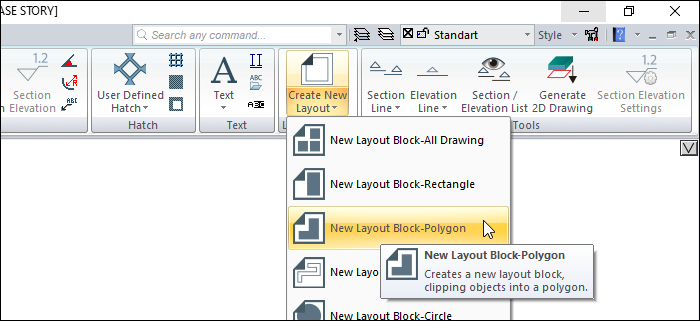
You can access it under the Ribbon menu drawings tab, Layout Design title.
Usage Steps
-
Click the New Layout Block-Polygon icon.
-
Move the mouse by clicking one of the corner of the area you want to block in the drawing area. Click the other points respectively. When you click the first point again, the polygon will be complete.
-
Click any point in the drawing area. The point you click will be the insertion point of the block.
-
The Layout Block Settings dialog will open. In this dialog, give a block name and set the scale.
-
If you want to indicate the perimeter of the block with a line, check the Draw border line.
-
If you leave the Save to library line checked, the block will be saved in the archive.
-
Click the OK button.
|
Usage step |
|---|
|
Determining the first point for the block border 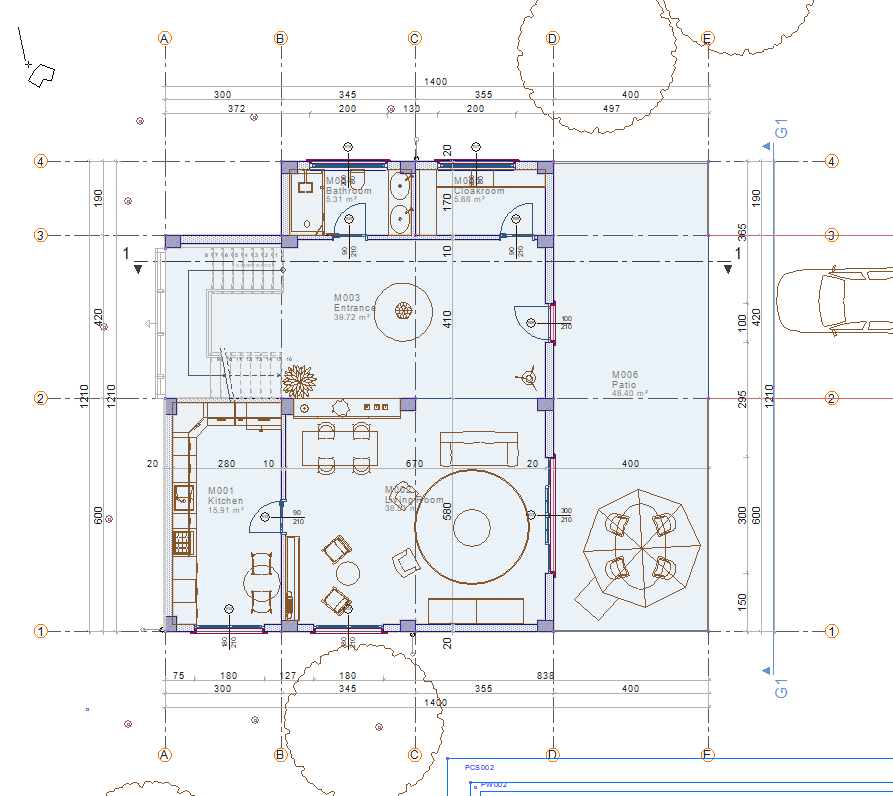
|
|
Determination of the second point 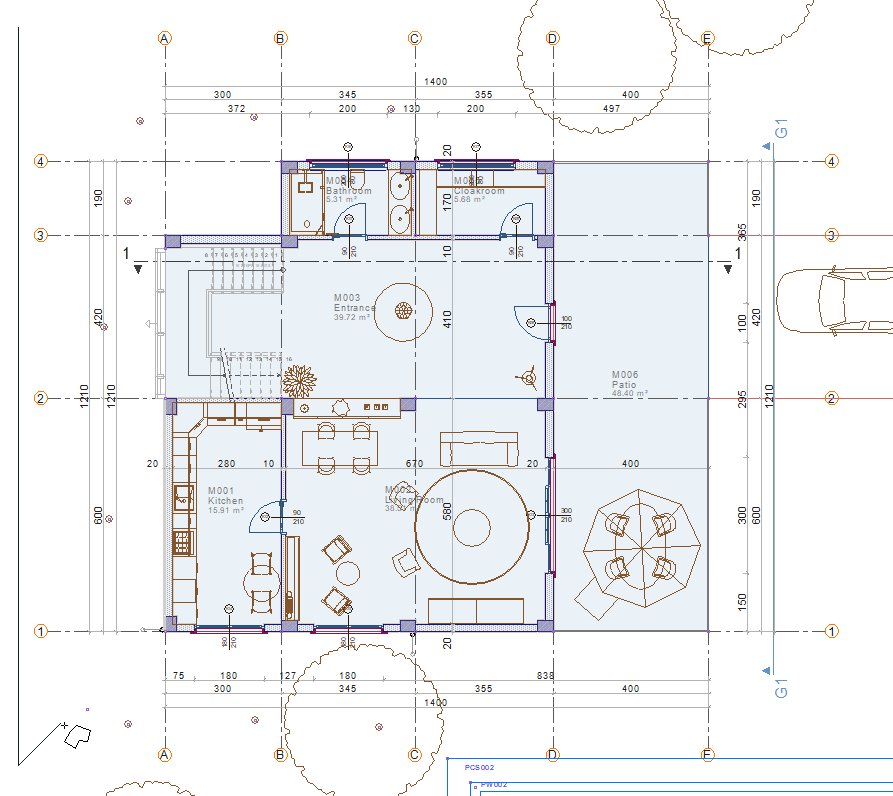
|
|
Determination of the third point 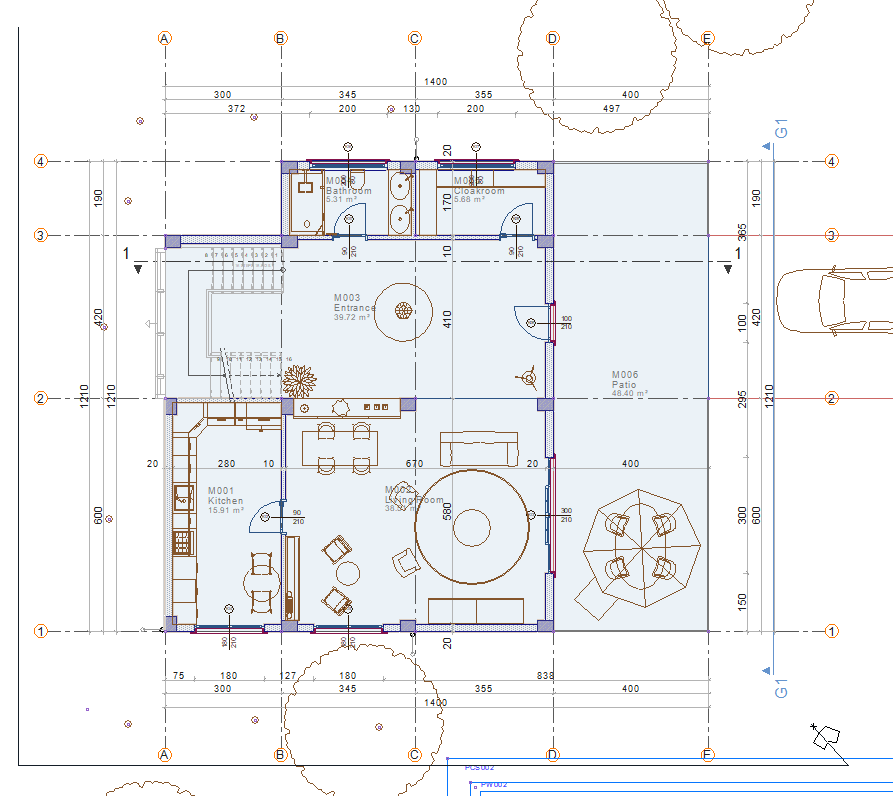
|
|
Determination of the fourth point 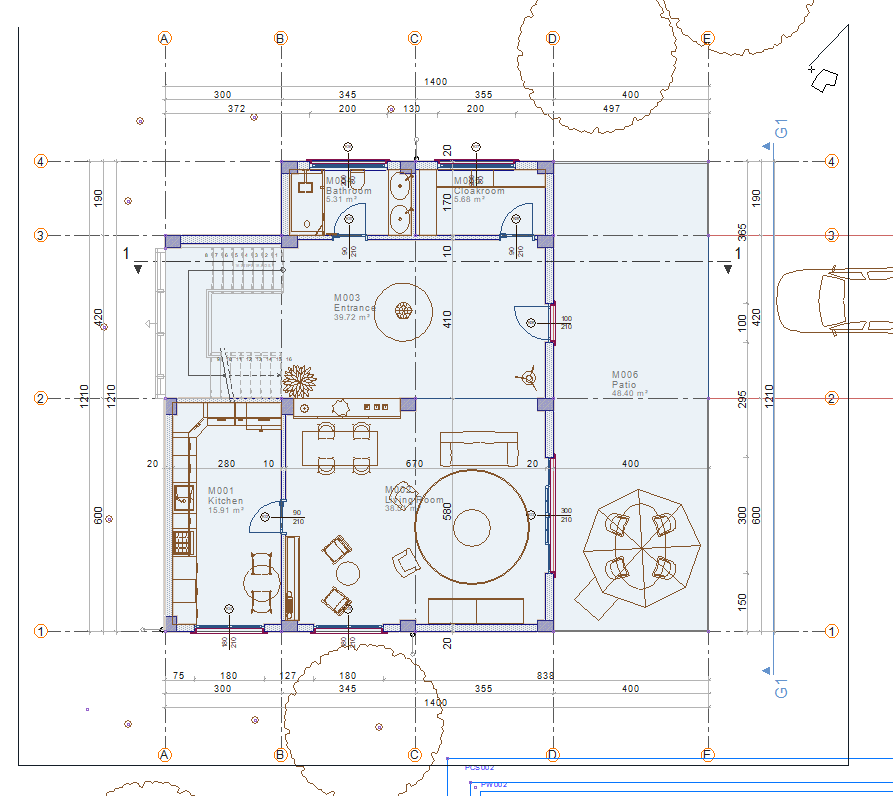
|
|
Closing the border by clicking the first point 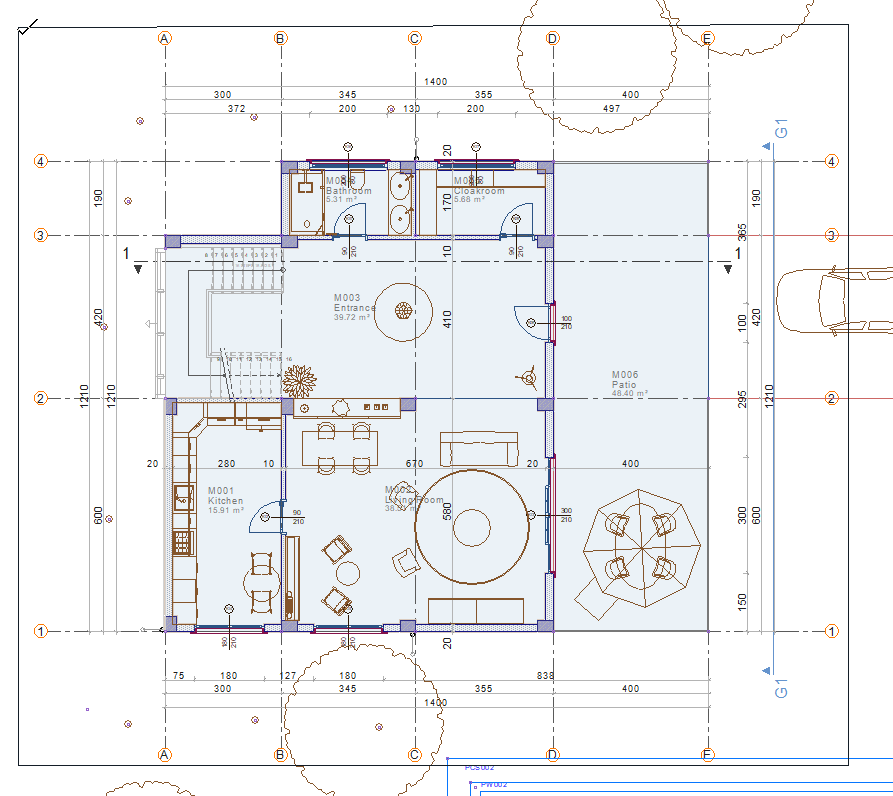
|
|
Determination of insertion point 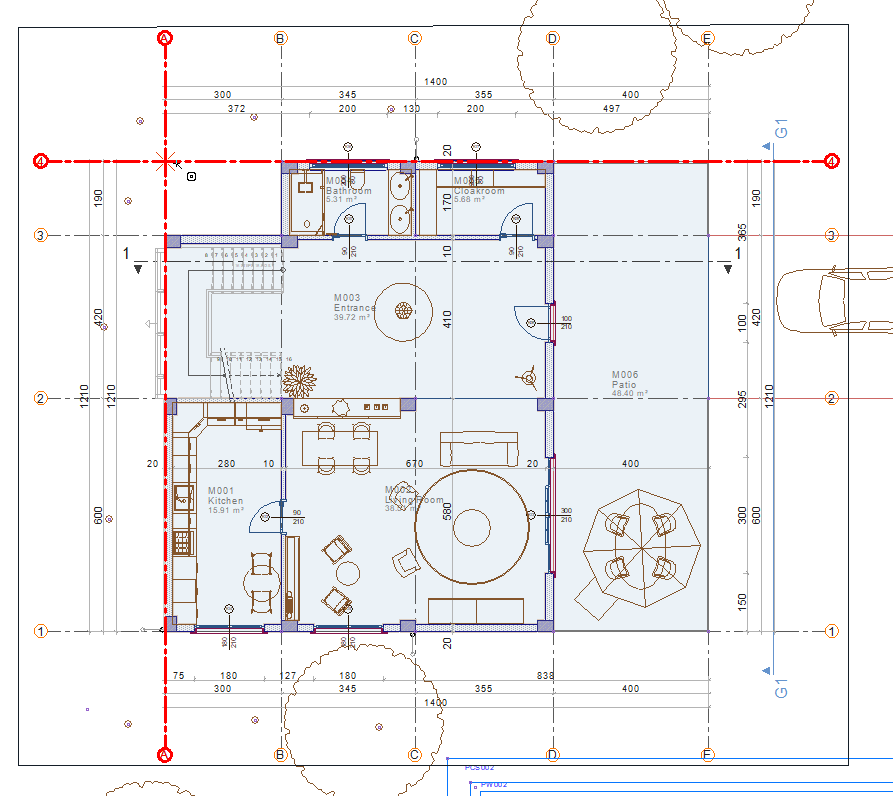
|
|
Layout block creation 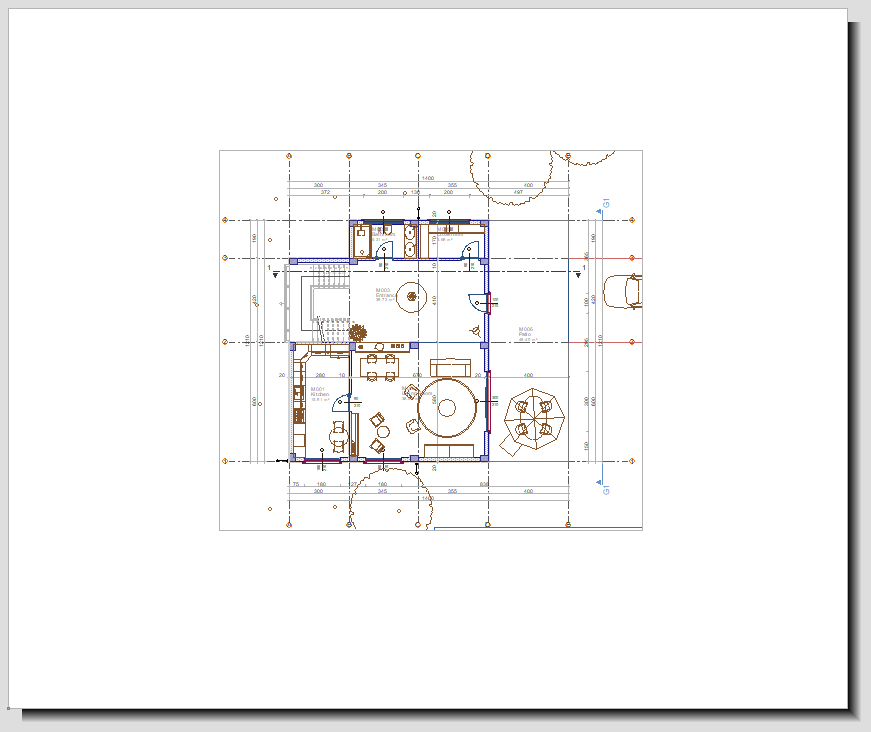
|
Next Topic