
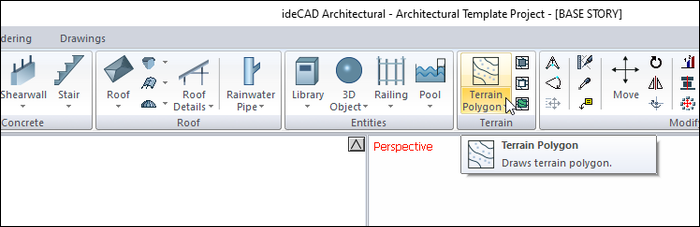
The terrain object is created with the Terrain Polygon command. Different terrain elevations can be determined for each point created according to the architectural project design.
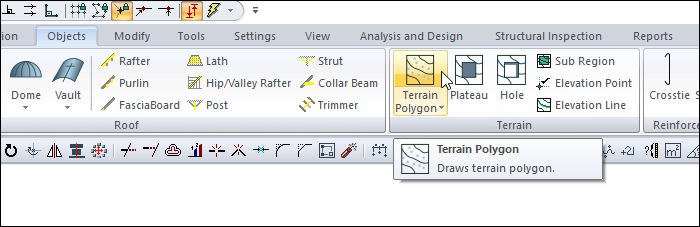
Location of the Terrain Polygon Command
In the Architectural Program
You can access it under the ribbon menu Home tab Terrain title.
In Structural Program
You can access it under the ribbon menu Objects tab Terrain title.
Usage Steps
To draw terrain;
-
Click the Terrain Polygon icon in the ribbon menu .
-
Next to the terrain toolbar, another toolbar named Path Segments will appear on the screen .
-
The Path Segments toolbar contains icons for drawing straight, circular and curved contours. These icons are used according to the needs while defining the land.
-
Click on the corners of the terrain respectively on the drawing screen. Write the elevation of the point you clicked in the elevation box on the toolbar at the moment of clicking.
-
When you define the contour of the terrain and get to the point where you started, the program will finish the terrain polygon command and the land will also be created.
|
Usage steps |
|---|
|
Determining the first point of the closed polygon in terrain polygon command 
|
|
Determining the second point of the closed polygon 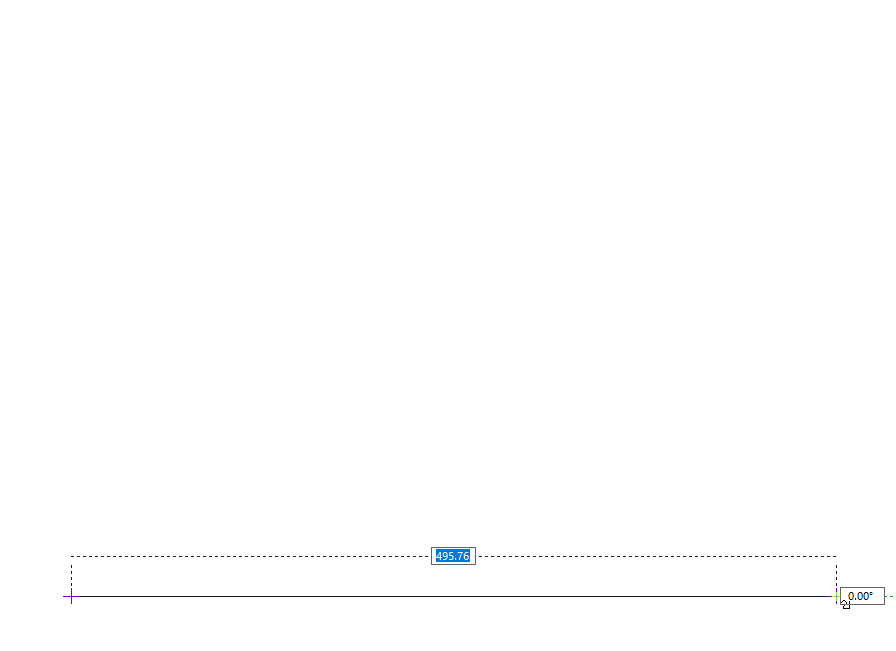
|
|
Entering the value of 100 cm in the elevation box in the terrain toolbar |
|
Determining the third point of the closed polygon 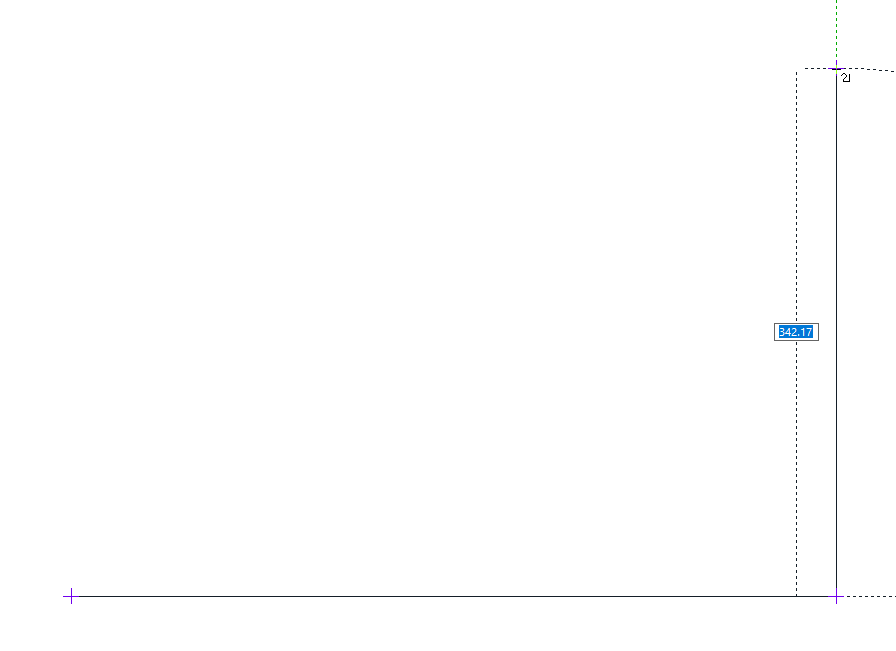
|
|
Determining the fourth point of the closed polygon 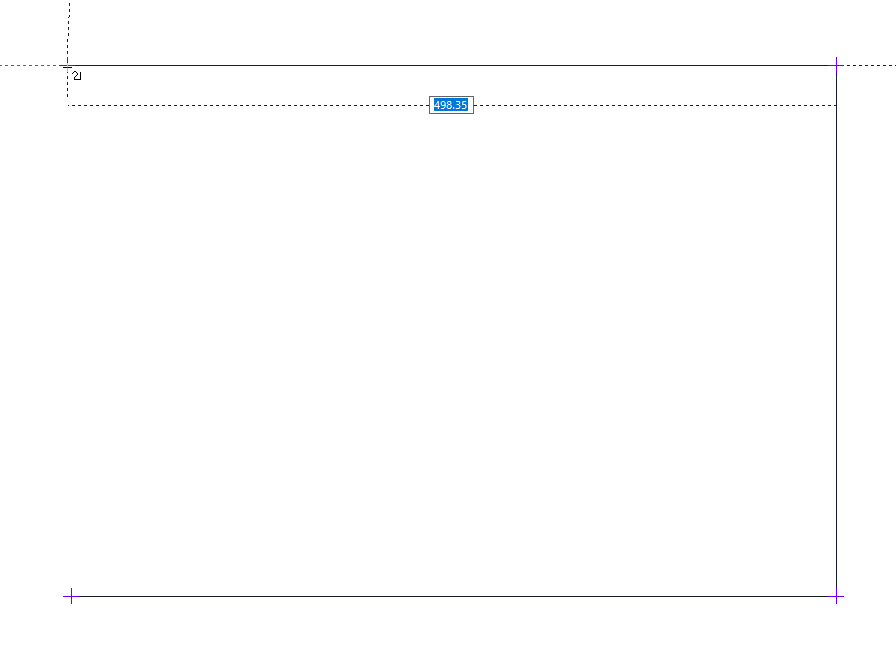
|
|
Entering 0 m value in the elevation box in the terrain toolbar |
|
Determining the end point of the closed polygon 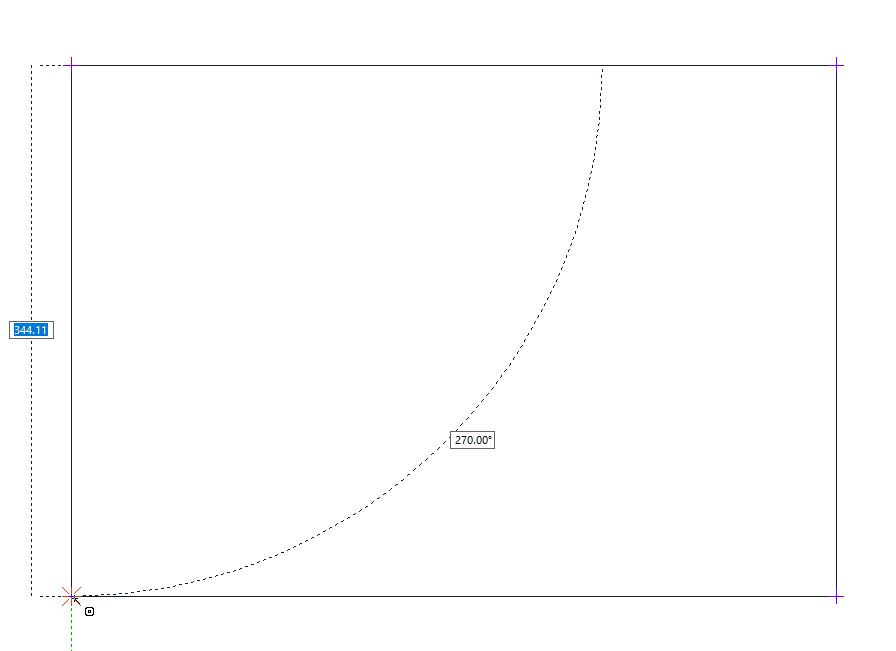
|
|
Terrain formation 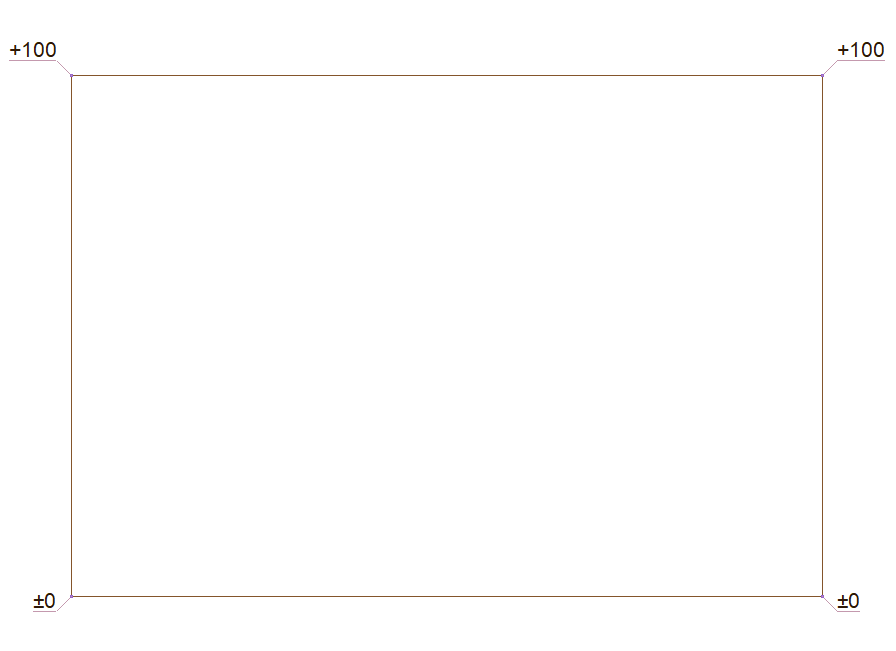
|
|
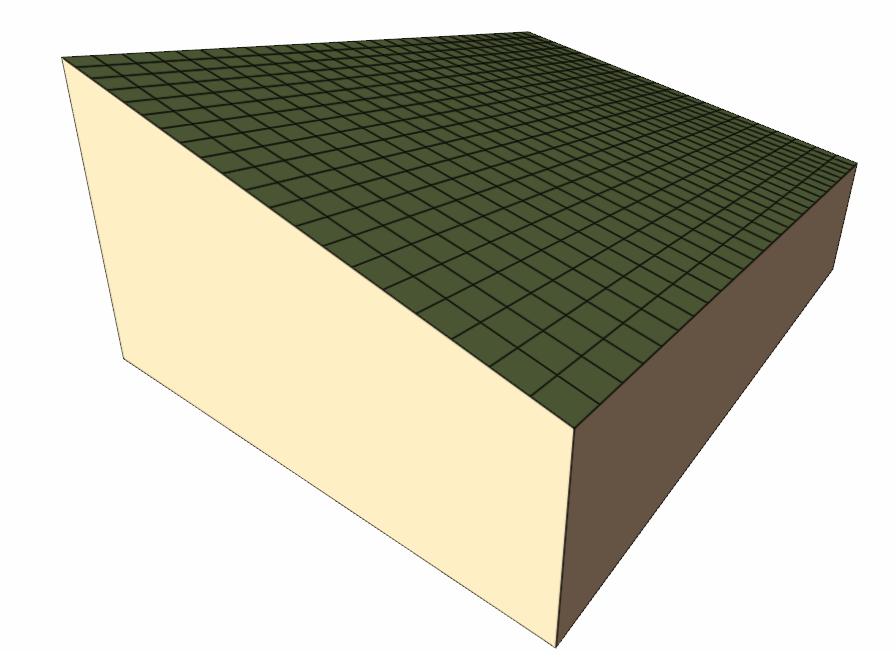
Terrain plan view |
|
|
|
Terrain perspective view |
|
Next Topic