
Create sweeps in this section.
|
Previous steps have been followed in the project file called Create the Facade Elements. You can download the file and follow the steps given in this title on the project.
|
In order to work on the project more comfortably, turn off the level information of the terrain.
-
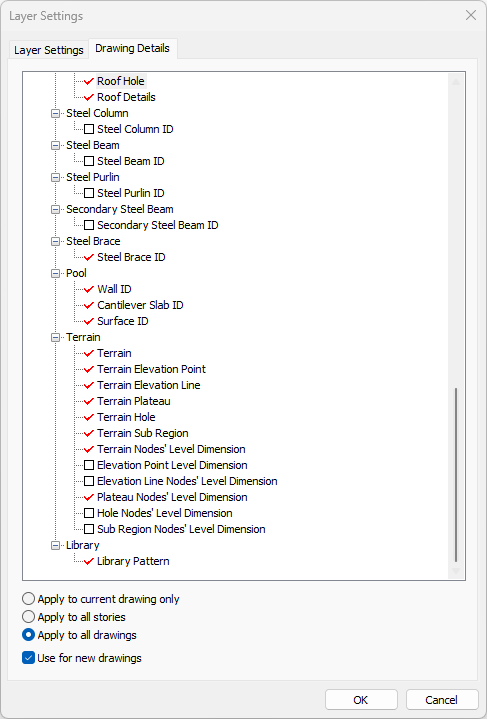
Enter the layer settings.
-
From the drawing details tab, uncheck the options of elevation point, elevation line nodes', hole nodes and sub region nodes' level dimension.
-
Click the OK button to close the dialog.
-
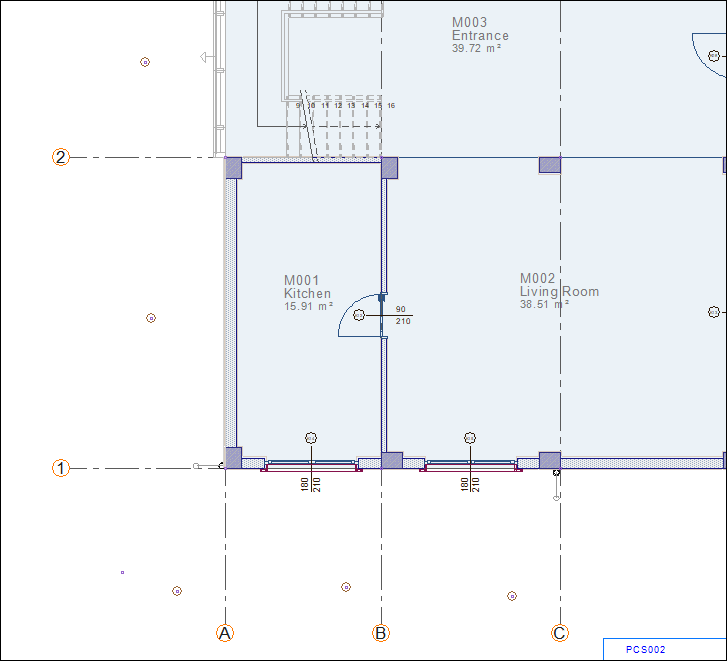
Creating sweeps for doors and windows, click on the jamb command from the facade menu.
-
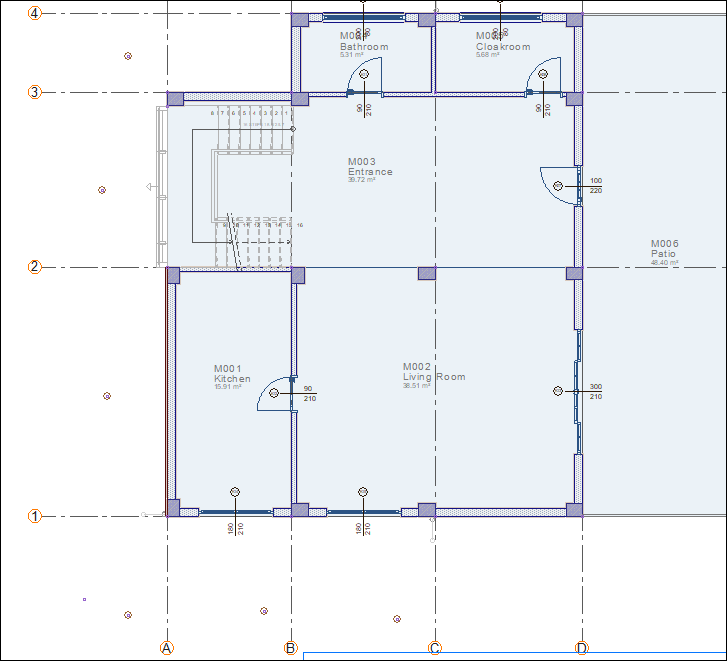
Choose the doors and windows on the exterior to be attached to the jambs.. Click the right mouse button to complete the selection process.
-
The preview of sweeps will occur in the plan. You can determine which side of the wall will be by pressing the spacebar key.
-
Click the left mouse button.
-
Base story sweeps for doors and windows will be formed.

Go upper story.
-
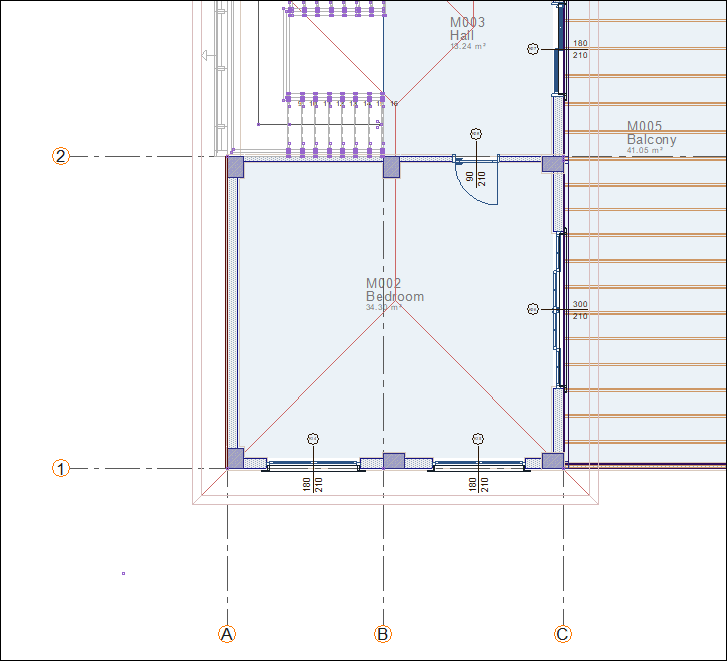
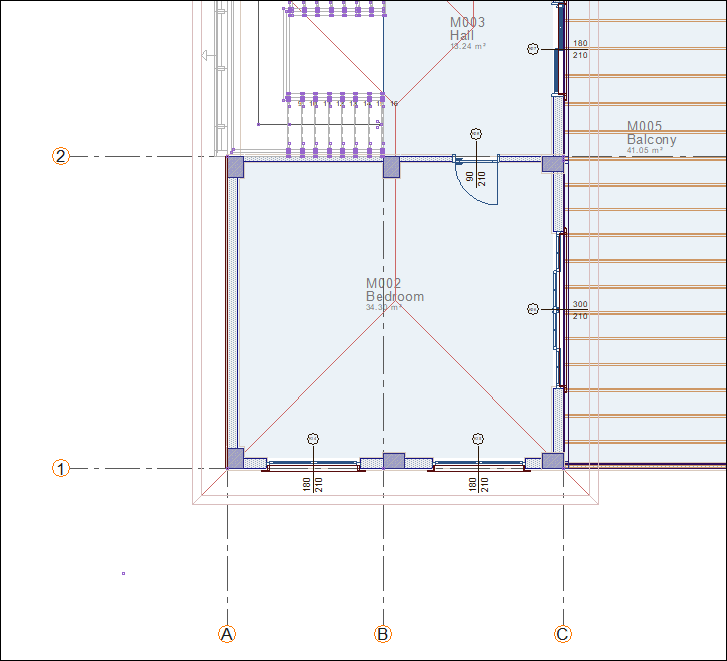
Click on the jamb command.
-
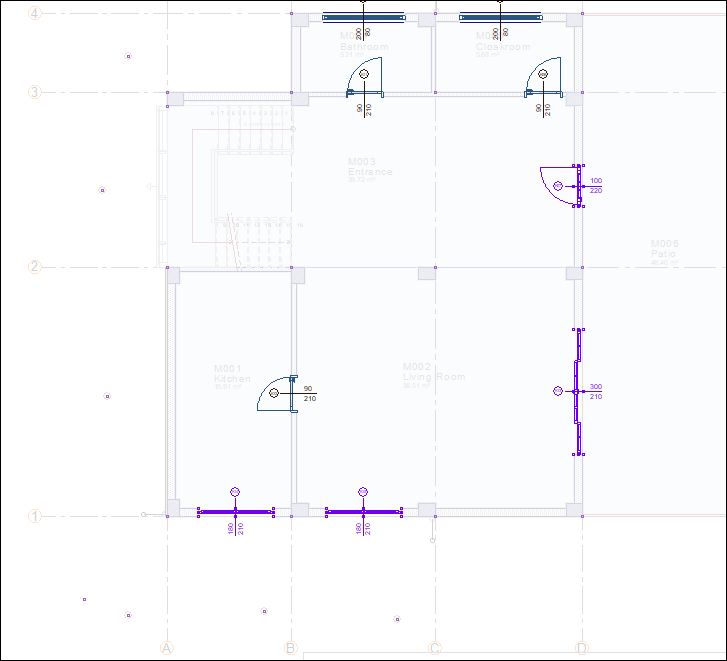
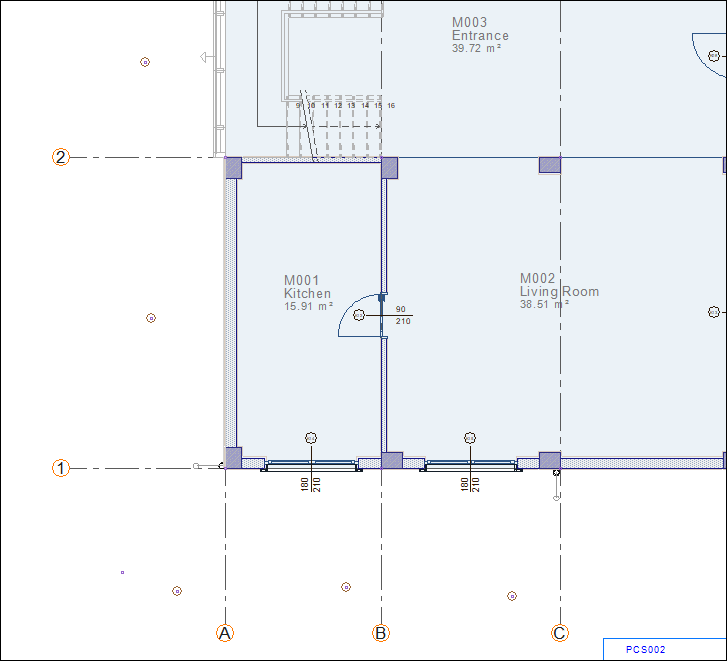
Choose doors and windows. Click the right mouse button to complete the selection process.
-
The preview of sweeps will occur in the plan. You can determine which side of the wall will be by pressing the Space key.
-
Click the left mouse button.
-
The upper story sweeps for doors and windows will be formed.
-
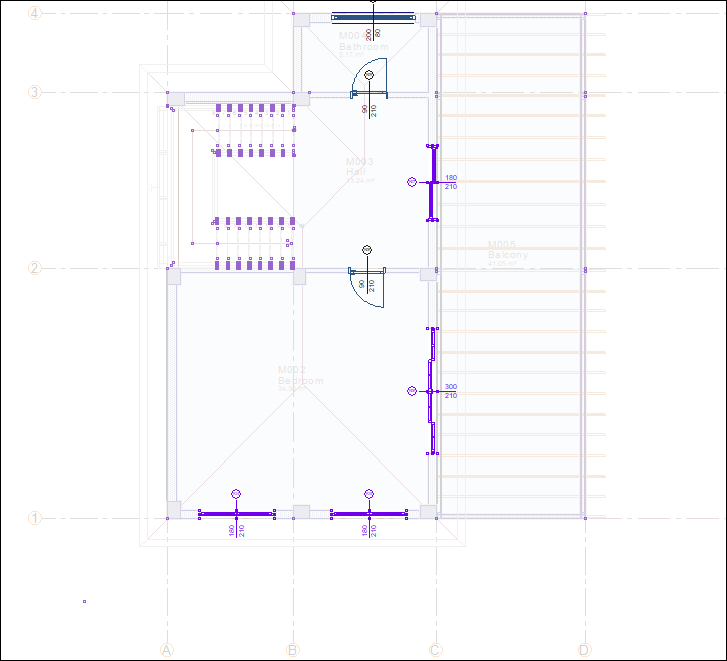
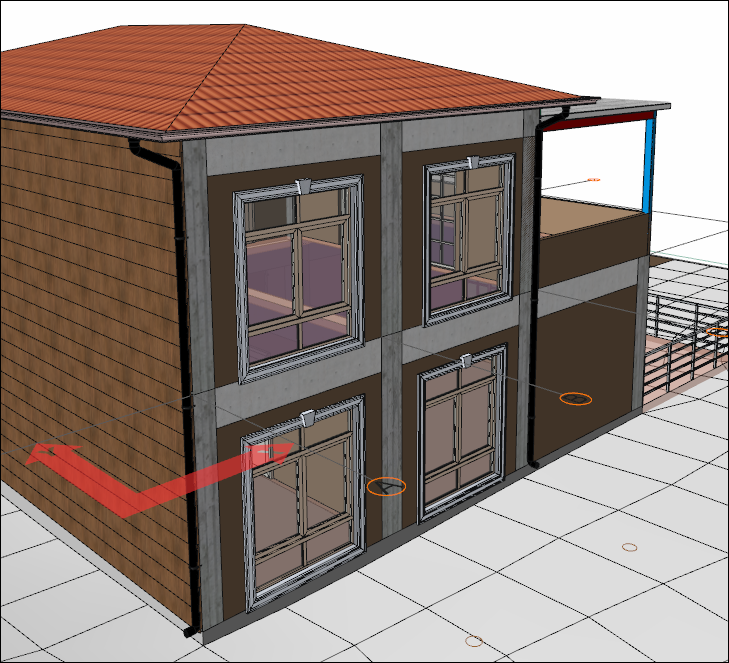
Creating sweeps for walls, click on the cordon command.
-
Select the free drawn method from the sweep toolbar, and cordon 01 from the section list.
-
Click on the settings icon. Enter -45 cm for the elevation value.
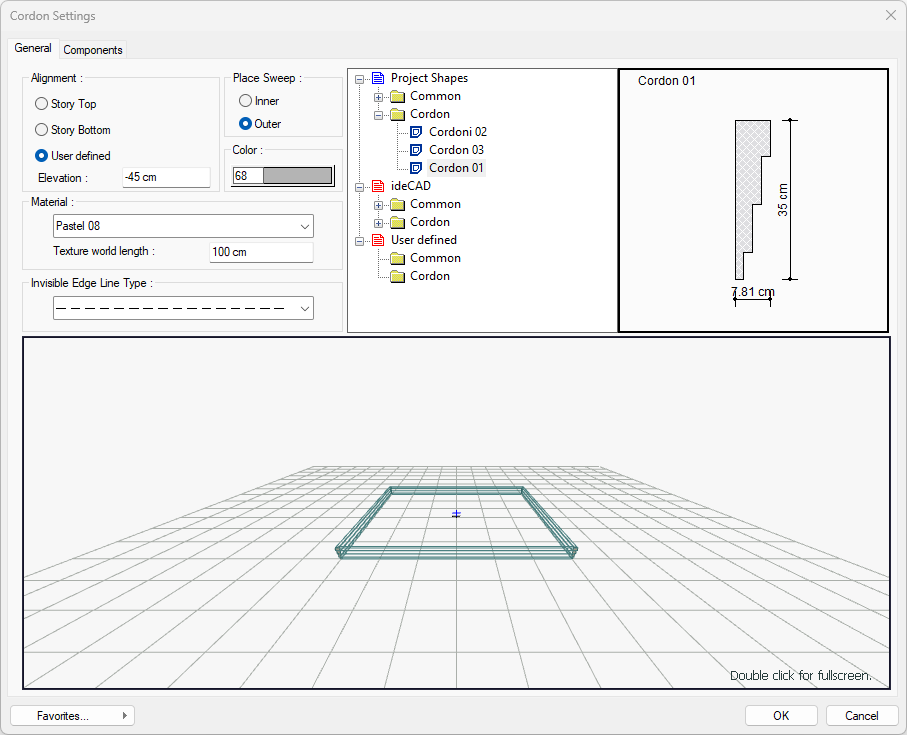
-
Click on the A-1 axis intersection then click on the D-1 axis intersection.
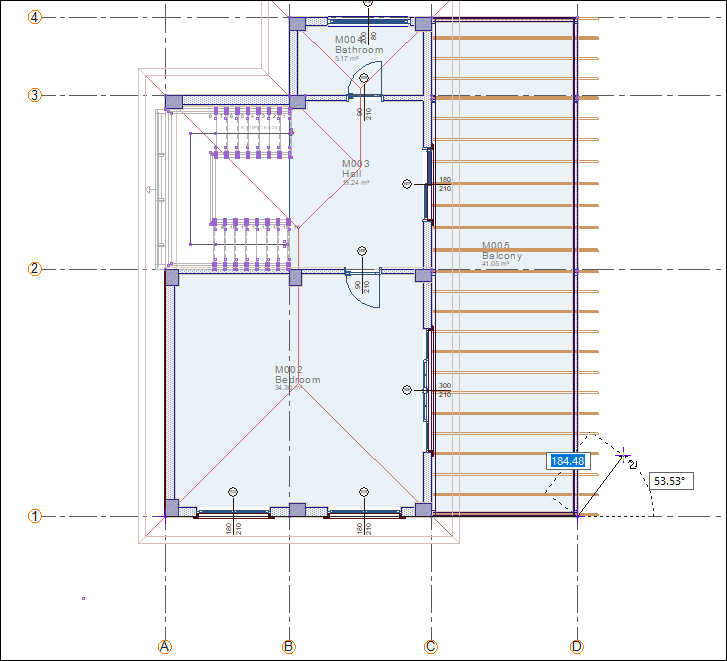
-
Click on the D-4 axis intersection then click on the B-4 axis intersection.
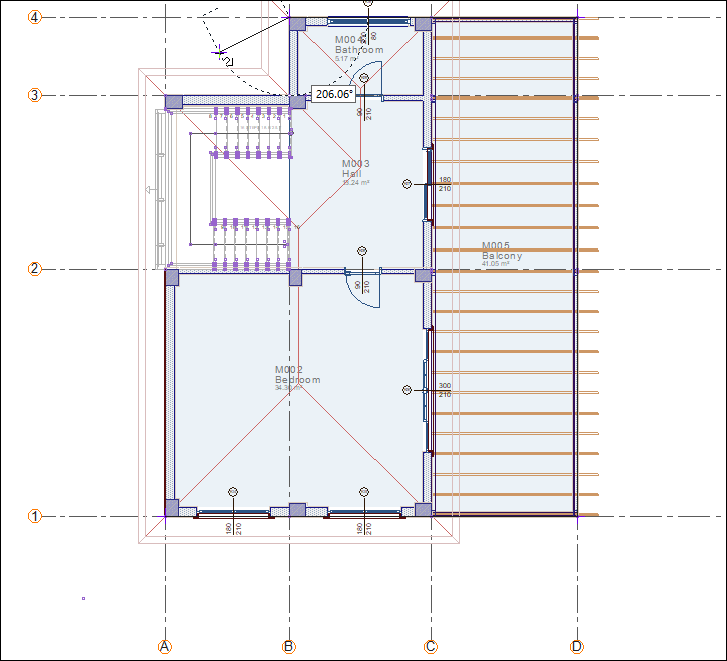
-
After clicking the B-3 axis intersection, click the right mouse button to end the command.

-
Sweeps for walls will occur.

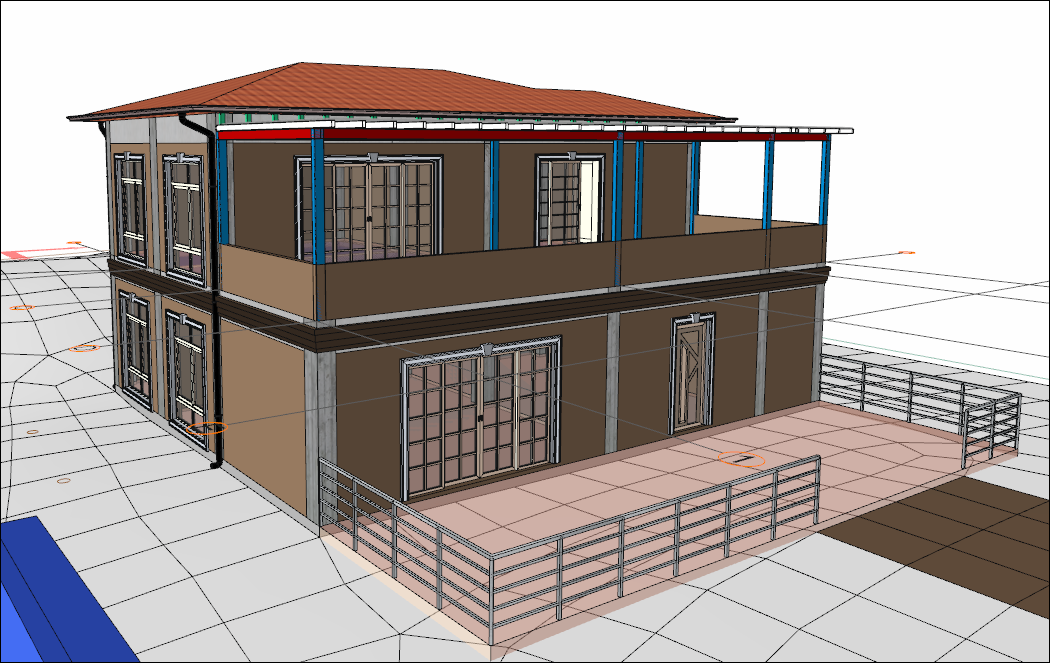
Place the rainwater pipes in the field.
-
Go base story.
-
Select all rainwater pipe and double click on one.
-
The rainwater pipe settings dialog will open.
-
Change the height of the pipe to 615 cm and the elevation value to -15 cm.
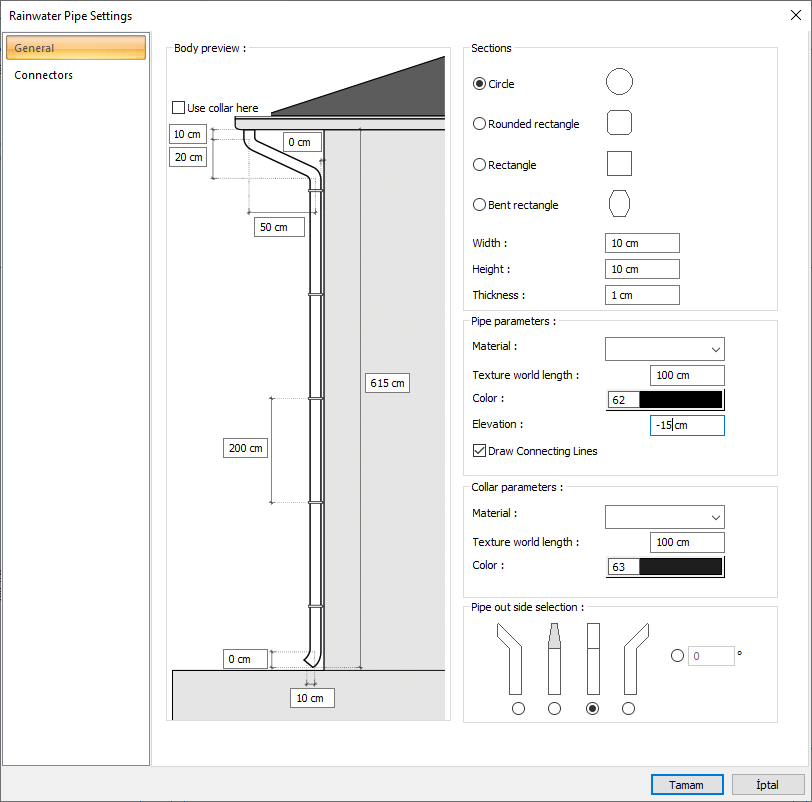
-
Rainwater pipes will fit into the terrain.
Follow the steps of the video below.
Next Tutorial