
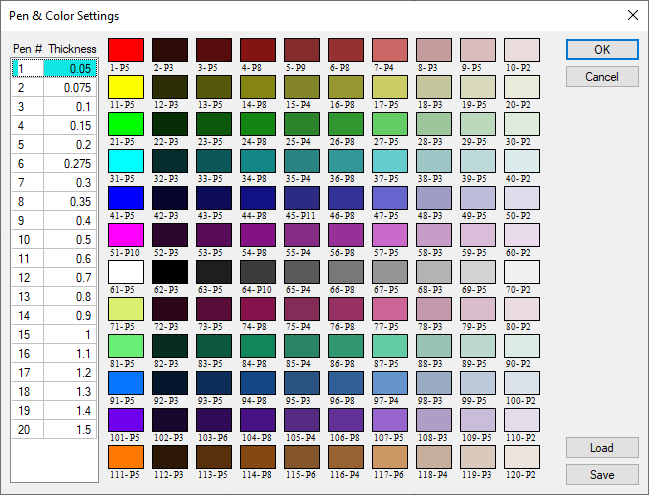
Pen thickness and color adjustments can be made at any stage of the project in ideCAD. 120 colors on the 10x12 color palette can be used in drawings. Each of these colors are user-customizable colors. In addition, 20 different pen thicknesses that can be determined by the user can be used.
Location of the Pen & Color Settings Command
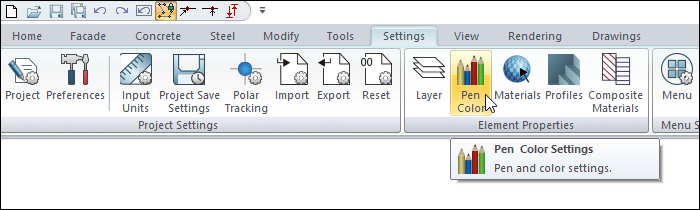
In the Architectural Program
You can access it under the Element Properties title of the ribbon menu Settings tab .
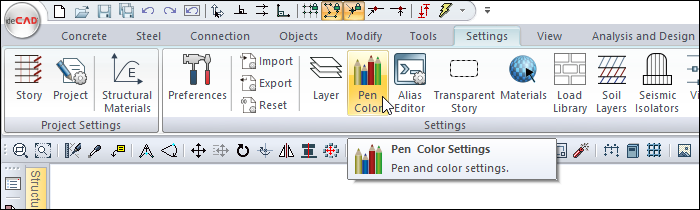
In the Structural Program
You can access it under the Settings title of the ribbon menu Settings tab .
Pen & Color Settings
|
Specifications |
|---|
|
Pen# and Thickness 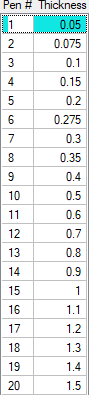
Item numbers and corresponding pen thicknesses are listed. The values in the thickness column are in millimeters and can be changed. |
|
Colors 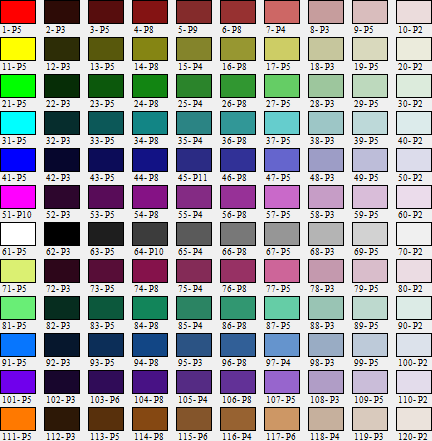
The colors defined in the ideCAD are listed. There are numbers in the form of (1-P5), (12-P12) under each color box. The number on the left (1, 12, 113 etc.) indicates the position of the relevant color on the color palette, and the number on the right (P1, P11 etc.) indicates the item number assigned to the corresponding color. The colors and pen numbers of the boxes can be changed by the user. |
|
Load Previously saved pen and color settings are loaded. |
|
Save Pen and color settings are saved for later use. |
Usage Steps - Changing the Thickness Value
To adjust pen thickness and colors;
-
Click the Pen Color icon in the ribbon menu .
-
The Pen and Color Settings dialog will be displayed.
-
To change the values, click on the relevant cell with the left mouse button and enter the new value.
There are numbers in the form of (1-P5), (12-P12) under each color box. The number on the left (1, 12, 113 etc.) indicates the position of the relevant color on the color palette, and the number on the right (P1, P11 etc.) indicates the item number assigned to the corresponding color.
Usage Steps - Changing the Color
The colors and pen numbers of the boxes can be changed by the user. To change color;
-
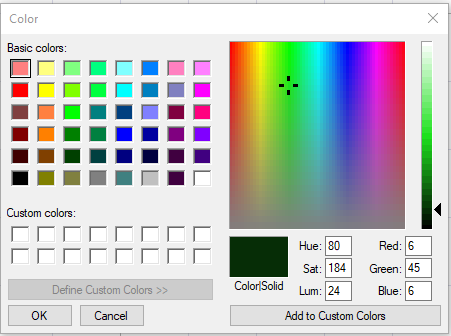
Click the left mouse button on the color box you want to change the color of.
-
Select the color you want in the color dialog that opens and click the OK button to close the dialog.
-
The relevant box will take the selected color. At the same time, the color of all objects in which this color is used in the current project will also change. In case of color printout, the relevant objects will be printed in the newly selected color.
Color Dialog
Usage Steps - Changing Pen Number
To change the pen number;
-
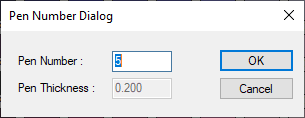
Click the right mouse button on the color box where you want to change the pen number.
-
In the opened pen number dialog, enter a new pen number and click the OK button to exit the dialog. The pen number entered in the relevant color will be assigned, and the pen number under the box will change.
Pen Number Dialog
|
Specifications |
|---|
|
Pen number The item number required for the relevant color is entered. |
|
Pen thickness The item thickness value corresponding to the item number entered is displayed. |
The pen number to be entered in the pen thickness dialog must be a value between 1-20. If a value outside of this range is entered, it is ignored and the existing pen number is preserved.
Next Topic
Related Topics